
If your Google Pixel 10 Pro is getting uncomfortably warm, it's usually a sign that something is pushing the processor a bit too hard. Overheating can trigger performance throttling, cause the screen to dim, and in some cases, even stop fast charging to protect the battery. The good news is, a few simple adjustments can almost always cool things down.
I'd start by checking what's running in the background. Swipe down from the top of the screen twice to open the Quick Settings panel, then tap the battery icon. If you see a message like "Phone is warm" or "Performance may slow", it's a clear sign from the system. From that same menu, tap Battery Usage to see which apps have been consuming the most power recently. A social media or video streaming app running in the background for hours is a common culprit.
Close Demanding Apps and Games
When you're done with a graphically intense game or a long video call, make sure to fully close the app instead of just switching away from it. Open the recent apps view by swiping up from the bottom and holding, then swipe the app's preview all the way up or tap the 'X' to close it. This completely stops its processes.
Some apps, especially older ones not optimized for Android 16, can have memory leaks or runaway processes that keep the CPU active. If you notice one app consistently appears at the top of the battery usage list when your phone heats up, try force-stopping it. Go to Settings > Apps, select the app, and tap Force stop. This gives it a fresh start the next time you open it.
Remove the Case and Check Your Environment
Take your Pixel 10 Pro out of its case for a little while, especially if you're charging it, gaming, or using navigation. Thick cases, particularly those designed for heavy protection, can act like a blanket and trap heat against the phone's body. This is doubly important when using the 15W Qi2 wireless charging, as the case creates an extra barrier that can cause heat to build up.
Also, be mindful of where you're using the phone. Leaving it on a car dashboard in direct sunlight, using it while it's tucked under a pillow, or even having it in a tight pocket can prevent heat from dissipating. Try to use it in a cooler, well-ventilated space if you're doing anything demanding.
Adjust Your Display and Connectivity Settings
The bright, smooth display on the Pixel 10 Pro is gorgeous, but it's also a major source of heat. Try reducing the screen brightness manually instead of relying on auto-brightness when you're indoors. You can also change the refresh rate from the maximum 120Hz down to 60Hz. Go to Settings > Display > Smooth display and toggle it off. You'll notice the difference in motion, but it significantly reduces the workload on the GPU.
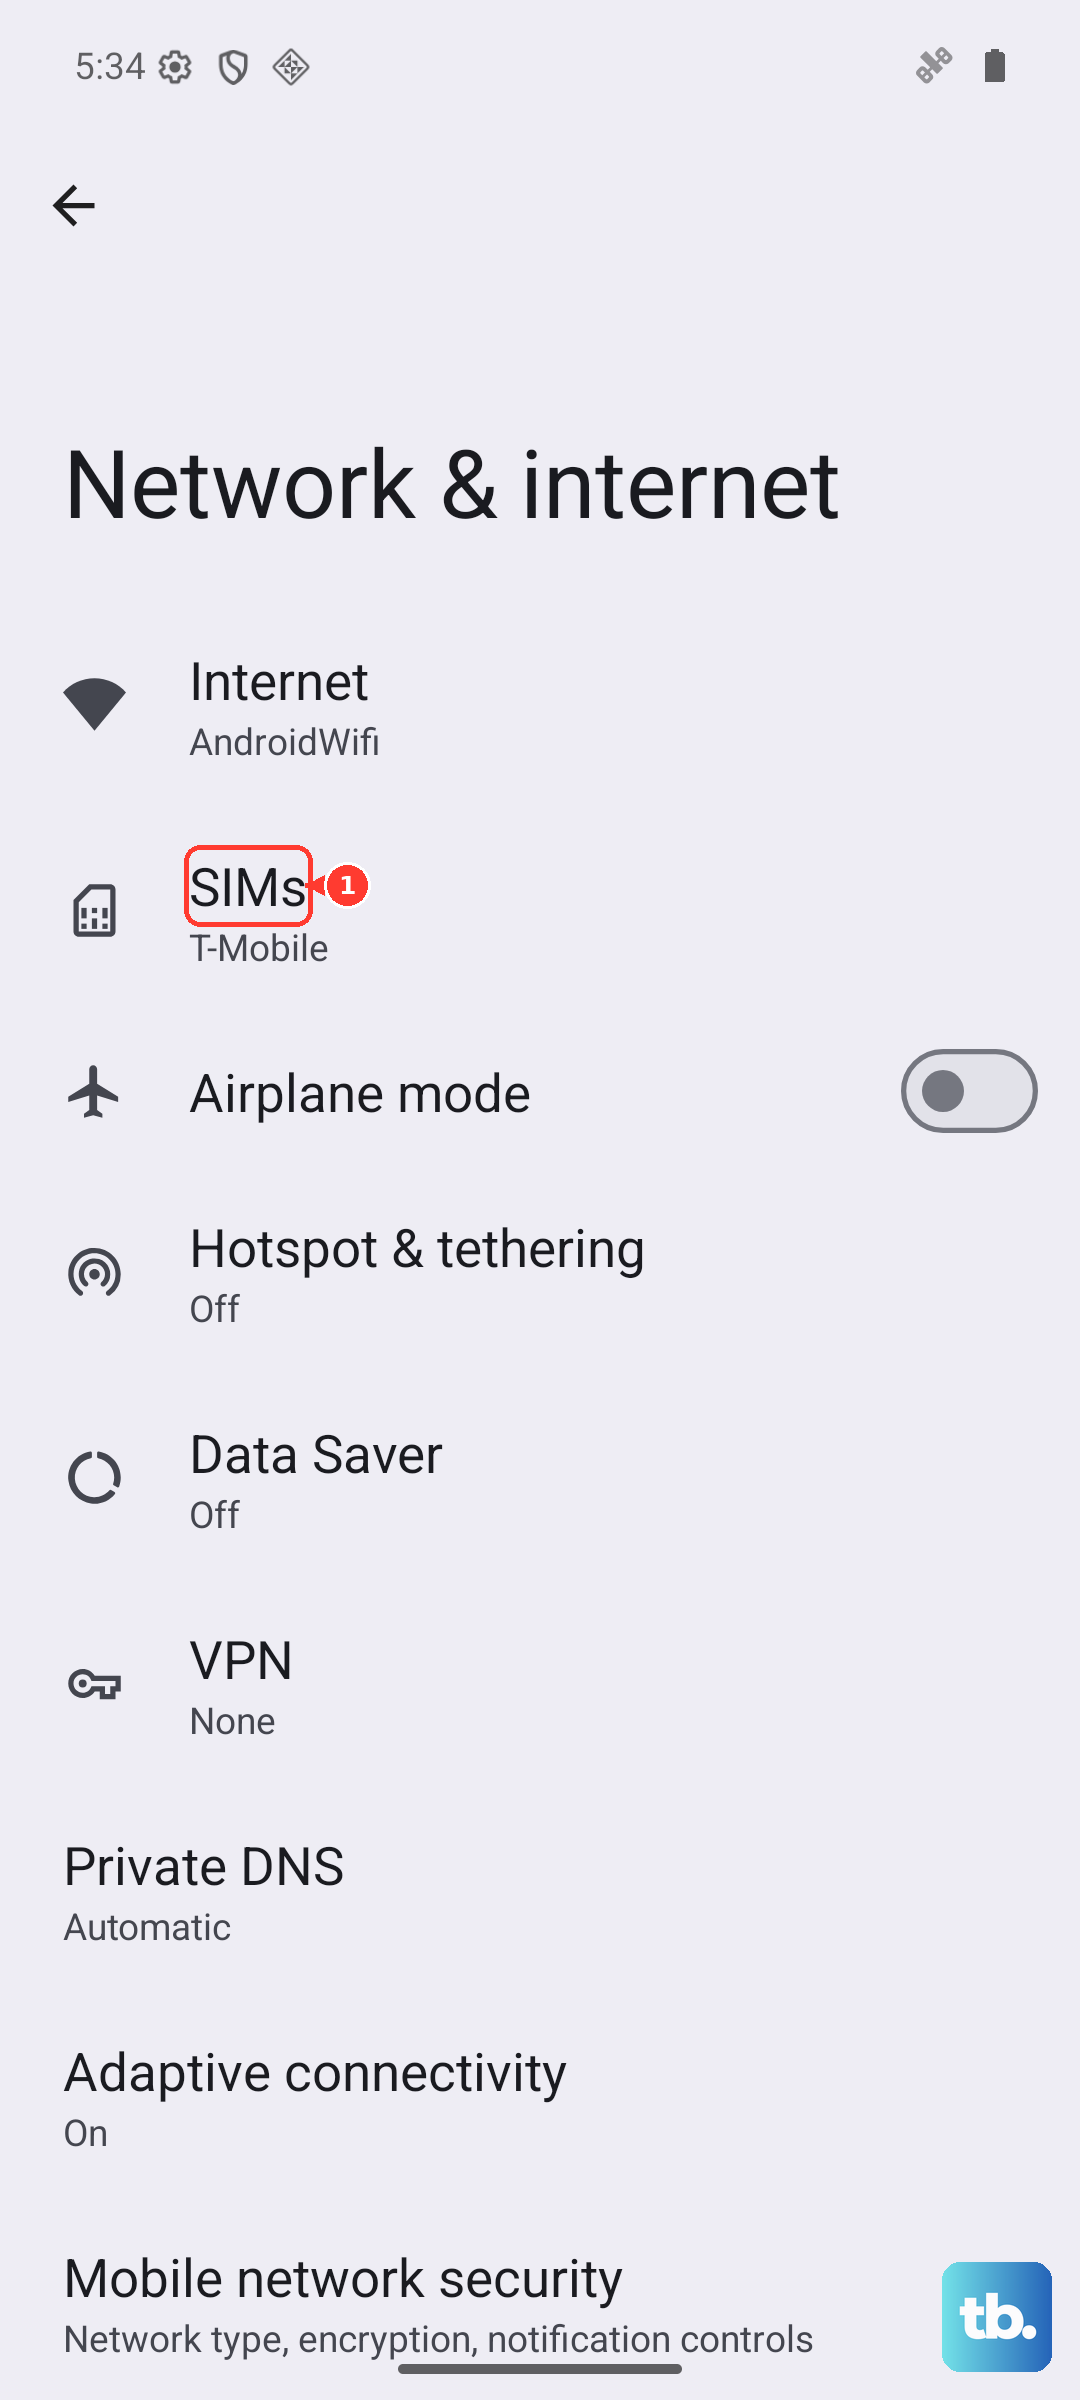
Connectivity features searching for a signal also generate heat. If you're in an area with a weak 5G or Wi-Fi signal, your phone's modem works harder, which warms up the device. Toggling on Airplane mode for a short period can provide immediate relief. Alternatively, you can manually switch to 4G LTE by going to Settings > Network & internet > SIMs > Preferred network type and selecting 4G.
Manage Background Activity and Updates
Background app refresh is useful, but having dozens of apps constantly checking for updates is a surefire way to generate background heat. Head to Settings > Apps and review which apps have unrestricted data access. For non-essential apps, you can restrict background data. Select the app, tap Mobile data & Wi-Fi, and toggle off Allow background data usage.
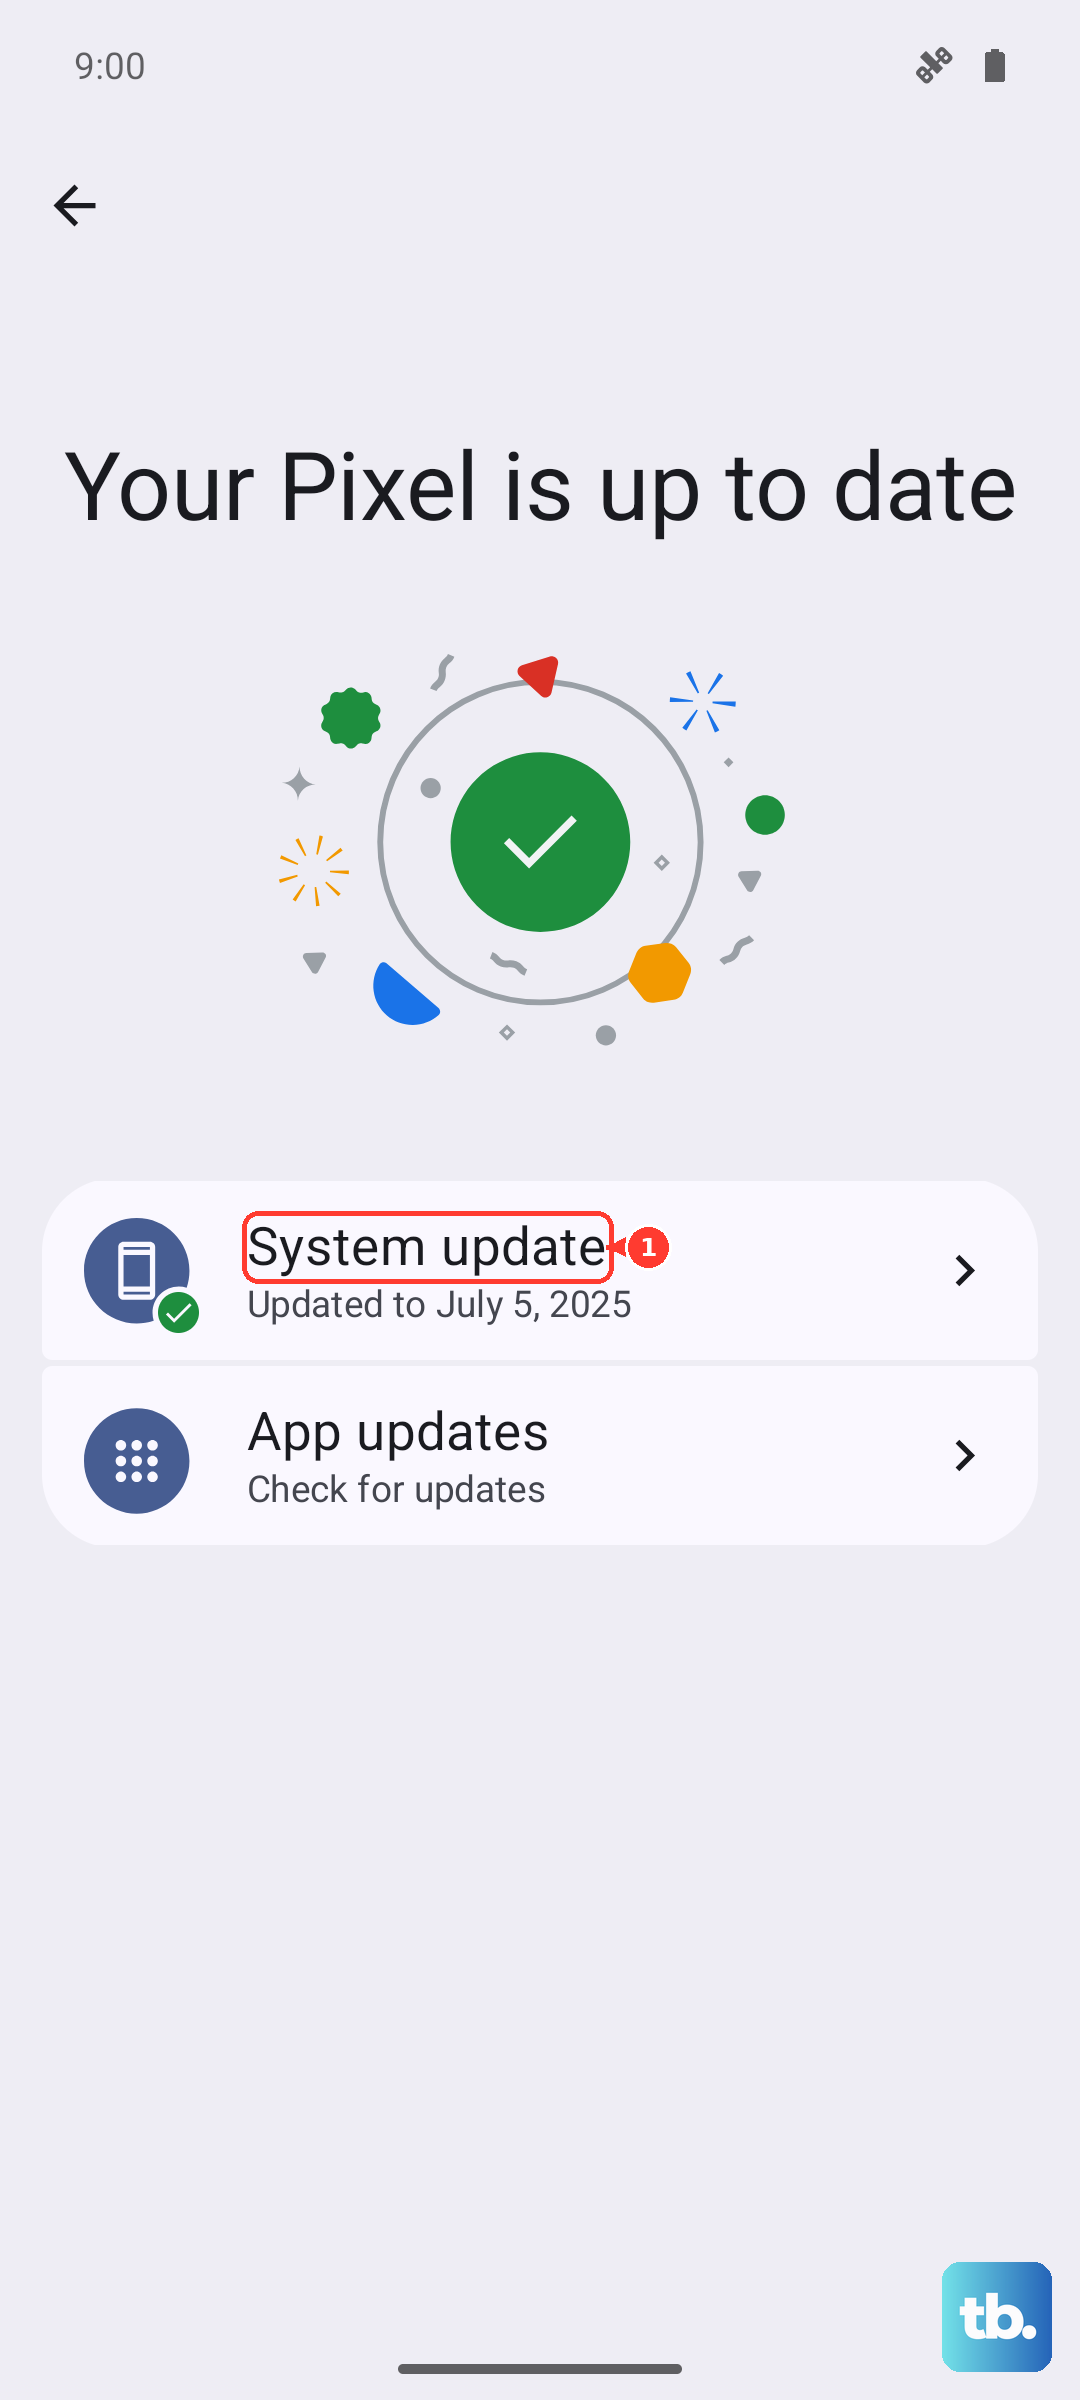
Check if a large system or app update is downloading and installing. This process is very CPU-intensive. Go to Settings > System > System update to see if an update is in progress. If your phone is hot, it's often best to pause the update, let the device cool down, and resume later when it's plugged in and idle.
Check Your Charging Setup
Fast charging generates heat by design. If your Pixel 10 Pro is overheating primarily while plugged in, the charger or cable might be the issue. For the full 30W wired charging, you should be using Google's official 30W USB-C charger or a certified PD 3.1 PPS charger. Generic chargers can cause inefficient power transfer, which creates excess heat.
Also, inspect the USB-C port on the bottom of your phone. Lint and debris can get packed in over time, preventing the cable from seating fully. This poor connection can lead to resistance and heat buildup. Power off the phone and gently clean the port with a dry plastic toothpick or a can of compressed air. Be very careful not to damage the delicate pins inside.
Enable Adaptive Charging and Battery Saver
Your Pixel has built-in features to manage heat for battery health. Adaptive Charging is one of the best. When enabled, it learns your routine and slows down charging to a trickle overnight, finishing just before you wake up. This avoids the heat spike of rapid charging while you sleep. You can turn it on in Settings > Battery > Adaptive preferences > Adaptive Charging.
For immediate cooling during the day, turn on Battery Saver. This limits background activity, reduces performance, and caps the refresh rate. You can toggle it from the Quick Settings panel or in Settings > Battery. It's a great temporary fix when you need to cool the phone down quickly and don't need peak performance.
Perform a Force Restart
If the phone feels hot and is becoming unresponsive or sluggish, a soft reset can clear out any temporary software glitches causing high CPU load. Press and hold the Power button and the Volume Up button together for about ten seconds. Release them when you see the Google logo appear on the screen. This doesn't erase any data, it just reboots the system.
Update Your Apps and System Software
Finally, make sure everything is up to date. Google and app developers regularly release updates that fix bugs and improve efficiency, which can directly impact thermal management. Open the Play Store, tap your profile icon, and go to Manage apps & device > Updates available to update all your apps. Then, check for the latest Android security patch and feature drop by going to Settings > System > System update.