You hit print on an important document, the page rolls out, and the black text is faded, streaky, or completely missing while the color sections look fine. It is one of the most frustrating Epson problems on Windows because the printer acts like everything is working, yet the black ink never lands on the page. The good news is that this is almost always fixable at home, and the cause usually comes down to a software hiccup on your PC or a clogged print head inside the printer.
Work through the fixes below in order. They are arranged from the safest, no-risk checks to the deeper maintenance routines, so you avoid wasting ink or changing settings you do not need to touch.
Start With the Built-In Windows Printer Troubleshooter
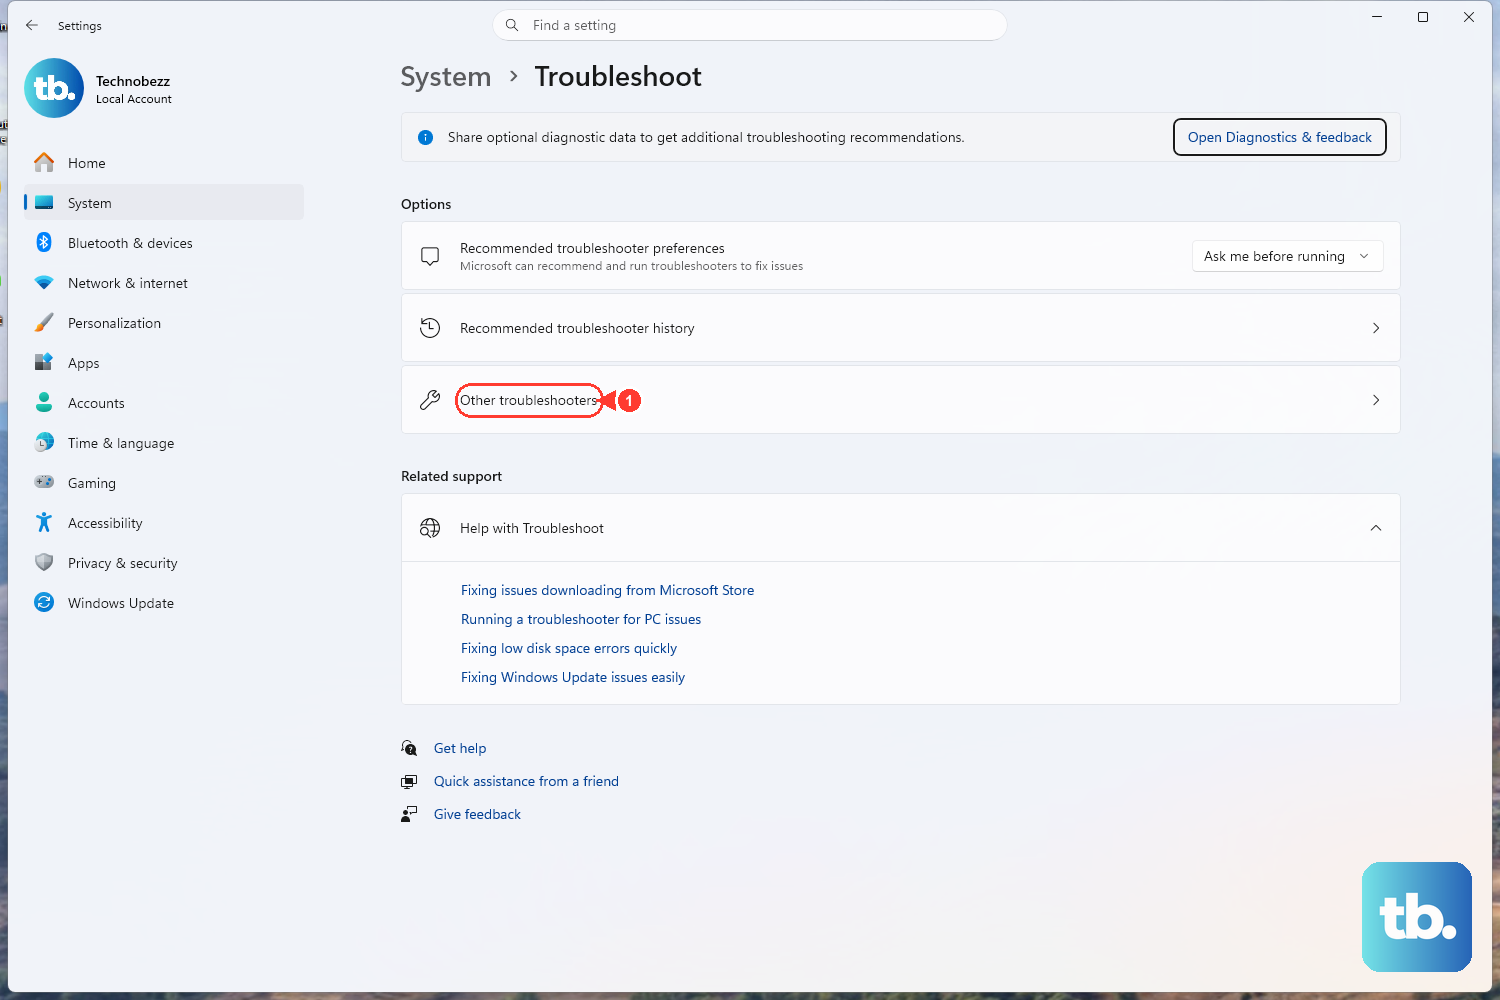
Before you open any printer panels or restart services, let Windows try to fix the problem for you. Microsoft directs both Windows 11 and Windows 10 users to begin with the automated printer troubleshooter, which runs diagnostics and attempts to repair most printer problems automatically. This is the safest first step because it changes nothing on its own and it can catch issues you would otherwise hunt for manually.
- 1.Open the Get Help app on your PC.
- 2.If a printer troubleshooter is available, select Start to run it.
- 3.Follow the on-screen prompts and let it run its diagnostics.
If the troubleshooter resolves the black-ink problem, you are done. If it does not, leave it and move to the next fix; the remaining steps target the most common causes directly.
Power-Cycle the Printer and Check the Connection
A surprising number of printing failures come from transient states that a full restart clears. Microsoft's official guidance is to turn off your printer and unplug it, wait 30 seconds, plug it back in, and then turn it on again. Pulling the power lets the printer reset internal states that can quietly block printing.
While the printer is powered down, look at the connection. If you are using a wired printer, make sure the USB cable is properly seated at both ends, from the printer to your PC. A loose or partially connected cable can produce exactly this kind of inconsistent output.
Confirm the Printer Is Online and Set as Default
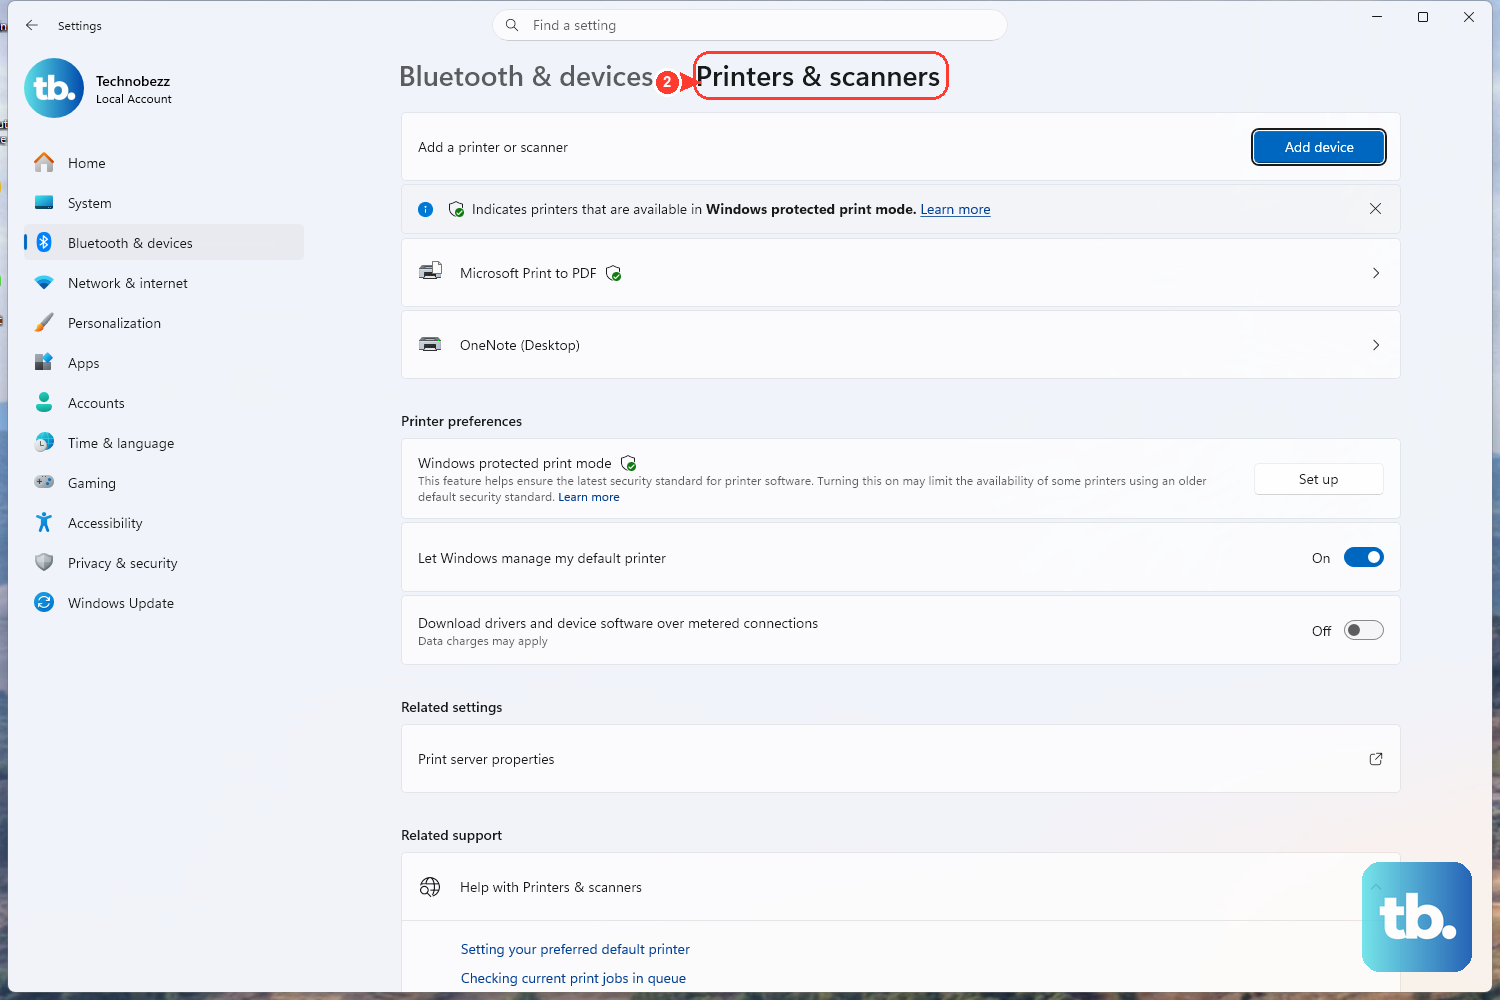
If Windows is sending your job to the wrong device, or the printer is flagged as offline or paused, nothing will print correctly. Check the printer's status in Settings, where the path depends on your version of Windows.
On Windows 11, go to Settings > Bluetooth & devices > Printers & scanners. On Windows 10, go to Settings > Devices > Printers & scanners. Select your Epson printer and open its print queue (Open print queue on Windows 11, Open queue on Windows 10) so you can see whether a job is paused or held.
On Windows 10, inside the print queue open the Printer menu, choose Set As Default Printer, and clear Pause Printing and Use Printer Offline if either is selected. On Windows 11, set the default from the Printers & scanners page itself: select your Epson, then choose Set as default.
If the Set as default option is missing, Windows is managing the default for you. On the same Printers & scanners page, turn off Let Windows manage my default printer, then select your Epson and set it as default so Windows does not switch the default device on you.
Clear the Stuck Print Queue
A single jammed job at the front of the queue can freeze every print that follows it, which sometimes shows up as missing or partial output. Clearing it gives the printer a clean slate.
Open your printer's queue again (Windows 11: Settings > Bluetooth & devices > Printers & scanners > your printer > Open print queue; Windows 10: Settings > Devices > Printers & scanners > your printer > Open queue) and cancel any stuck jobs. If a job refuses to clear no matter what you do, do not keep fighting it here; that situation is resolved by restarting the Print Spooler service in the next step.
Restart the Print Spooler Service
The Print Spooler is the Windows service that manages everything in your print queue. Restarting it clears the software layer that often gets wedged when jobs hang, and it is the reliable way to flush a job that will not cancel.
- 1.Press Windows key + R, type
services.msc, and press Enter. - 2.Scroll down and locate the Print Spooler service.
- 3.Right-click Print Spooler and select Restart.
For stubborn jobs that survive a simple restart, you can clear the spool folder manually. Right-click Print Spooler and select Stop first, because deleting these files while the service is running can corrupt active jobs. With the service stopped, open File Explorer, go to C:\Windows\System32\spool\PRINTERS, and delete all files inside that folder (delete the files, not the folder itself). Return to the Services console, right-click Print Spooler again, and select Start. With the spooler clear, send your print job again.
Run Epson's Nozzle Check, Then Clean the Print Head
If the software side is healthy and black ink is still missing, the culprit is almost certainly the printer itself. Clogged nozzles are the most common cause of missing black ink on Epson inkjets, especially after the printer has sat unused for a while and the ink has dried in the head.
On Windows, right-click the Epson product icon on the right side of the Windows taskbar to open the printer maintenance utility. If you do not see the icon, click the up arrow to show hidden icons and right-click it there. Before running anything, load plain paper and make sure there are no errors showing on the printer's screen.
- 1.Open the Epson printer maintenance utility from the taskbar icon as described above.
- 2.Run Nozzle Check and examine the printed test pattern.
- 3.If the pattern shows gaps or broken lines, run Cleaning (head cleaning).
- 4.Re-run the nozzle check after cleaning to confirm the lines now print fully.
A complete, unbroken pattern means the nozzles are clear and your black printing should be restored. If gaps remain, do not panic; the next step covers the deeper cleaning routine.
Repeat Cleaning, Run Power Cleaning, Then Rest the Printer
When a single cleaning does not fully restore the pattern, Epson's official guidance is to repeat the process before reaching for stronger measures. If you still see gaps after running the nozzle check and Cleaning three times, or after running Power Cleaning once, turn the product off and wait at least 12 hours, then check the pattern again. That rest period gives stubborn dried ink time to soften.
Use Power Cleaning carefully. It uses more ink than standard cleaning and is meant for when repeated standard cleanings do not help, not as a routine first move. Before you start it, make sure there is enough ink, since running low during the cycle can cause problems, and never turn the printer off while a cleaning cycle is running. Reserve Power Cleaning for clogs that ordinary cleaning cannot clear.
If print quality still does not improve after the cleaning cycles and the rest period, contact Epson support. At that point the ink may be old, or the cartridge may need replacing, and no amount of cleaning will compensate for spent or dried-out ink.
Update the Epson Printer Driver and Software
An outdated or corrupted driver can cause print-quality and not-printing problems even when the hardware is fine. Microsoft notes that most printers require the latest driver to work well, so installing the current Epson software resolves many of these issues in one move.
Get the current driver and software from the official Epson support site. Go to epson.com/support, search for your printer model, and download everything from the Downloads tab. Match the download to your version of Windows. Reinstalling the latest driver and software clears out a common, easy-to-miss cause of black ink not printing.
Frequently Asked Questions
Why is only the black ink missing when colors print fine?
On Epson inkjets, the most common reason is a clogged black nozzle in the print head. Each color channel has its own nozzles, so the black channel can clog while the color channels stay clear. Running a nozzle check and then head cleaning from the Epson printer maintenance utility usually restores it.
How many times can I clean the print head before something is wrong?
Epson's guidance is to run the nozzle check and Cleaning up to three times, or Power Cleaning once, and if gaps still remain, turn the printer off and wait at least 12 hours before checking again. If quality still does not improve after that, the ink may be old or the cartridge may need replacing, and you should contact Epson support.
What is the difference between Cleaning and Power Cleaning?
Cleaning (head cleaning) is the standard routine you run first when the nozzle check shows gaps. Power Cleaning is a stronger process that uses more ink and is meant for when repeated standard cleanings do not help. Because it consumes more ink, use Power Cleaning only after ordinary cleaning has failed.
What if a print job will not cancel from the queue?
If a stuck job refuses to clear from the print queue, restart the Print Spooler service. Press Windows key + R, type services.msc, right-click Print Spooler, and select Restart. For especially stubborn jobs, stop the service, delete all files in C:\Windows\System32\spool\PRINTERS, then start the service again.
Do I really need to update my printer driver?
It is worth doing if the earlier fixes do not work, because most printers require the latest driver to function properly and an outdated one can cause print-quality issues. Download the current driver and software from epson.com/support by searching your model and using the Downloads tab.


