


Samsung has rolled out the biggest update in the Android history for the Samsung Galaxy S2. The update is bigger than any upgrade on Samsung Galaxy S3, but the important thing is that the device was not built in the way to run Jelly Bean or Cream Sandwich; instead, it was released into the market with android 2.3 Gingerbread. Samsung also added some features from the Galaxy Note and Galaxy S3 to the firmware. However, the problem is that many users are facing problems while upgrading the software. They are facing OTA update failed problem on their Galaxy S2.
However, there is nothing to worry as the problem can be solved easily. Here are two ways to solve the OTA update failed problem on your Galaxy S2 and by following the ways you can install the updates on your device.
Solution of OTA update failed problem on Samsung Galaxy S2 by Samsung KIES
While updating the install, if you face over-the-air or OTA update failed problem, then you can use Samsung KIES to pull down the updates from the Samsung Company’s servers and next install the update.
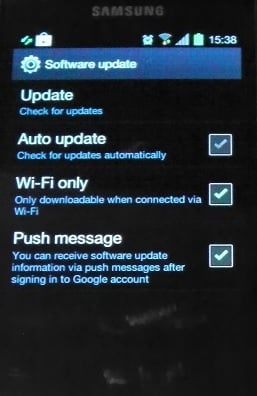
OTA update failed problem
- Download Samsung KIES and install it in your computer.
- Then connect your phone to the computer and KIES will detect it.
- Now click your phone on KIES and select the Firmware Upgrade Button and follow the on-screen instructions.
If for some reasons, you are not able to update your phone via Samsung KIES and over-the-air (OTA), then to solve the OTA update failed problem you have to flash the official firmware manually. The below step by step process guide will help you to install the official Jelly Bean update manually.
- First download the I9100GXXLSR Jelly Bean firmware on your computer and extract it into a directory so that you can find it easily. The size of the download package is 500 MB, so it may take some times to download, but it completely depends on your connection.
- Then download ODIN application and extract the contents so that you will be able to run executable files.
- Run the Odin application as Administrator.
- Now power off your Galaxy S2. Boot your phone into a download mode. To do that hold the Home and Volume Down keys and tap on the power button until a warning screen comes. Now to enter download mode, press the Volume up button.
- Connect your device with computer through USB port. Before starting the process, download and install all the required drivers for your phone so that the computer can detect the phone easily.. If the connection is good, then Odin will display a message “Added”.
- Clicking on the PIT button, browse the directory for the extracted contents of the firmware and look for the .pit file. After getting the file, load it. If you do not find the file, then close the window.
- In the Option section on Odin UI, see the options Auto Reboot and F, and Reset Time. If there also you find .pit file, you have to check Re-Partition option.
- Next click on the PDA button and get the .tar.md5 file.
- Then click on PHONE button and load modem file.
- Click on CSC button next to load a file with ‘csc’ in the file name.
- Then press on the Start button to start flashing of the official Jelly Bean firmware for your Galaxy S2 and get rid of OTA update failed problem.
- Now disconnect from the computer after your phone reboot automatically.
