
When your OnePlus 13 won't send photos, it's usually a quick fix. The most common culprit is a simple network hiccup or a setting that needs a quick toggle. I'd start by checking your mobile data or WiFi connection first, as that solves the issue more often than not.
Check Your Mobile Data and Network
First, make sure your mobile data is actually turned on. Swipe down from the top of your screen to open the Quick Settings panel and tap the mobile data icon to ensure it's active. If you're relying on WiFi, do the same for the WiFi icon and verify you're connected to a stable network.
Sometimes, the network itself can be slow or congested. Try switching your preferred network type. Go to Settings > Mobile network > Preferred network type. Switching from "5G" to "4G" can sometimes provide a more stable connection for sending larger files like photos.
Verify Your Messaging App Settings
If you're using the default Messages app by Google, you need to ensure MMS is enabled. Open the Messages app, tap your profile picture in the top right, then go to Messages settings > Advanced. Make sure "Auto-download MMS" is turned on. Also, check that "Send as SMS" is enabled, which allows the app to fall back to a standard text if the multimedia message fails.
For other apps like WhatsApp or Telegram, the issue is often app-specific. Try force closing the app. Swipe up from the bottom, hold, then swipe the app window up to close it. Reopen the app and try sending the photo again.
Restart Your OnePlus 13
A simple restart clears out temporary glitches that can stall message sending. Press and hold the power button, then tap "Restart" on the screen. If your phone is unresponsive, you can perform a force restart by pressing and holding the Volume Down button and the Power button together for about 10 seconds until the device vibrates and reboots.
Check for Software Updates
Early builds of OxygenOS can have bugs that affect connectivity. Keeping your phone updated is crucial. Go to Settings > About device > OxygenOS version and tap on "Check for update." If an update is available, install it. Make sure your phone is connected to WiFi and has at least a 50% charge before starting.
Review Your Data Saver and Battery Settings
Data Saver mode can restrict background data, which includes sending MMS messages. Go to Settings > Mobile network > Data Saver and make sure it's turned off. Similarly, aggressive battery optimization can sometimes interfere. You can check this in Settings > Battery > Battery optimization.
Reset Your Network Settings
This step clears all your network configurations, which can resolve persistent sending issues. Go to Settings > Additional settings > Back up and reset > Reset phone. Here, tap on "Reset Wi-Fi, mobile & Bluetooth." You'll need to re-enter all your WiFi passwords afterward, but it often fixes stubborn network-related problems.
Try a Different Messaging App
If the problem persists only in one app, the app itself might be the issue. Try sending the same photo using a different application, like Google Messages if you were using something else, or a third-party app like Signal. This helps you pinpoint whether the problem is with the app or with the phone's system.
Check Your APN Settings
Incorrect Access Point Name (APN) settings from your carrier can break MMS. Go to Settings > Mobile network > select your SIM > Access Point Names. Tap the menu (three dots) and select "Reset to default." If that doesn't work, you may need to get the correct APN details from your carrier's website and enter them manually.
Clear the Cache for Your Messaging App
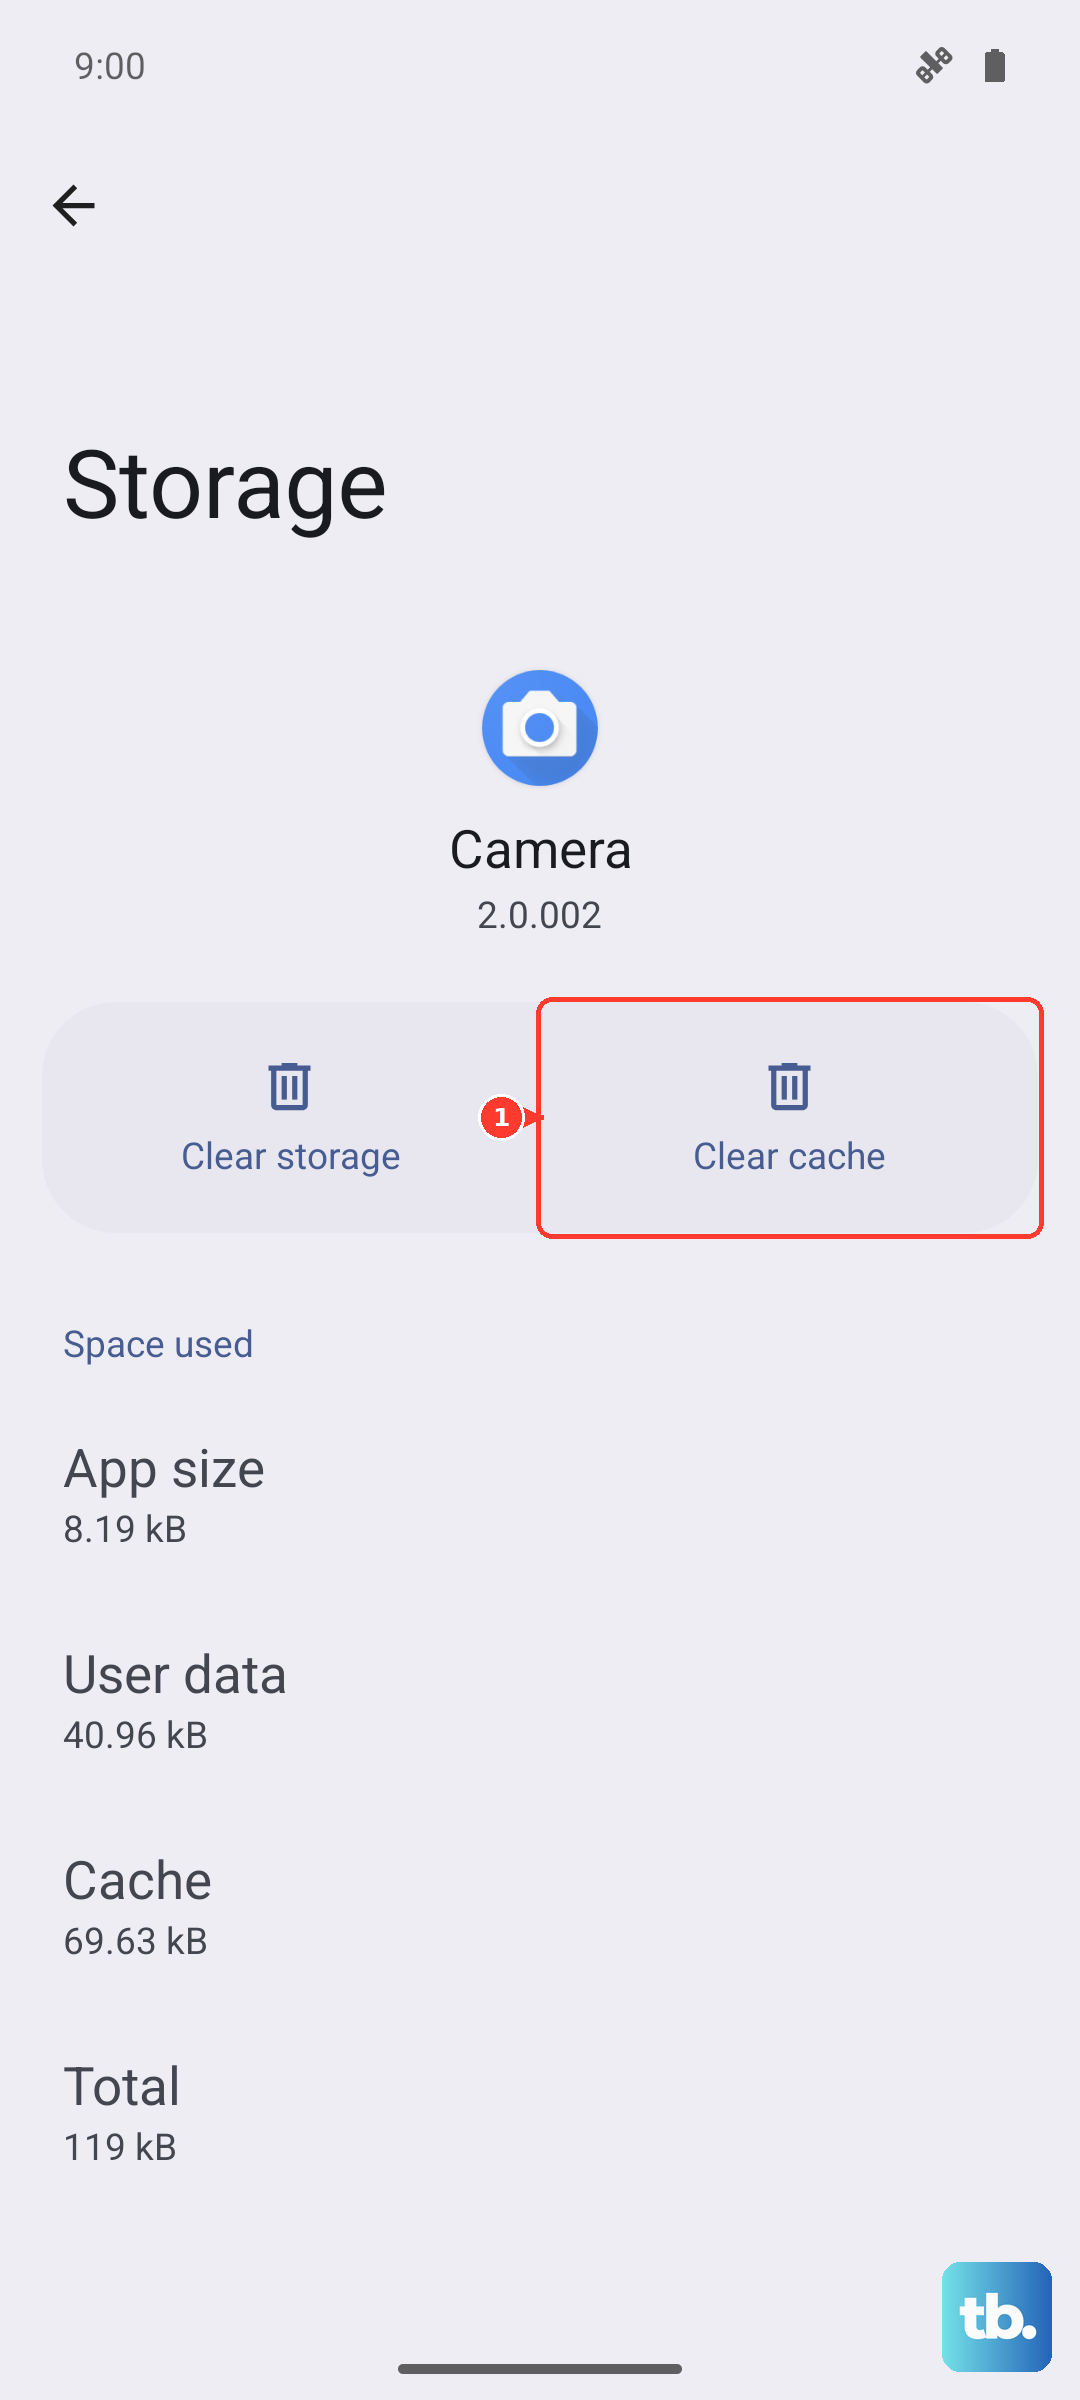
Corrupted cache data can cause sending failures. Go to Settings > Apps > Manage apps. Find your messaging app in the list (e.g., "Messages") and tap on it. Select Storage usage and then tap "Clear cache." This won't delete your messages, just temporary data.
Ensure Date and Time Are Correct
An incorrect system time can sometimes confuse network services. Go to Settings > Additional settings > Date & time. Make sure "Use network-provided time" is enabled. If it's already on, try turning it off and back on to refresh the setting.