When your iPhone 14's email stops syncing or sending, it can throw a real wrench in your day. The problem often comes down to a few specific settings or a minor software hiccup. I'd start by checking the most common fix first, which is usually related to how your phone fetches new messages.
Before anything else, take a quick look at the basics. Make sure you have a solid internet connection, either through Wi-Fi or your cellular data. It's also worth checking your email provider's status page online to see if there's a widespread service outage affecting everyone.
Adjust Your Mail Fetch and Push Settings
Your iPhone 14 can be set to check for new emails in a few different ways. If "Push" is available for your account, new messages should arrive instantly. If not, your phone will "Fetch" them on a schedule you set.
To check this, go to Settings > Mail > Accounts > Fetch New Data. Make sure "Push" is turned on if you see the option. For accounts that don't support Push, like some IMAP accounts, set the Fetch schedule to "Every 15 Minutes" for the most frequent checks.
Keep in mind, when set to Fetch, your iPhone 14 will only look for new data in the background when it's connected to power and Wi-Fi. This is a battery-saving feature, but it can sometimes delay emails if your phone isn't plugged in.
Restart the Mail App and Check Background Refresh
A quick app restart can clear out temporary glitches. Swipe up from the bottom of your screen and pause to enter the app switcher. Find the Mail app preview and swipe it up and off the top of the screen to close it completely. Wait a moment, then tap the Mail icon to reopen it.
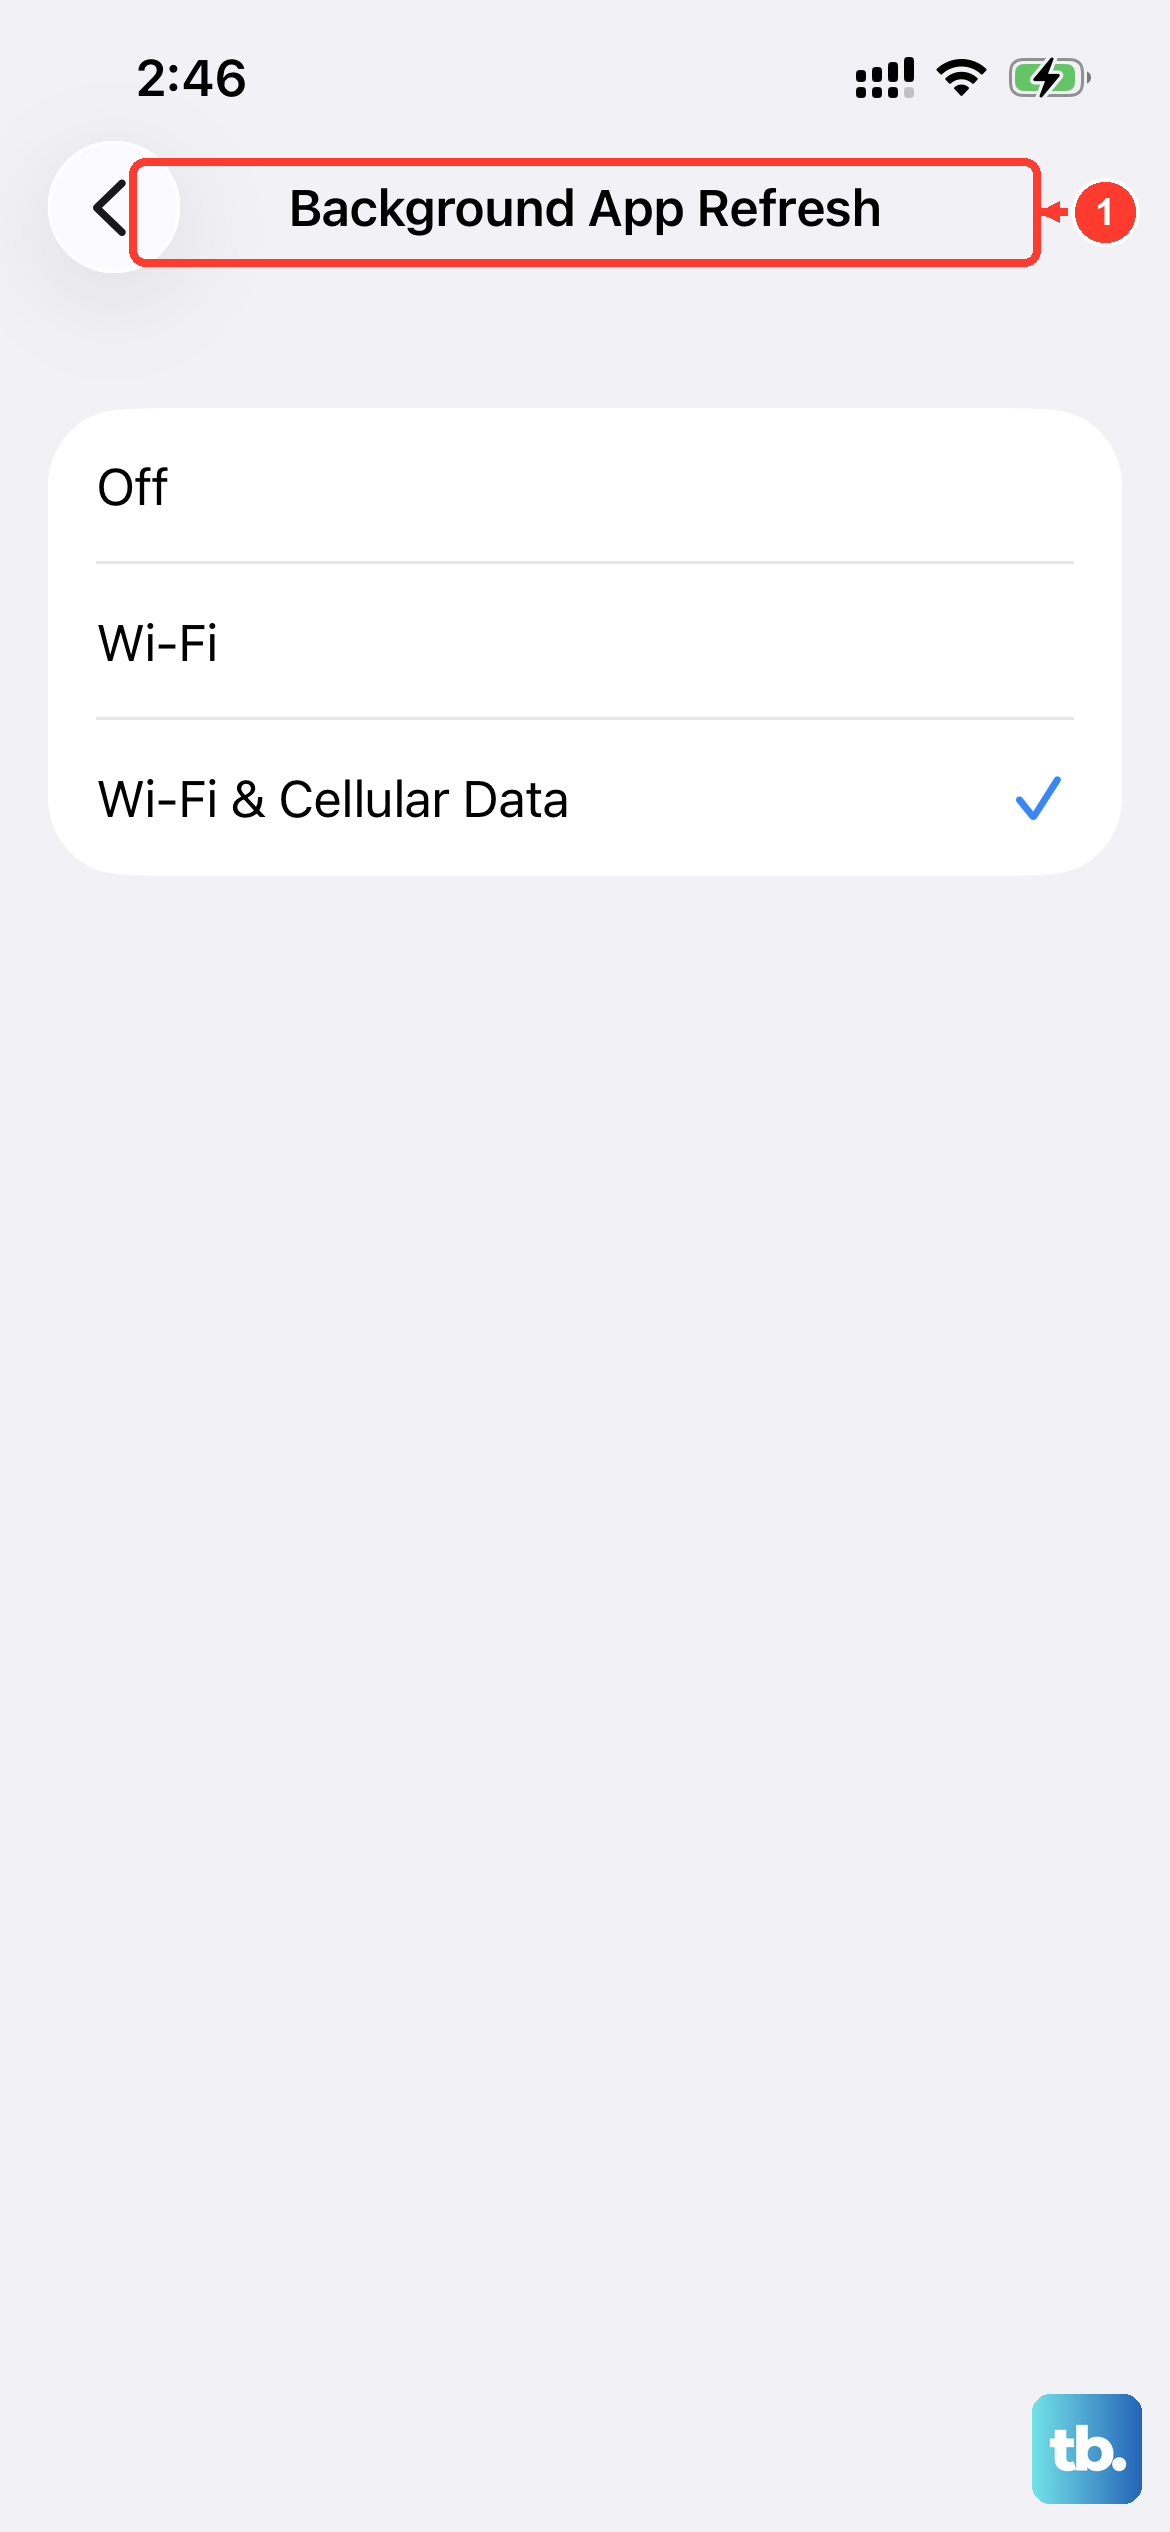
While you're in the settings, it's good to verify Background App Refresh is enabled for Mail. This allows the app to check for new content even when you're not actively using it. Head to Settings > General > Background App Refresh and make sure the toggle is on for Mail.
Toggle Your Network Connections
Sometimes the issue is with your network, not the email app itself. A simple trick is to turn on Airplane Mode for about 30 seconds to reset all wireless radios. Swipe down from the top-right corner to open Control Center and tap the airplane icon. After half a minute, tap it again to turn Airplane Mode off.
You can also try forcing your phone to switch networks. If you're on Wi-Fi, turn it off temporarily in Control Center to force the phone to use cellular data for email. If you're relying on cellular, try connecting to a known good Wi-Fi network instead to see if the problem is with your mobile data connection.
Verify Your Account and Cellular Settings
It sounds obvious, but it's worth double-checking your login credentials. Try logging into your email account through a web browser on a computer. If you can't sign in there, you'll need to reset your password with your email provider before updating it on your iPhone.
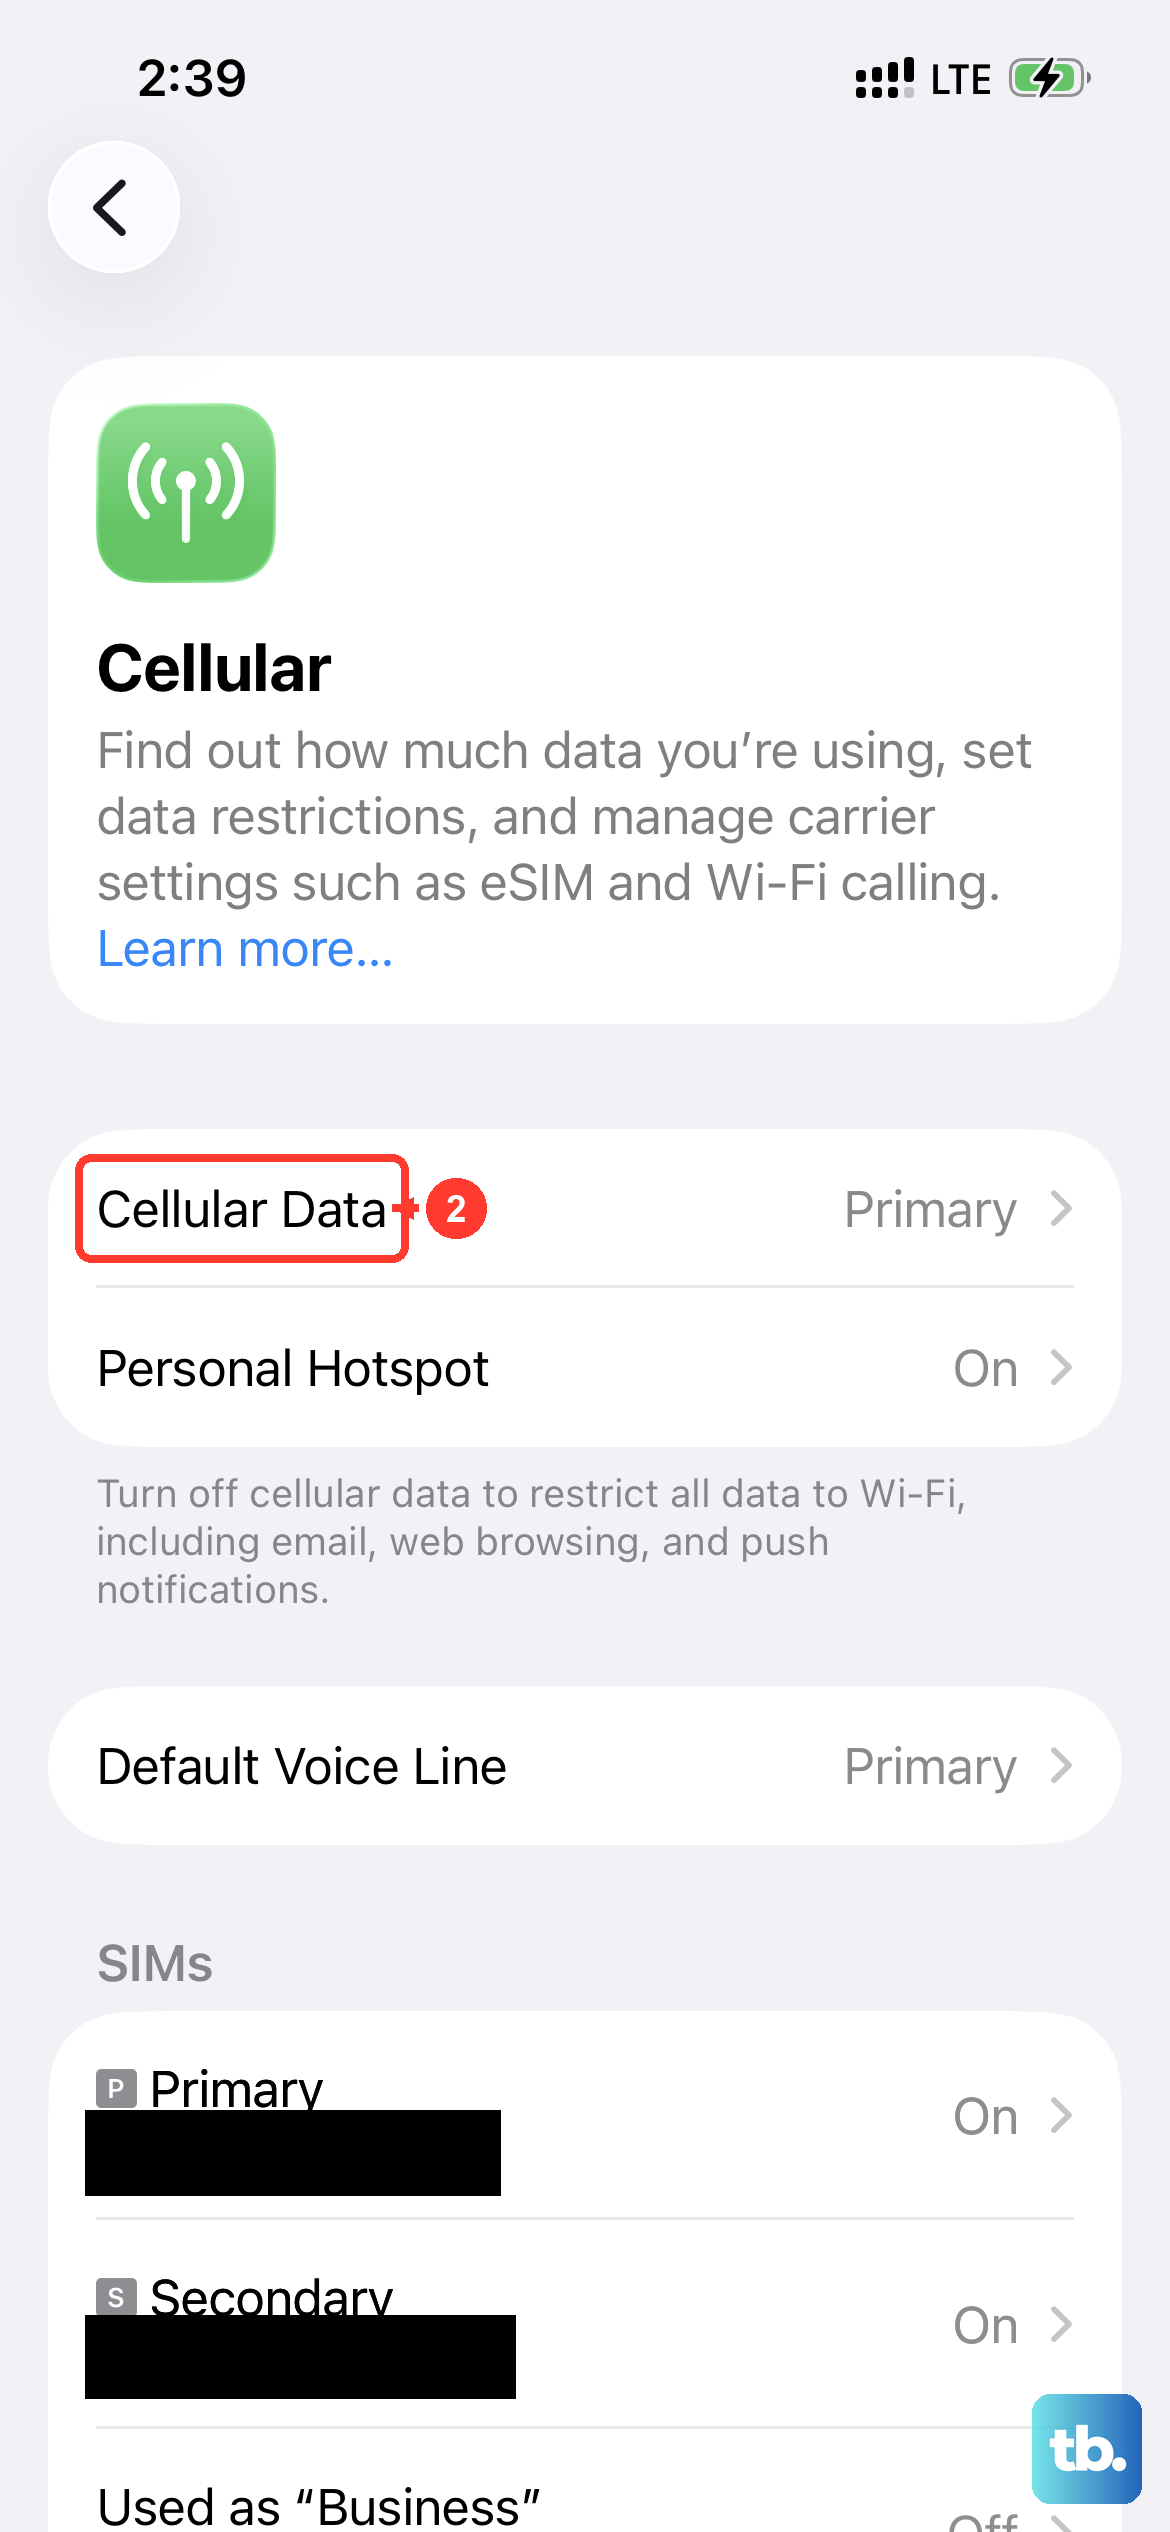
Also, if you're trying to send or receive mail using your cellular plan, you need to make sure cellular data is enabled for the Mail app specifically. Go to Settings > Cellular and scroll down the list of apps. Find "Mail" and ensure the switch next to it is green and turned on.
Update iOS and Check for App Updates
Software bugs can sometimes cause email problems. Apple frequently releases updates that include fixes for the Mail app and system connectivity. Go to Settings > General > Software Update to see if a newer version of iOS is available for your iPhone 14.
If you're using a third-party app like Gmail or Outlook from the App Store, make sure that app is also up to date. Open the App Store, tap your profile icon in the top right, and scroll down to see any pending updates.
Remove and Re-add Your Email Account
When other steps don't work, removing the email account entirely and setting it up again can clear out corrupted settings. This process doesn't delete your emails from the server if you're using IMAP or Exchange, but it will remove them from your phone temporarily.
To do this, go to Settings > Mail > Accounts. Tap on the problematic account, then tap "Delete Account" at the bottom. Confirm the deletion. Then, go back to "Accounts," tap "Add Account," and follow the prompts to set it up again from scratch. Your emails will resync from the server.
Perform a Force Restart
A standard restart is good, but a force restart can clear more persistent software issues. On the iPhone 14, you do this by quickly pressing and releasing the Volume Up button, then quickly pressing and releasing the Volume Down button. Finally, press and hold the Side button until you see the Apple logo appear, then release it.
This is different from just turning the phone off and on, and it can resolve deeper system glitches that might be affecting network services and the Mail app.
Reset All Network Settings
If connectivity seems to be the core issue, like emails only work on Wi-Fi but not cellular, or vice versa, resetting your network settings can help. This will erase all saved Wi-Fi passwords, Bluetooth pairings, and VPN configurations, so you'll need to re-enter them.
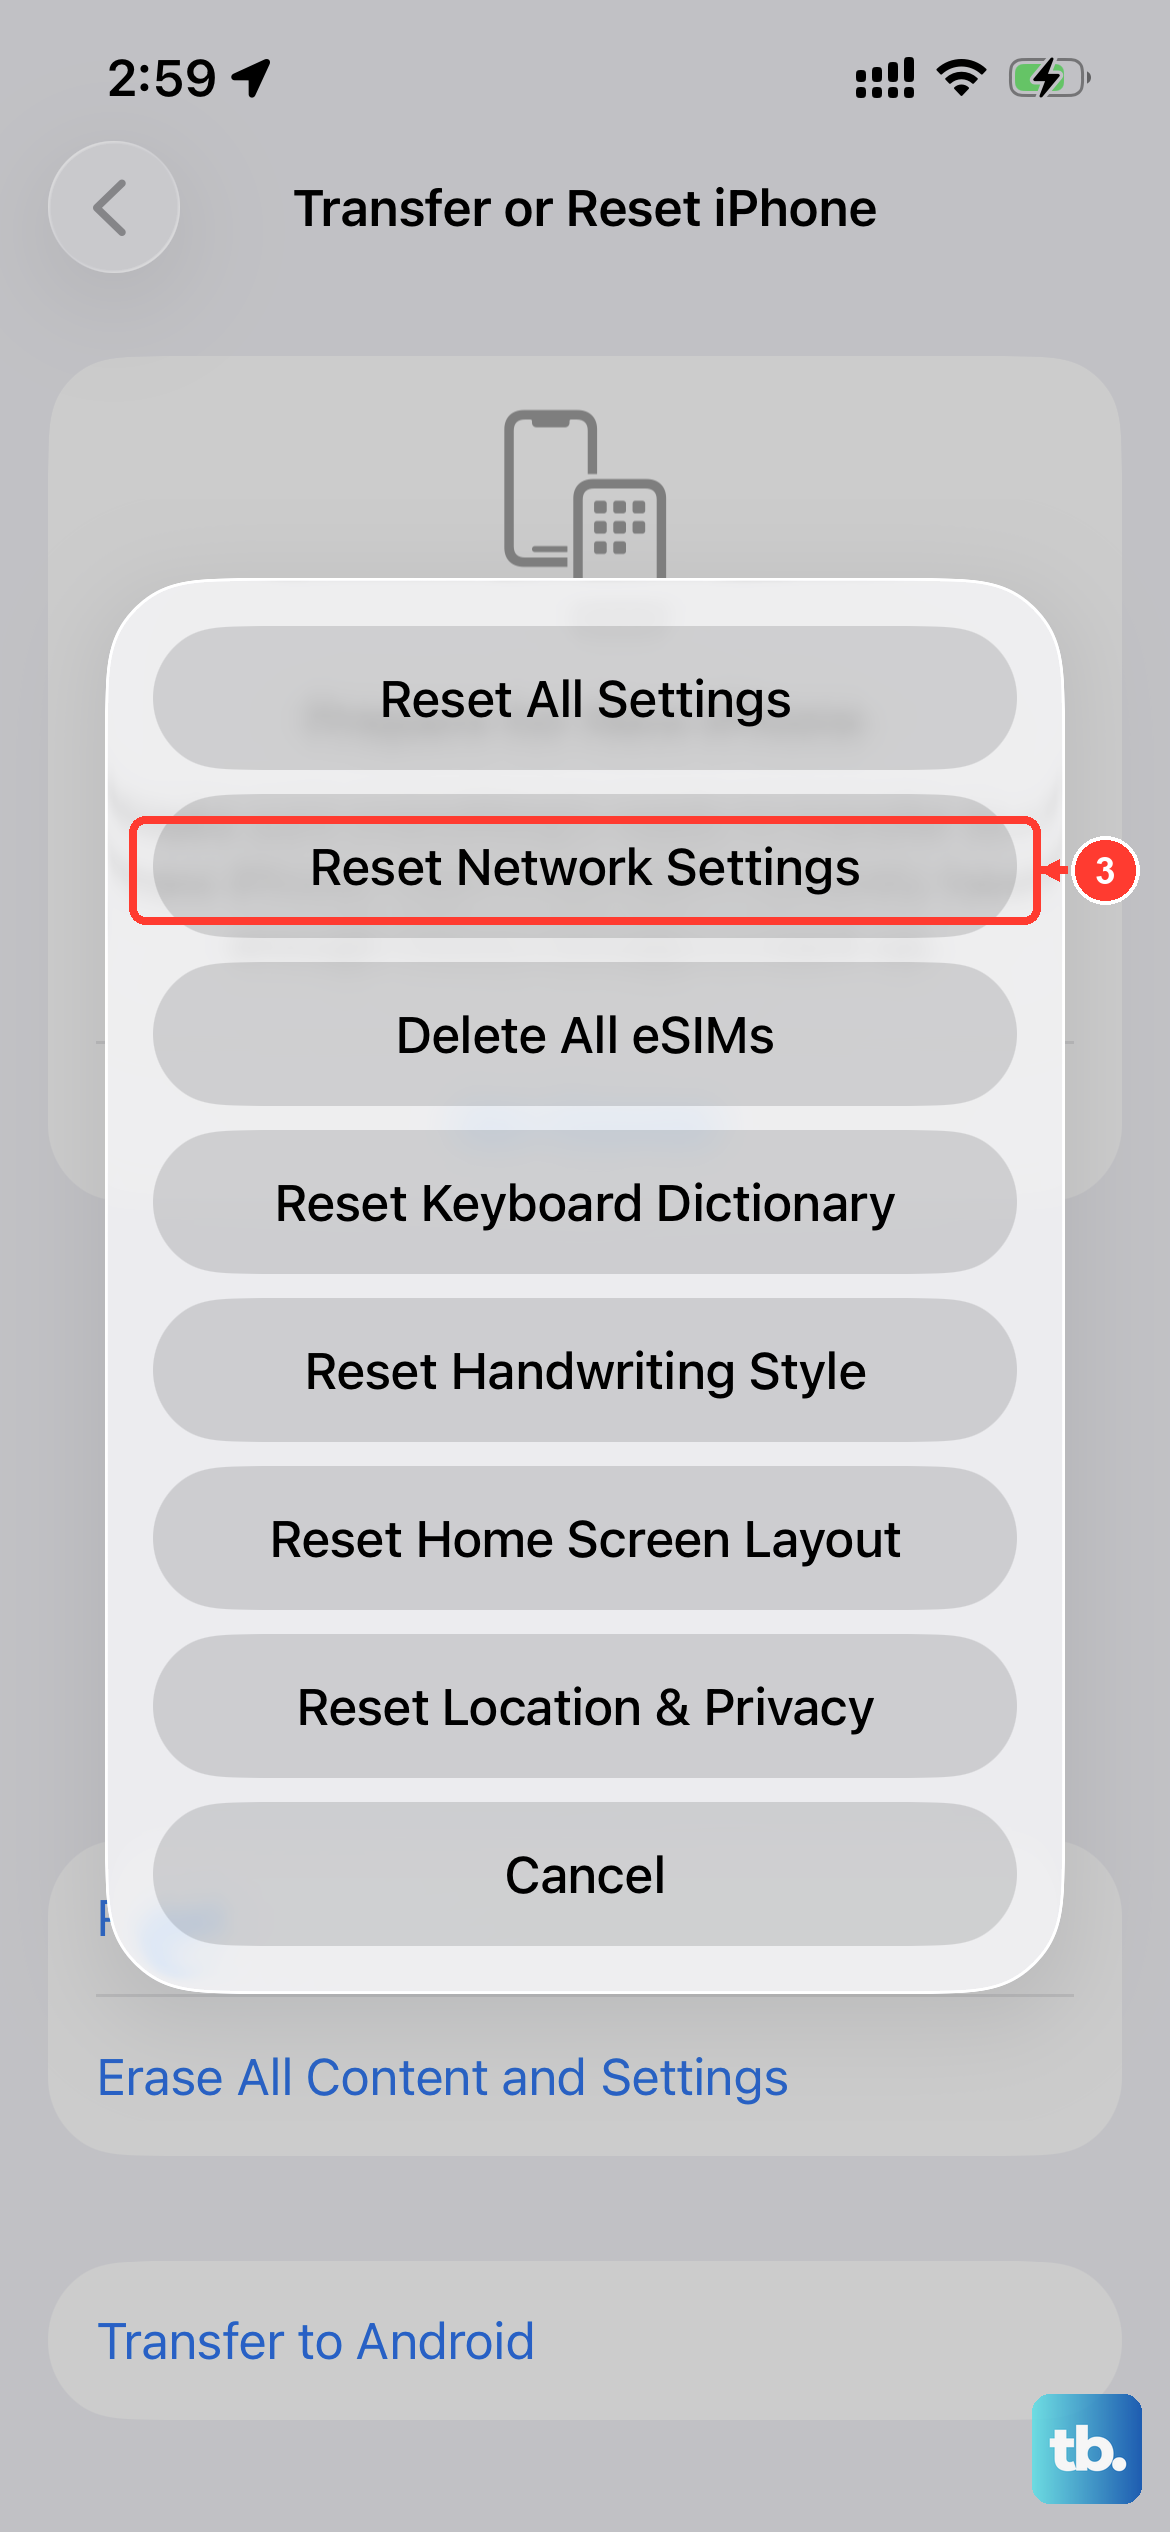
Go to Settings > General > Transfer or Reset iPhone > Reset. Then, choose "Reset Network Settings." Enter your passcode if prompted and confirm. Your iPhone 14 will restart, and you can then try reconnecting to your networks and testing email again.
Check Date, Time, and Notifications
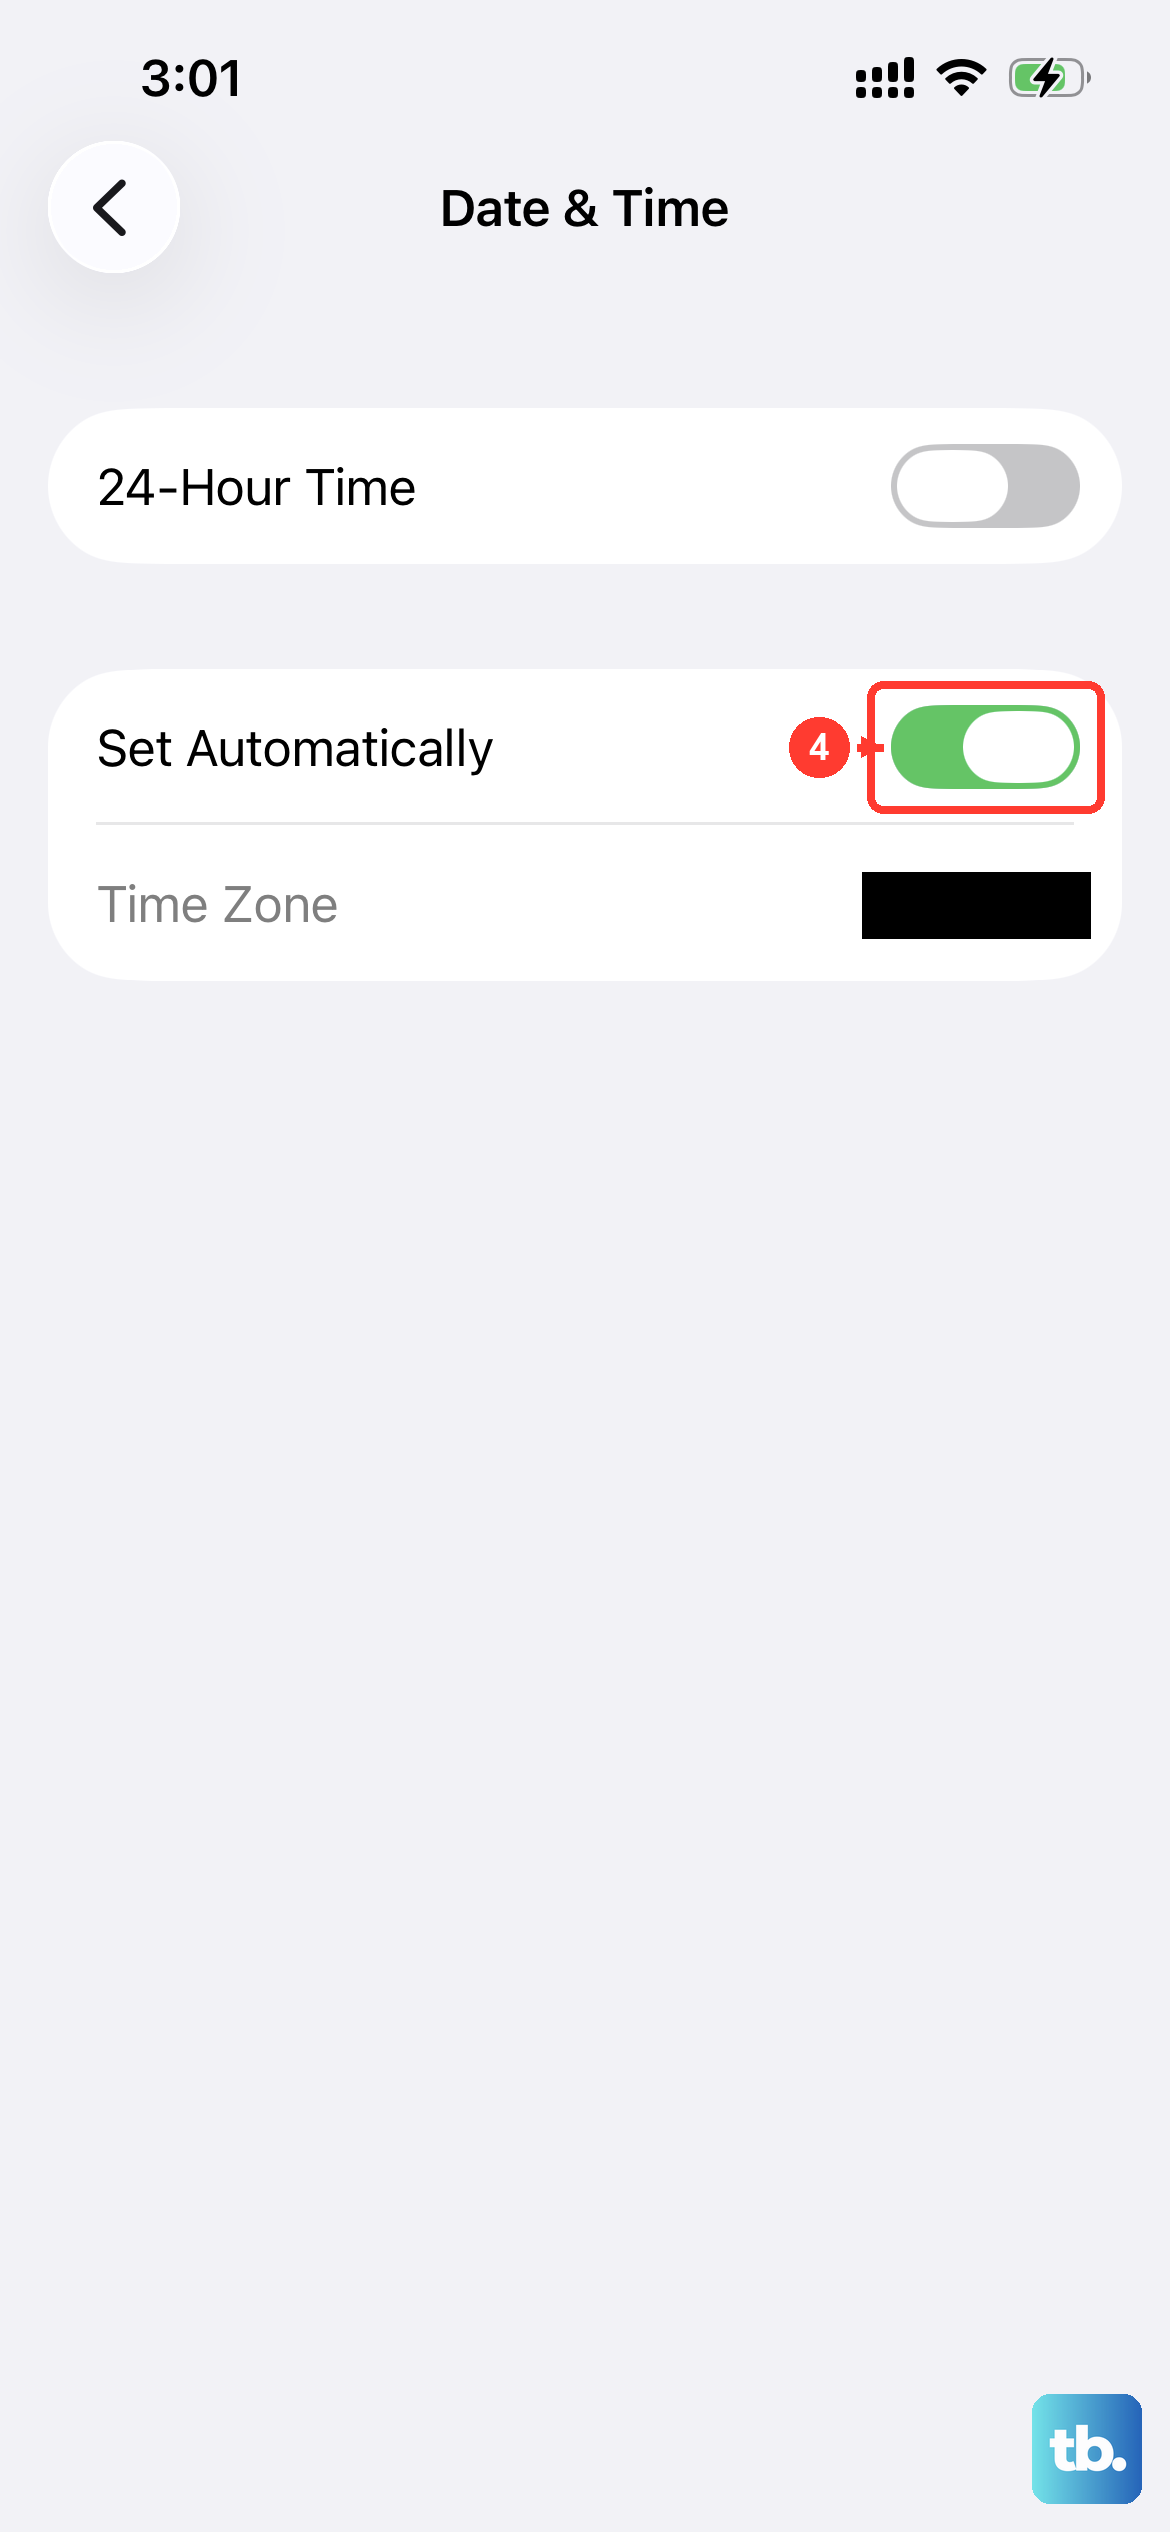
Incorrect date and time settings can surprisingly break secure email connections. Go to Settings > General > Date & Time and make sure "Set Automatically" is turned on. This ensures your phone's clock is always in sync.
If emails are arriving but you're not getting alerts, your notification settings might be off. Go to Settings > Notifications > Mail. Select your specific account and make sure "Allow Notifications" is enabled. You can also customize the alert style and sounds here.


