Your USB memory stick may disappear completely, show up without opening, ask to be formatted, or work on one device and fail on another. Start with the checks that do not change data, then move into the storage tools for your device. By the end, you will know whether the problem is the port, the driver, the file system, the format, power, encryption, or a work or school restriction.
1. Rule out the port cable and power first
Do this before changing settings. A loose adapter, weak hub, bad port, or underpowered drive can make a healthy USB stick look broken.
Unplug the USB memory stick, wait briefly, then plug it back in.
Move it to another USB port on the same computer.
If you are using a USB-C hub or dock, bypass it and connect the stick directly.
Use the cable or adapter that came with the device.
Disconnect unused USB devices, then try the stick again.
If the storage device needs more power, connect its power supply or use a powered hub.
Test the same stick on another PC or Mac.
If the stick fails on every device, stop writing new data to it and treat the drive itself as the problem. If it works elsewhere, keep troubleshooting the original computer, port, adapter, driver, or policy setting.
2. Make Windows show the USB error
On Windows 11, turn on USB connection notifications so Windows can surface connection problems. Select Search, type usb, open USB settings, then turn connection notifications on.
On Windows 10, go to Start > Settings > Devices > USB, then enable Notify me if there are issues connecting to USB devices.
Next, install system updates.
On Windows 11, open Start > Settings > Windows Update > Check for Windows updates.
On Windows 10, open Start > Settings > Update & Security > Windows Update > Check for Windows updates; note that Microsoft ended Windows 10 support on October 14, 2025.
If updates appear, select Download & install, then restart when prompted.
Driver updates can be separate.
On Windows 11, go to Start > Settings > Windows Update > Advanced options > Optional updates > Driver updates.
On Windows 10, go to Start > Settings > Update & Security > Windows Update > Advanced options, then select View optional updates > Driver updates.
Select relevant USB, chipset, storage, or device driver updates, install them, and restart if Windows asks.
3. Repair the Windows driver path
- 1.Right-click Start and open Device Manager.
- 2.Expand Universal Serial Bus controllers, Disk drives, or Portable Devices.
- 3.Right-click the USB device and choose Update driver.
- 4.Select Search automatically for updated driver software.
- 5.If Windows shows Search for updated drivers on Windows update, choose it and follow the update path.
If the stick stopped working after a recent driver update, right-click the device, open Properties > Driver > Roll Back Driver, choose a reason, select Yes, and restart if prompted.
When Device Manager shows a driver or device error, reinstall the device.
Save your work, right-click the USB or storage device, choose Uninstall device > Uninstall, then restart by right-clicking Start and selecting Shut down or sign out > Restart. Windows attempts to reinstall the driver after the restart.
Skip older fixes that tell you to run msdt.exe -id DeviceDiagnostic or the legacy Hardware and Devices troubleshooter.
Microsoft is retiring legacy inbox troubleshooters and MSDT, so use the current Windows Update, Device Manager, and Disk Management routes instead.
4. Bring the Windows volume back into view
If Windows detects the stick but File Explorer does not show a usable drive, open Disk Management. Right-click Start, then select Disk Management.
When the USB disk is listed as offline, right-click the disk and choose Online.
If Windows asks to initialize it, remember that initializing erases access to any files already on the stick, so only initialize a new or empty drive.
When the stick is new, or you have already recovered its files, right-click the disk, choose Initialize Disk, confirm you selected the correct USB disk, then choose OK. Microsoft notes that some USB disks cannot be initialized and are only formatted and assigned a drive letter.
For a formatted USB volume that appears in Disk Management but not File Explorer, assign a letter.
Search from the Windows Start menu for Disk Management, open it with administrator permissions, right-click the USB volume, choose Change Drive Letter and Paths, select Add or Change, choose Assign the following drive letter, pick a letter, then confirm with OK and Yes.
If the drive has a letter and still reports file system problems, back up or recover any readable files first, because repairs write changes to the file system.
Then search the taskbar for Command Prompt, select Run as administrator, approve with Yes, then run chkdsk /f X:. Replace X: with the USB drive letter and follow any repair or restart instructions.
If the USB drive is BitLocker To Go encrypted, search for Manage BitLocker, open BitLocker Drive Encryption, find the drive under Removable data drives - BitLocker To Go, then unlock it with the password or recovery key.
BitLocker Drive Encryption is available on Windows Pro, Enterprise, and Education, not Windows Home.
5. Repair the stick on a Mac before erasing it
Connect the USB stick directly or through a compatible adapter.
Open Finder and check Locations.
If it is missing there, open Disk Utility and check the sidebar.
If it does not appear in Disk Utility, shut down the Mac, unplug nonessential devices, try again, and check the cable, connections, and power.
Next, open Disk Utility.
Choose View > Show All Devices.
Select each volume on the USB storage device.
Choose First Aid > Run.
Follow the onscreen instructions, then choose Done.
Repeat for each volume, each container, and then the storage device itself.
For a drive that opens but will not let you write files, check the format and permissions.
Select the USB drive in Finder or on the desktop, choose File > Get Info, or press Command-I.
Check Format: APFS and Mac OS Extended are Mac formats, MS-DOS (FAT) and ExFAT are Windows-compatible, and NTFS may be readable but not writable on Mac.
Under Sharing & Permissions, unlock the panel if needed, then select Ignore ownership on this volume when that option appears.
Erase only after saving recoverable files.
In Disk Utility, choose View > Show All Devices, select the storage device instead of only the volume, choose Erase, set Scheme to GUID Partition Map when shown, pick APFS, Mac OS Extended, MS-DOS (FAT), or ExFAT, enter a name, then confirm the erase.
6. Get iPhone or iPad to recognize it
Unlock the iPhone or iPad before connecting the USB drive.
If the drive is not recognized, disconnect it, unlock the device, then reconnect it.
To find the drive, attach the USB drive or SD card reader to the charging port with a compatible connector or adapter.
Open Files > Browse, then tap the device name under Locations.
If Locations is not visible, tap Browse again.
Power and format matter on iPhone and iPad.
For storage that needs more power, use a powered USB hub on a USB-C iPhone or iPad.
On Lightning devices, use a Lightning to USB 3 Camera Adapter connected to a USB power adapter.
The drive must have one data partition and use APFS, APFS encrypted, Mac OS Extended, ExFAT, FAT32, or FAT.
On a USB-C iPad, you can erase the drive from Files.
Open Files, tap the Toggle Sidebar button, touch and hold the storage device name under Locations, choose Erase, then select APFS, ExFAT, or MS-DOS (FAT).
If accessory access is blocked, open Settings > Privacy & Security > Wired Accessories and choose the access behavior available on your model, such as Always Ask, Ask for New Accessories, Automatically Allow When Unlocked, or Always Allow.
Apple still requires you to unlock iPhone or iPad before using storage accessories.
7. Fix a USB stick on Chromebook
Update ChromeOS first.
Connect the Chromebook to Wi-Fi, select the time in the bottom right, open Settings > About ChromeOS, then select Check for updates.
Keep the Chromebook plugged into power during the update.
If ChromeOS says Sorry, your device was not recognized or Sorry, at least one partition on your device could not be mounted, format the drive only after backing up recoverable files elsewhere.
Open Launcher > Files, select the external storage device on the left, then choose Format.
A stick previously used as Chromebook recovery media needs a separate erase step.
Open Chrome, choose Extensions > Chromebook Recovery Utility > Settings > Erase recovery media, select the USB drive from the dropdown, choose Continue, confirm the listed storage device, select Erase now, then choose Done.
Remove the flash drive and format it with your operating system’s format tool.
If USB ports or devices behave unexpectedly after the basics, hard reset the Chromebook hardware.
Try this only after the other fixes fail, because it restarts the Chromebook hardware and might delete some files in your Downloads folder.
For most Chromebooks, turn it off, press and hold Refresh, tap Power, then release Refresh when the Chromebook starts.
8. Recover files reformat and eject cleanly
Formatting can make an unallocated, corrupted, or unmounted stick usable again, but it erases the selected volume.
Recover or back up anything you still need before you format.
On Windows, create a volume by opening Disk Management, right-clicking an unallocated region on the USB drive, choosing New Simple Volume, then using Next to choose the size, assign a drive letter, choose whether to format, and select Finish.
On Windows, format an existing volume by right-clicking it in Disk Management, choosing Format, then confirming.
You can also open File Explorer, right-click the USB drive, choose Format, select a file system such as FAT32, then choose Start.
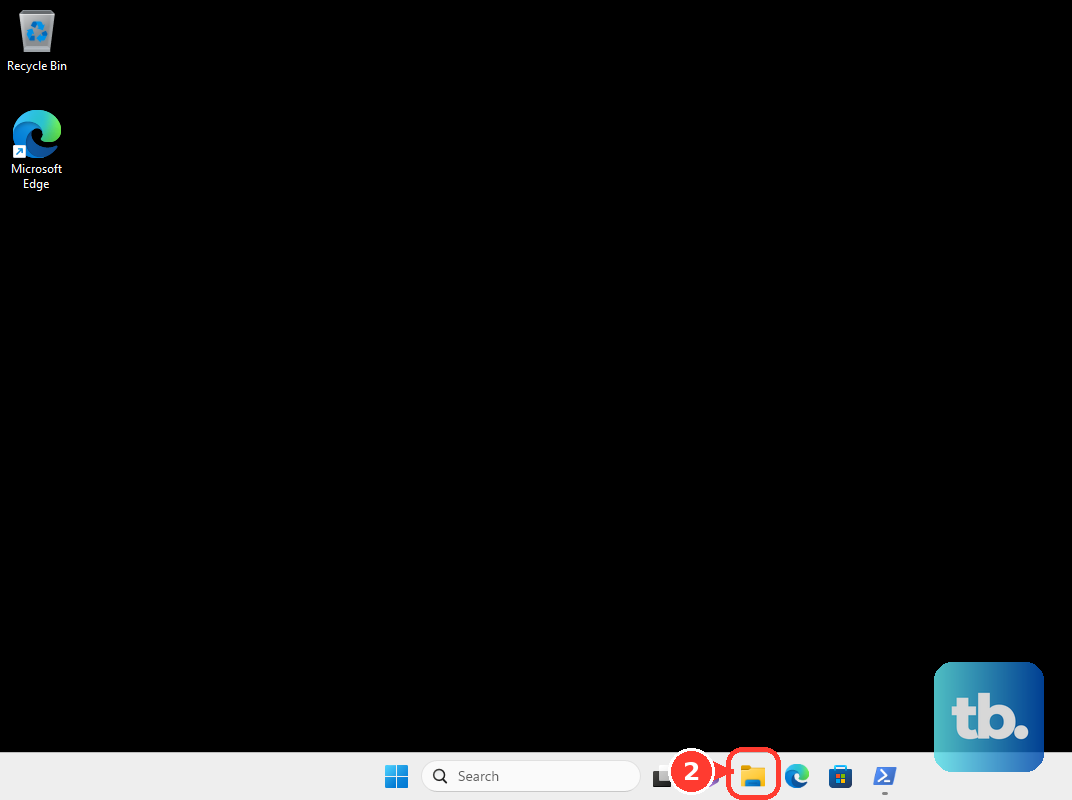
For deleted or lost files on Windows, install Windows File Recovery from the Microsoft Store, open Windows File Recovery, approve User Account Control, then run winfr source-drive: destination-drive: [/mode] [/switches].
Use a different destination drive.
For corrupted, formatted, FAT, or exFAT USB drives, Microsoft recommends Extensive mode.
After the drive works again, eject it before unplugging.
On Windows, select Show hidden icons in the system tray, right-click Safely Remove Hardware and Eject Media, then choose Eject for the device.
On Mac, use the Finder sidebar eject button or drag the disk to Trash.
If macOS says the disk cannot be ejected, use Apple menu > Log Out, log back in, and try again; if that fails, use Apple menu > Shut Down, disconnect the disk, then start the Mac again.
On Chromebook, open Files and select Eject next to the external storage device.
When the same stick works on a personal device but not on a work or school Windows PC, Chromebook, iPhone, or iPad, ask the administrator whether removable storage, USB access, or Wired Accessories access is restricted by policy.
Frequently Asked Questions
Why does my USB memory stick ask to be formatted?
The device can be recognized while its partition or file system is not mountable. Back up or recover needed files first, then use the format tool for Windows, macOS, iPad, or ChromeOS.
What should I do if my USB stick has no drive letter in Windows?
Open Disk Management with administrator permissions, right-click the USB volume, choose Change Drive Letter and Paths, then use Add or Change to assign a letter.
Can iPhone or iPad read any USB flash drive?
No. The drive must use a compatible adapter, have one data partition, have enough power, and use APFS, APFS encrypted, Mac OS Extended, ExFAT, FAT32, or FAT.
Why is my USB stick read-only on Mac?
Check Get Info. NTFS may be readable but not writable on Mac, while APFS and Mac OS Extended are Mac formats and MS-DOS (FAT) and ExFAT are Windows-compatible.