Create a restore point before changing Windows settings, installing software, or doing anything that affects the system. A restore point gives Windows a saved system state to return to through System Protection.
Use the current Windows 11 and Windows 10 methods below, starting with the standard path and then moving to faster and automatic options.
1. Create One from Start
Open Start, type Create a restore point, select Create a restore point, open the System Protection tab, select Create..., enter a description, then select Create.
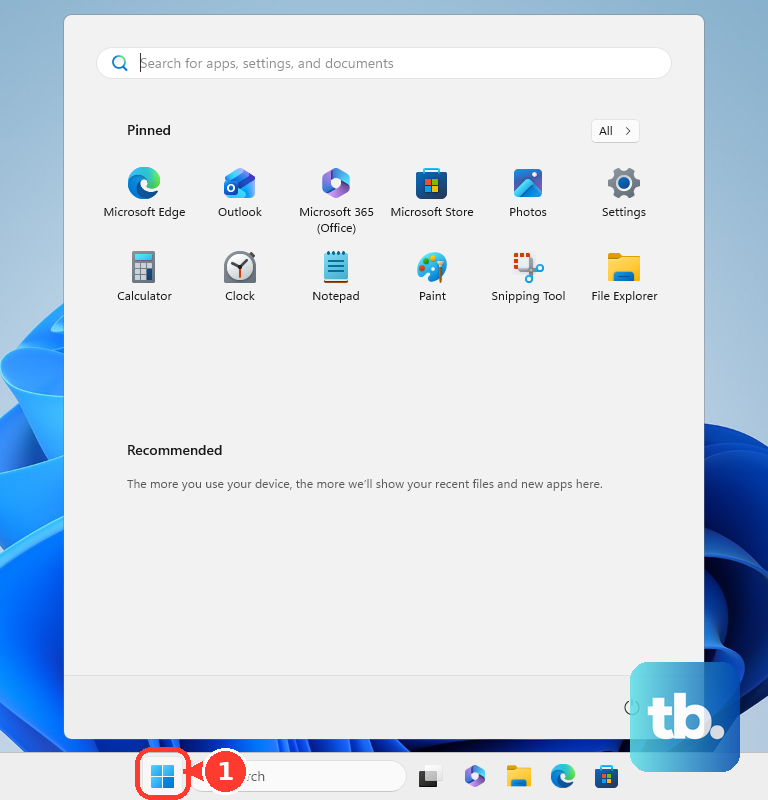
That is the main consumer path Microsoft documents for Windows 11 and Windows 10.
Use a clear name, like Before settings change, so you can identify it later.
If the Create... button is not available, System Protection is usually off for that drive, though on managed PCs organization policy can also disable it.
Turn it on first with the steps below.
2. Turn On System Protection First
Restore points depend on System Protection. Microsoft says System Protection is not enabled by default, so check this before you rely on restore points.
- 1.Open Start, type Create a restore point, then select Create a restore point.
- 2.In System Properties, open the System Protection tab, select your system drive, then select Configure....
- 3.Select Turn on system protection, adjust the Max Usage slider, then select Apply.
- 4.Return to the System Protection tab, select Create..., enter a description, and select Create.
3. Use the Run Shortcut
Press Windows logo key + R, type systempropertiesprotection.exe, then press Enter.
In System Properties, open the System Protection tab, select Create..., enter a description, then select Create.
This opens the same restore point screen without searching through Start.
If protection is off, select Configure..., choose Turn on system protection, then select Apply before creating the restore point.
4. Let Windows Create Restore Points Automatically
Manual restore points are best right before a specific system change.
Windows also creates restore points automatically when needed after System Protection is enabled.
Open Start, type Create a restore point, then select Create a restore point.
On the System Protection tab, select your system drive, choose Configure..., select Turn on system protection, set the disk-space slider, and select Apply.
This gives System Protection disk space to store restore points.
It does not replace creating a manual restore point before a change you are about to make.
5. Create a Restore Point with PowerShell
Use PowerShell when you want an administrator command instead of the System Protection window.
Open Windows PowerShell as administrator.
If System Protection needs to be enabled for the C drive, run Enable-ComputerRestore -Drive "C:\".
Then run Checkpoint-Computer -Description "Before changes" -RestorePointType MODIFY_SETTINGS.
PowerShell is the clean command-line route for Windows 11 and Windows 10.
Microsoft documents a one-checkpoint-per-day limit for Checkpoint-Computer beginning with Windows 8, so run the command once, then use System Protection to confirm the restore point.
6. Use Windows 11 Point-in-time Restore
Recent Windows 11 builds also add Point-in-time restore in Settings, rolling out through KB5095093 starting with version 24H2 (OS build 26100.8737) and version 25H2 (OS build 26200.8737) and later. It is related to restore points, but it is automatic only and separate from the classic manual System Protection workflow.
Open Settings, go to System, then Recovery.
Select Point-in-time restore, choose View or edit, approve User Account Control with Yes, then turn the toggle On.
Microsoft documents Point-in-time restore as creating automatic restore points about every 24 hours and retaining them up to 72 hours.
Windows 11 Home, Pro, and Enterprise can configure On, Off, and maximum storage.
Microsoft lists frequency and retention controls as Enterprise-only.
7. What Changes on Work or School PCs
On managed Windows devices, an organization can control restore point settings.
Admin policies can allow or block System Restore configuration, and managed Windows 11 devices can receive Point-in-time restore settings through device management.
Use the normal Create a restore point path first.
If Windows says the setting is managed by your organization, contact your IT admin instead of changing policy tools yourself.
8. Skip Old WMIC and Windows 7 Instructions
Some older guides tell you to create restore points with wmic.exe or through the Windows 7 Control Panel path.
Do not use those as your current Windows 11 or Windows 10 method.
Microsoft lists WMIC as deprecated and superseded by PowerShell for WMI.
The Windows 7 Control Panel route is a legacy path, so use Create a restore point, systempropertiesprotection.exe, or Checkpoint-Computer instead.
Frequently Asked Questions
Do I need to turn on System Protection before creating a restore point?
Yes. Open Create a restore point, select the system drive, choose Configure..., select Turn on system protection, adjust Max Usage, then select Apply.
What command opens the restore point window directly?
Press Windows logo key + R, type systempropertiesprotection.exe, then press Enter. That opens System Properties on the System Protection tab.
Can Task Scheduler create restore points automatically?
Yes. Create a task that runs with Run with highest privileges and uses powershell.exe with -ExecutionPolicy Bypass -Command "Checkpoint-Computer -Description \"Scheduled Restore Point\" -RestorePointType \"MODIFY_SETTINGS\"". The PowerShell one-checkpoint-per-day limit still applies.
Is there a Microsoft account or browser method to create a restore point?
No Microsoft-supported browser, Microsoft account web portal, companion app, Copilot, Cortana, voice-assistant, or hardware-button method was verified for creating a Windows restore point.