
Your printer worked fine on the old router, but now your phone can't find it, the print queue stays empty, or the WiFi setup on the printer itself keeps timing out. The Netgear Nighthawk RS700S is a Wi‑Fi 7 router with a few defaults that can trip up older printers, and the fix is usually simpler than you'd think.
Two things to try first: turn off WPA3-only mode if you've enabled it, and bring the printer near the RS700S for the initial pairing without putting it right beside the router. In the Nighthawk app, use
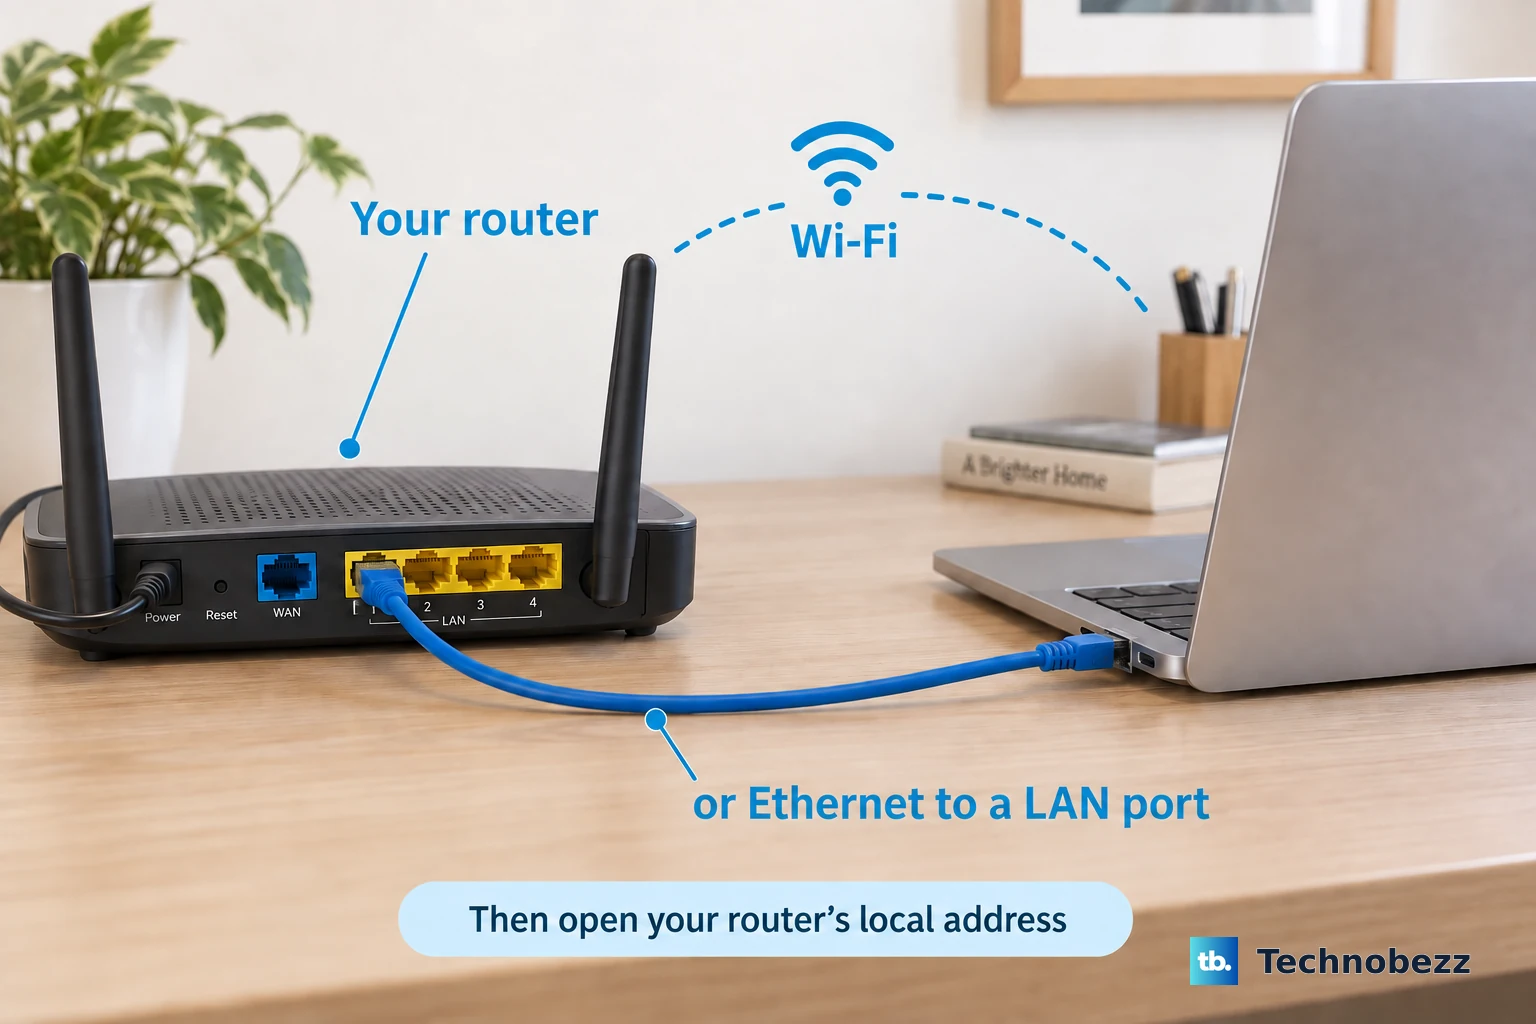
WiFi Settings to check the network security, or open routerlogin.net and select Wireless. For the 2.4 GHz and 5 GHz networks, keep WPA2-Personal + WPA3-Personal (NETGEAR's default when Smart Connect is on). Then move the printer into the same room as the router, at least six feet away, run the printer's WiFi setup, and move it back afterward. If that doesn't do it, here's the full list.Why the RS700S Blocks Printers
The RS700S is a tri‑band Wi‑Fi 7 router with a single SSID covering all bands. Here are the usual culprits when a printer won't connect:
- Security set to WPA3-only: older printers that do not support WPA3 cannot join a WPA3-only network.
- Printer only supports 2.4 GHz: Smart Connect is enabled by default, so the 2.4 GHz, 5 GHz, and 6 GHz radios use one SSID. That is normal, but a stubborn setup may need the printer maker's app or a temporary band-specific SSID after disabling Smart Connect.
- Printer firmware is old: older WiFi stacks struggle with modern authentication.
- WiFi password has special characters: apostrophes, symbols, spaces that are hard to type on a printer's keypad.
- Printer is on the guest network: devices there can't talk to the main network.
- The printer's IP address changed: a phone or computer may still be looking for the old address after the printer gets a new DHCP lease.
Check the RS700S Security Mode
With Smart Connect enabled, the RS700S default for the 2.4 GHz and 5 GHz networks is WPA2-Personal + WPA3-Personal, which gives WPA2 devices a fallback. The 6 GHz network remains WPA3-Personal because WPA3 is required on 6 GHz. If you changed the main 2.4/5 GHz security to WPA3-only, an older printer can fail to authenticate. Use routerlogin.net, select Wireless, and change 2.4/5 GHz back to WPA2-Personal + WPA3-Personal. If a very old printer still cannot join, use a WPA/WPA2-compatible 2.4 GHz or guest network only as a compatibility fallback, because WPA is less secure.
Once you switch back, retry the printer setup. Leave the 2.4/5 GHz network in mixed mode or a WPA2-compatible mode if the printer depends on it; switching back to WPA3-only can disconnect WPA3-incompatible devices.
Bring the Printer Closer for Initial Pairing
If the printer is across the house when you run its setup wizard, the connection may time out. Move it into the same room as the RS700S, but do not put it right next to the router. NETGEAR's RS700S troubleshooting guidance says to place a weak-signal WiFi device near the router but at least 6 feet (1.8 meters) away. Run the printer's network setup from there, then put it back in its permanent spot.
This single trick resolves a huge number of pairing failures.
Use the Printer’s Own App to Handle Band Switching
Many printers can only see the 2.4 GHz band. With Smart Connect enabled, the RS700S uses the same network name for 2.4 GHz, 5 GHz, and 6 GHz, so use the printer manufacturer's official setup app first. If the setup flow needs a separate 2.4 GHz name, use routerlogin.net > Wireless to temporarily disable Enable Smart Connect and give the 2.4 GHz band its own SSID for setup.
Make sure you're using the latest version of that app, and that both your phone and the printer are close to the router during the process.
Update Your Printer's Firmware
Printers that shipped four or five years ago often have WiFi firmware that predates modern routers. Even if the printer worked fine on an older network, the RS700S's newer security and management can confuse it. Check the printer manufacturer's support website for a firmware update. Many allow you to update via USB cable if WiFi pairing isn't working, download the firmware to a computer, connect the printer via USB, and run the updater.
After the update, retry the WiFi setup. This fixes "worked on old router, won't connect to new one" situations more often than you'd expect.
Reboot the RS700S to Clear Stale Data
If the printer appears connected but your phone or computer still cannot find it, restart the network path before changing more settings. Unplug the RS700S from power, wait 60 seconds, and plug it back in. Let it fully restart before trying to discover the printer again on your phone or computer.
This is especially helpful if the printer shows as connected in the Nighthawk app but your devices can't find it.
Check Guest Network Isolation
If you've set up a guest network on the RS700S, check its access setting before putting the printer there. By default, guest clients cannot access devices on the main WiFi or Ethernet network. For printing from your main devices, move the printer to the main network, or use routerlogin.net > Guest Network and enable Allow guests to see each other and access my local network only if you intentionally want guest devices to reach local devices.
Guest network isolation is the reason your AirPrint or Bonjour discovery might fail even though both devices have an internet connection.
Give the Printer a Static IP Address
Once the printer is connected and working, add a router address reservation. This keeps the printer on the same LAN IP after DHCP renews. Use routerlogin.net, select ADVANCED > Setup > LAN Setup, open Address Reservation, select the printer if the router detects it, or enter the printer's MAC address manually. Choose an unused IP address from the router's LAN subnet, such as 192.168.1.x.
The reservation takes effect the next time the printer requests an IP address from the router, so restart the printer after saving it. A fixed LAN address will not fix every AirPrint or Bonjour problem, but it removes one common variable when clients keep losing the printer.
Reset Only the Printer’s Network Settings
If the printer's WiFi memory is corrupted from previous failed attempts, reset just the network portion, not the whole printer. Look in the printer's menu for something called Restore Network Defaults, Reset LAN Settings, or Clear WiFi Settings. After resetting, run the printer's setup wizard from scratch with the printer close to the RS700S.
This clears any half‑completed handshake data and gives you a clean slate.