
Screen recording on your iPhone Air lets you capture whatever's on your display, tutorials, video calls, or gameplay. It's built into iOS and only takes a couple taps to get started. Here's everything you need to know.
Add Screen Recording to Control Center
The screen recording button isn't in Control Center by default, so you'll need to add it first. On iOS 26, open Control Center by swiping down from the top-right corner of your screen. Press and hold on an empty area until you see the Add a Control button, then tap it. Scroll down to Screen Recording and tap the green + next to it. That's it, the button is now available whenever you swipe down.
If you're coming from an older iPhone running an earlier iOS version, you can still add it from Settings > Control Center and tap the plus icon next to Screen Recording. Either way, you only do this once.
Start Recording
Swipe down from the top-right corner to open Control Center, then tap the Screen Recording button (two concentric circles). A three-second countdown appears, giving you time to navigate to the app or screen you want to capture. After the countdown, the button turns red and everything on your display is recorded. You'll see a red indicator in the top-left corner or the status bar to confirm it's active.
Record with Audio
By default, screen recording captures system audio but not your voice. To add microphone audio, press and hold the Screen Recording button in Control Center instead of tapping it. A menu pops up with a Microphone toggle at the bottom. Tap it to turn the microphone on, then tap Start Recording. Your voice and any background sounds will now be recorded alongside the screen, perfect for narrated tutorials or commentary.
Stop and Save the Recording
When you're done, tap the red status indicator at the top of your screen and confirm by tapping Stop. Alternatively, open Control Center again and tap the Screen Recording button (it's red while recording). The video automatically saves to your Photos app in the Videos album. There's no need to worry about losing it, it's stored right there with your other videos.
Trim and Edit Your Recording
Open the Photos app, find your recording, and tap Edit in the top-right corner. Drag the yellow handles on the timeline to trim the beginning and end, this is great for cutting out the parts where you opened Control Center. Tap Done and choose to save as a new clip or overwrite the original. You can also apply filters, adjust exposure, or use other iOS editing tools.
Share the Recording
From Photos, open the recording and tap the Share button (a square with an arrow). AirDrop, Messages, email, or social media apps are all options. For longer recordings, the file size can get large. If you're having trouble sending it, try trimming it shorter or use iMovie to export a compressed version. The iPhone Air's USB-C port also lets you transfer the file directly to a Mac or external drive using a cable.
What You Can (and Can't) Record
Screen recording works with most apps and system menus. However, some streaming apps like Netflix, Disney+, and Apple TV+ block recording during video playback, you'll just see a black screen. The same goes for DRM-protected content in other apps. Regular apps, games, web browsers, and your own content record without issues.
If Recording Freezes or Stops Unexpectedly
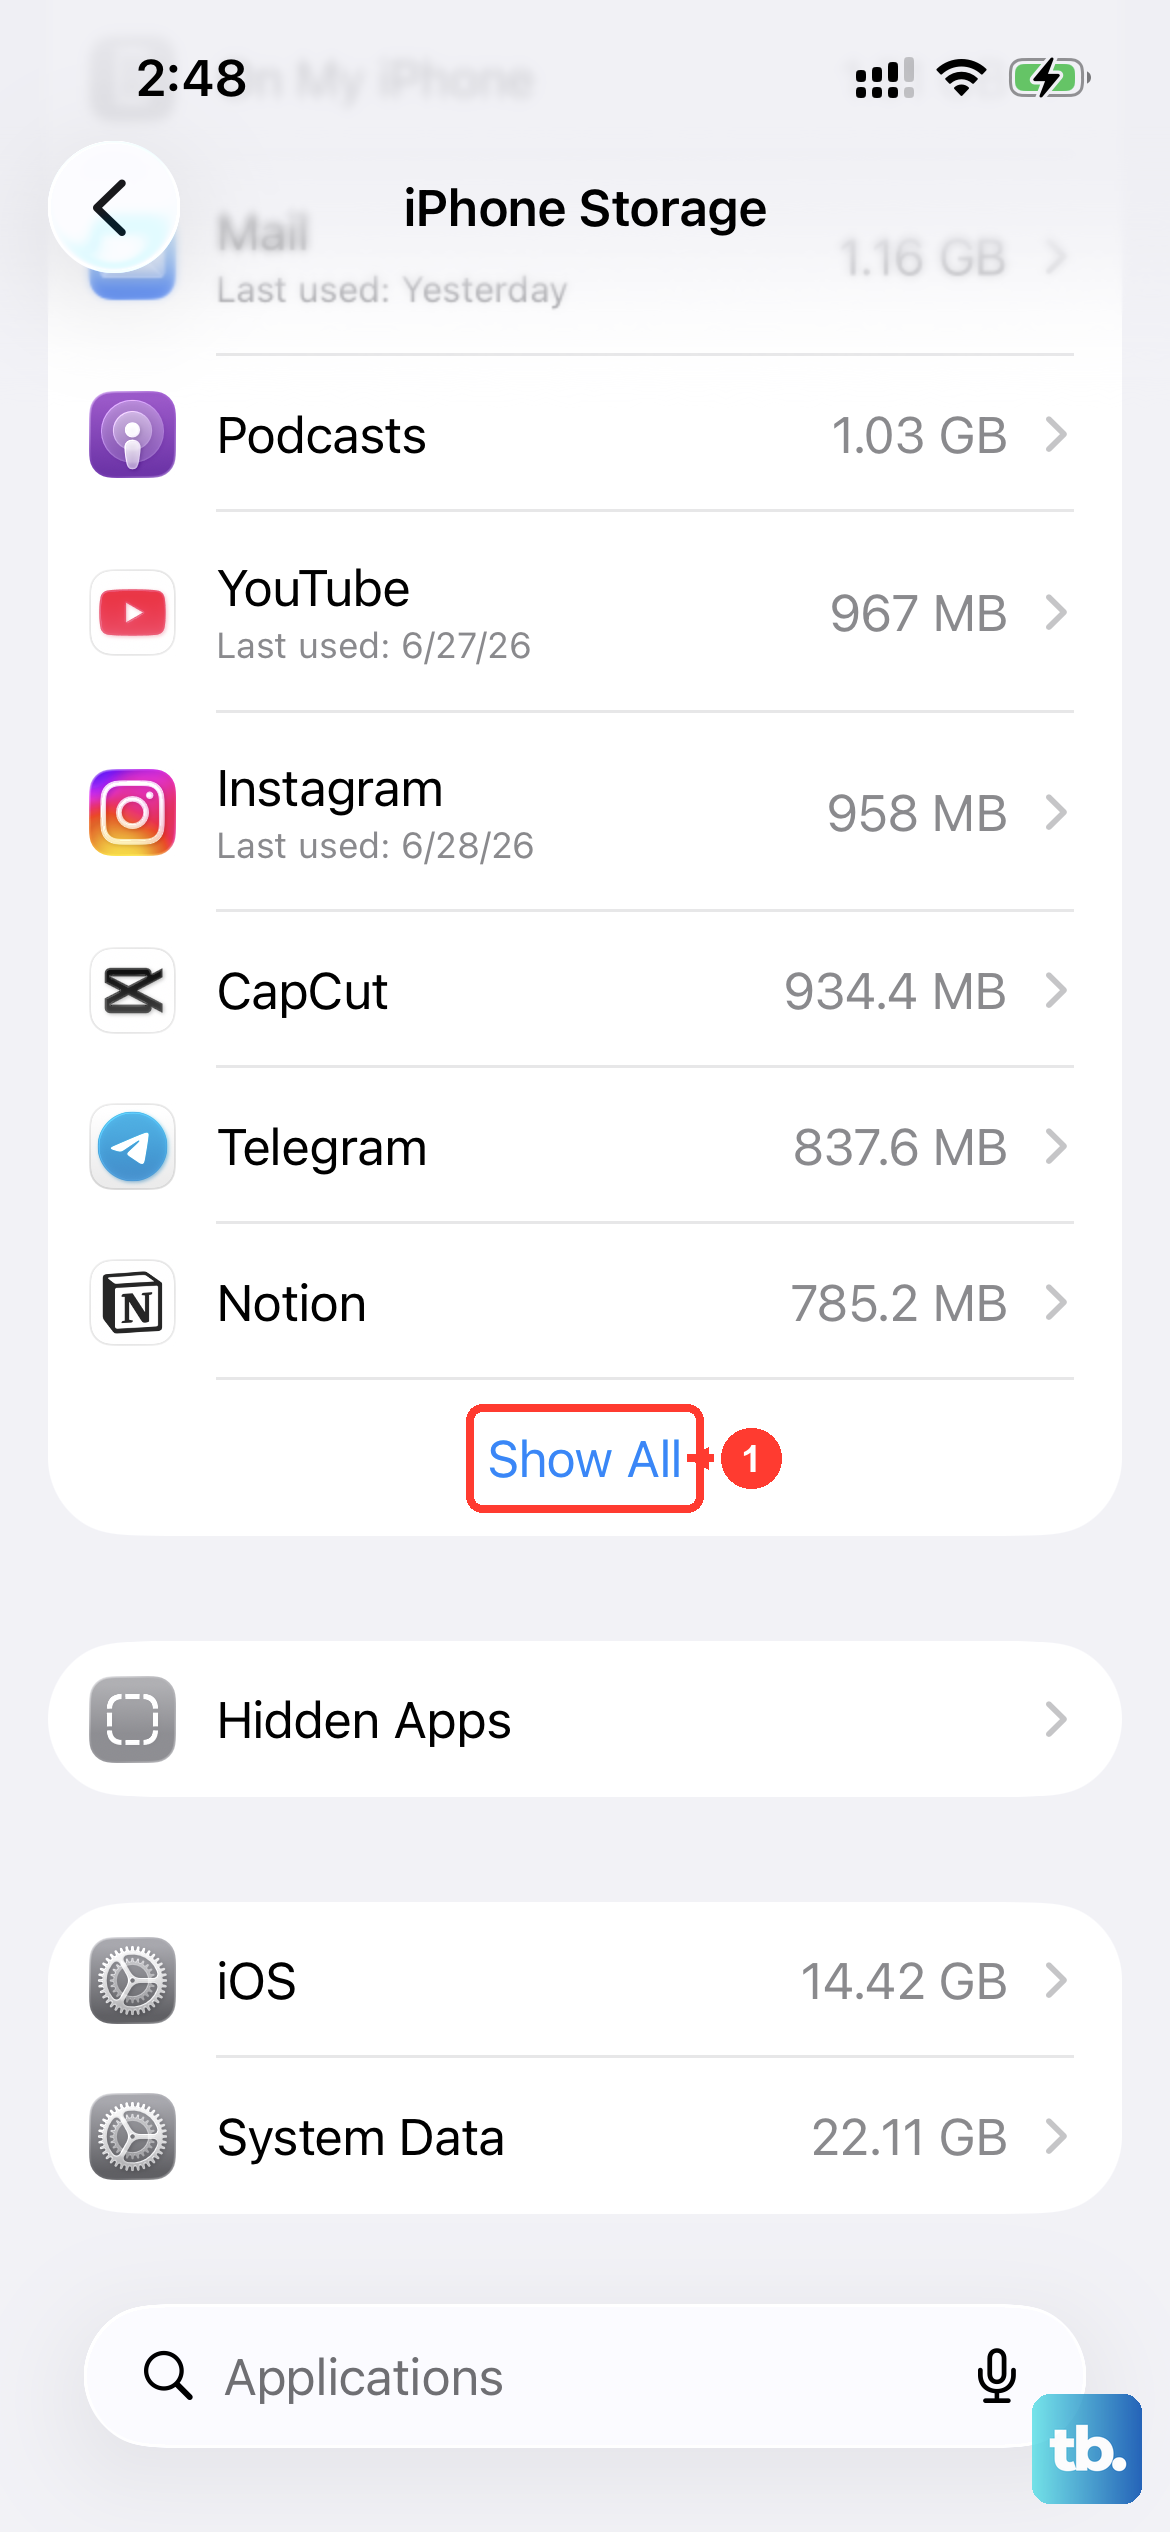
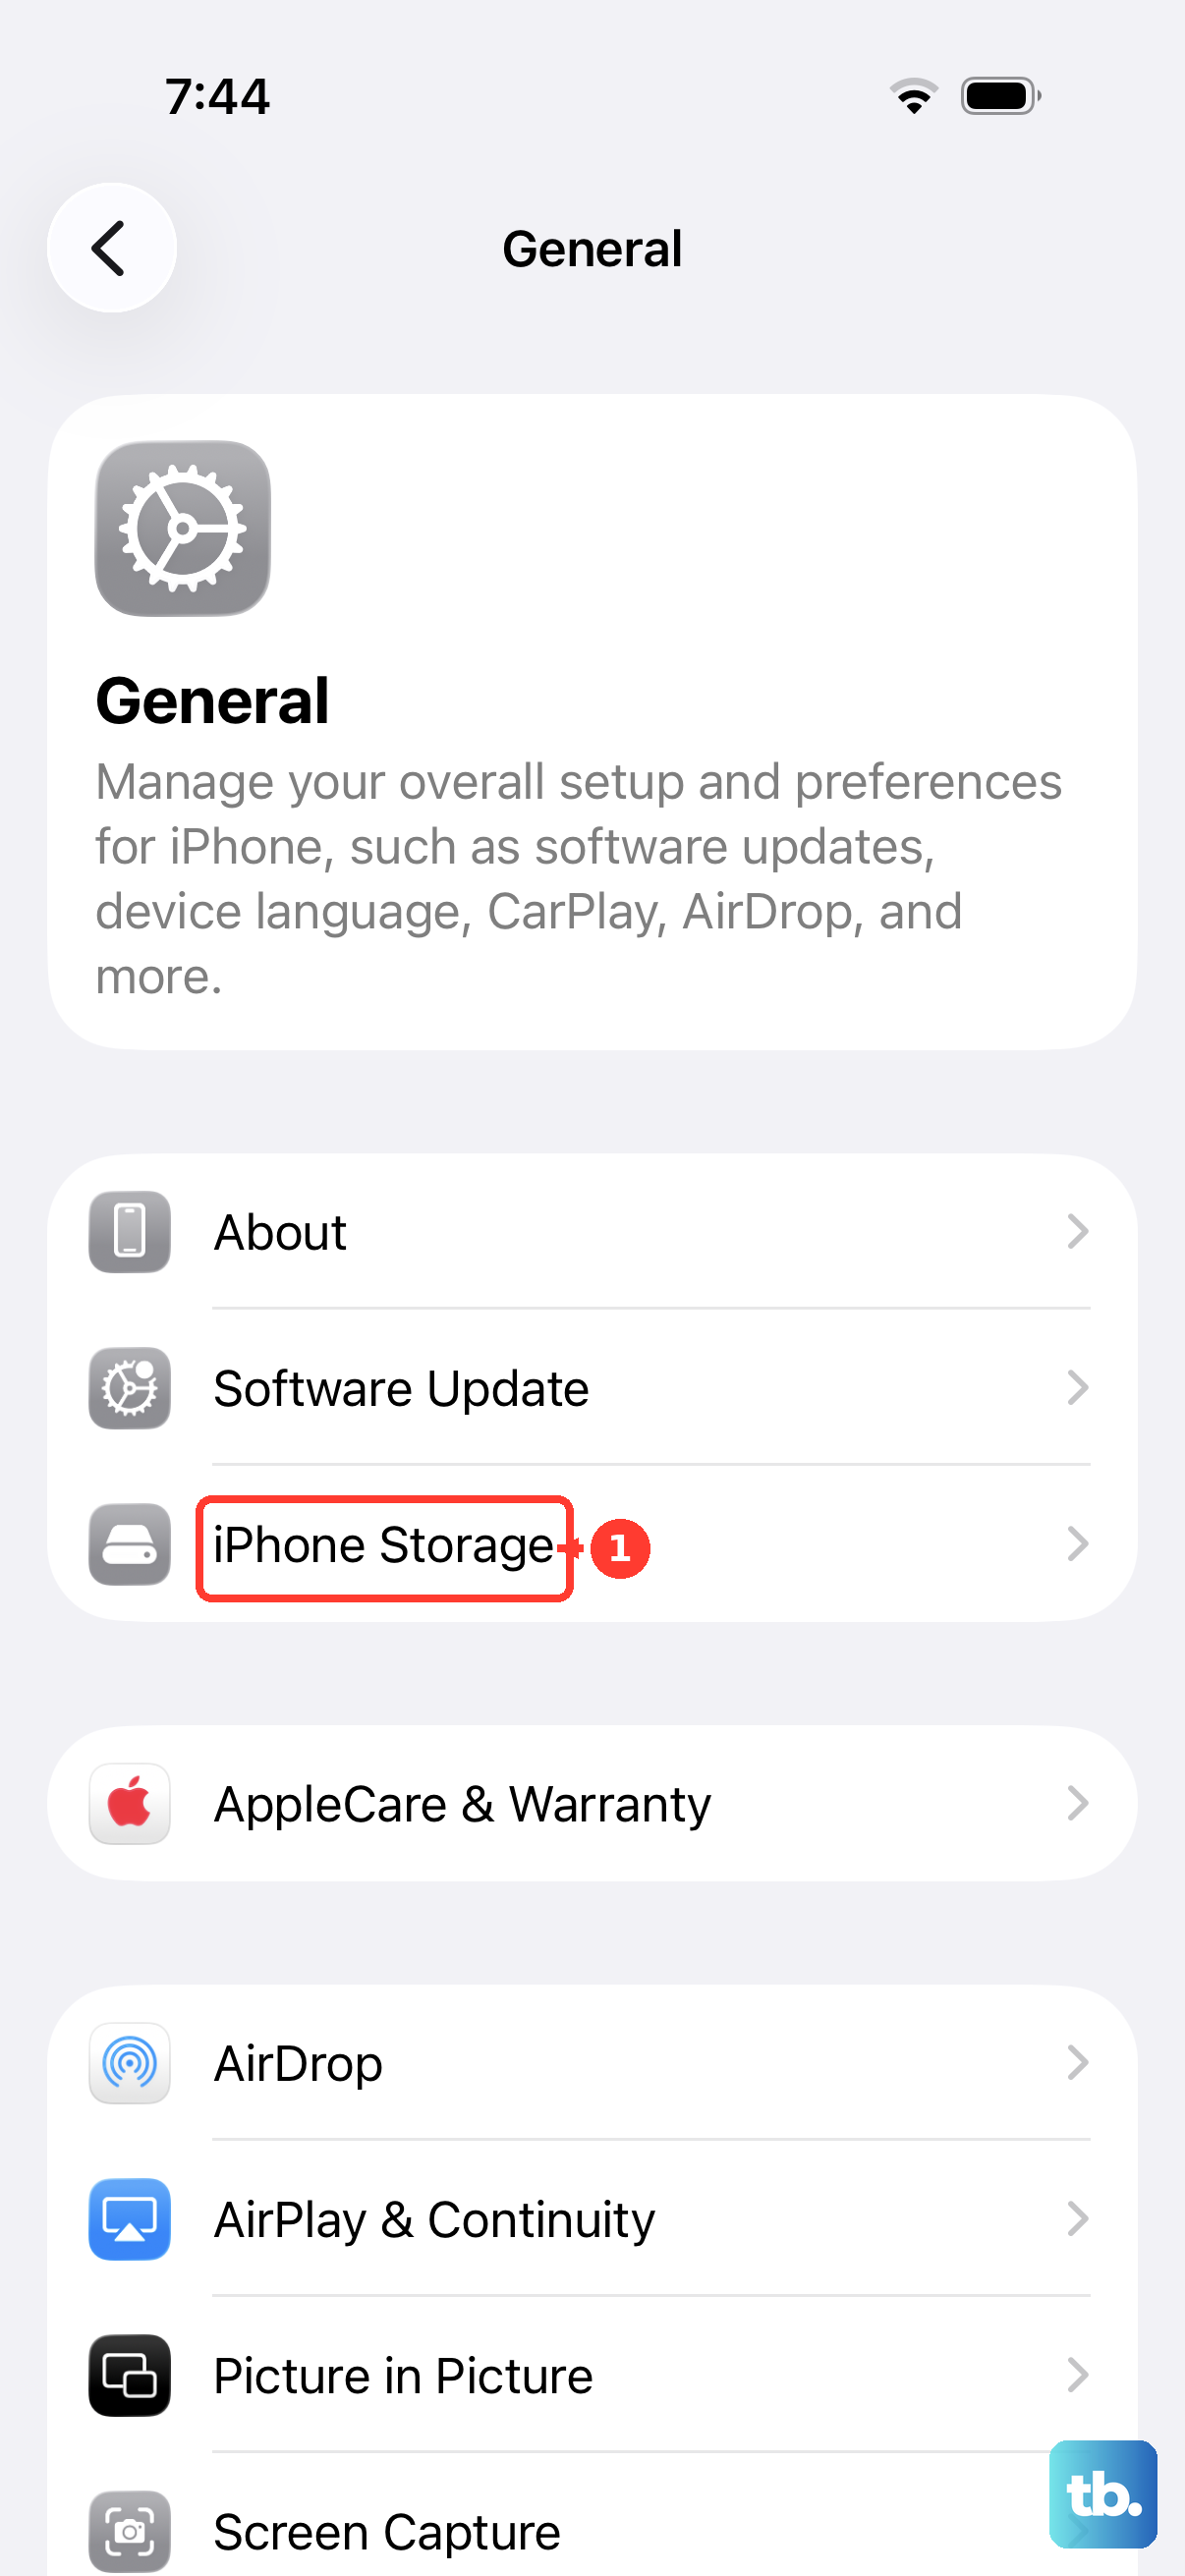
Sometimes a screen recording might freeze or not start properly. First, make sure you're not running low on storage, go to Settings > General > iPhone Storage to check. If there's plenty of space, try restarting your iPhone Air to clear out temporary glitches. For a normal restart, press and hold the Side button and either volume button until you see the power off slider. If the phone becomes unresponsive (which can happen after a battery drain), use the force restart sequence: quickly press and release the Volume Up button, then quickly press and release the Volume Down button, then press and hold the Side button until the Apple logo appears. This won't erase any data and can resolve stubborn software hiccups that affect screen recording or any other function.
Using Screen Recording to Troubleshoot
If you're dealing with a bug, like the screen flickering or an app crashing, record it happening. The video is way more helpful than describing the issue to tech support or forums. Just make sure to stop recording before the phone locks, or adjust your auto-lock setting under Settings > Display & Brightness > Auto-Lock to give yourself enough time.