Your integrated camera goes dark when a privacy shutter is closed, the device is disabled, camera permission is blocked, another app has the camera, or the wrong camera is selected. Start with the fast physical checks, then fix the system, app, browser, and driver settings that control the built-in camera.
1. Open the camera switch first
Start with the hardware. A closed privacy shutter or disabled camera key makes every app look broken. Look beside the lens for a small shutter slider and move it to the open position. Check the sides of the laptop for a camera privacy switch and turn it on.
Find the keyboard key with a camera icon. Press it once, or press Fn plus the camera-icon key when your keyboard uses function-key shortcuts. On Lenovo ideapad laptops, press Fn + F8 or F8.
Open Lenovo Vantage > Quick settings and set Camera to enabled. On a ThinkPad, press the key that carries the camera icon instead, because F8 launches the Smart Modes widget on recent models. Then open Lenovo Vantage > Device > My Device Settings > Display & Camera and turn Camera Privacy Mode off.
On HP laptops, check the webcam privacy switch or webcam shutter key. Run the Webcam Connection Test in HP PC Hardware Diagnostics.
On Dell PCs with a BIOS camera control, restart the computer and press F2 repeatedly until BIOS setup opens. Find Enable Camera under Integrated Devices and enable it. Save the change, and exit BIOS.
2. Turn on Windows camera access
Open Start > Settings > Privacy & security > Camera. Turn Camera access on, then turn Let apps access your camera on. For a Microsoft Store app, turn on that app under Let apps access your camera.
For browsers, Zoom, Teams, and other desktop apps, turn Let desktop apps access your camera on. Windows blocks the camera at two levels: the whole device and the apps that ask for it. Check both.
If Windows lists the camera as disabled, open Start > Settings > Bluetooth & devices > Cameras. Under Disabled cameras, select the camera and choose Enable. Now check the device entry.
Open Device Manager, expand Cameras, right-click the integrated camera, and choose Enable device when that option appears. When the menu shows Disable device, Windows already has the camera enabled.
3. Allow the camera on Mac
On a Mac, fix software updates and privacy access before digging deeper. Open Apple menu > System Settings > General > Software Update. Install available macOS updates.
Open Apple menu > System Settings > Privacy & Security > Camera. Turn on access for the app that needs the camera. Quit and reopen the app when macOS asks.
Next, check Screen Time through Apple menu > System Settings > Screen Time > Content & Privacy > App & Feature Restrictions, then make sure Camera is turned on under Allowed. Open App Limits and make sure the camera app is off or not selected while you need to use it.
When FaceTime selects the wrong camera, open FaceTime, click Video, and choose the built-in camera or Automatic Camera Selection. To stop an iPhone from taking over through Continuity Camera, open Settings on the iPhone, go to General > AirPlay & Continuity or AirPlay & Handoff, and turn off Continuity Camera.
4. Pick the right camera in Zoom and Teams
Windows conflict check Right-click the taskbar, then open Task Manager. Right-click the app using the camera, then choose End Task.
Zoom desktop Click your profile picture or initials. Open Settings > Video & effects. Confirm the preview, then choose Integrated Camera, Built-In, Internal, or the matching built-in camera name from the camera menu.
Zoom meeting Click the arrow next to Start Video or Stop Video. Open Video Settings, then choose the integrated camera under Camera.
Microsoft Teams Open Settings and more > Settings > Devices > Make a test call. Use the desktop app for the test call.
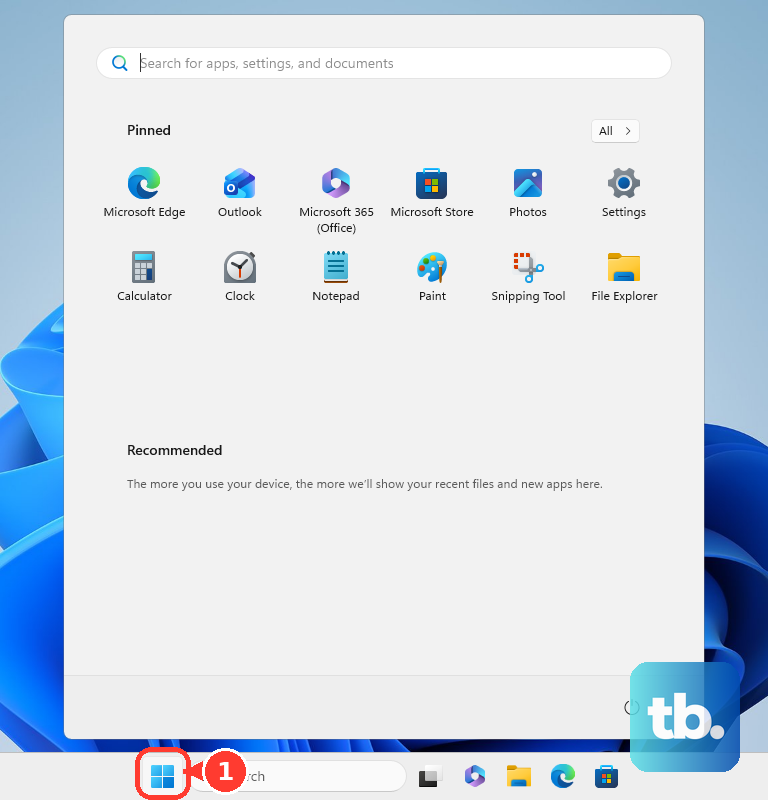
A working preview in one app proves the camera hardware is responding. Use that result to separate device trouble from app trouble. On Windows, open Start > Camera.
If the preview works there but fails in Zoom, Teams, or a browser, open the failing app's camera settings and select the integrated camera. On Microsoft Teams for Windows, also open Settings > Privacy & security > Camera, turn on Let apps access your camera, and turn on Microsoft Teams (work or school).
On Mac, open Apple menu > System Settings > Privacy & Security > Camera, then turn on Microsoft Teams (work or school).
5. Reset browser camera permissions
When the integrated camera fails only on websites, fix the site's camera permission and default camera. Chrome Open More > Settings > Privacy and security > Site settings > Camera. Choose the correct default camera, then remove old blocked-site exceptions. Set the default behavior to let sites ask to use the camera.
Edge Open the website. Select Allow when Edge asks for camera permission. To change a block, open Settings and more > Settings > Privacy, search, and services > Site Permissions > All sites.
Select the website. Change Camera from Block to Allow.
Firefox Open Settings > Privacy & Security > Permissions > Camera > Settings. Change the site to Allow. Remove the site to make Firefox ask again. Choose Save Changes.
You can also open the site. Press Ctrl + I or Command + I. Open Permissions, then uncheck Use Default for camera use. Choose Allow.
Safari Open Safari > Settings > Websites > Camera. For the site, choose Ask or Allow. To reset the default, clear configured websites when needed. Use When visiting other websites and choose Ask or Allow.
6. Repair Camera and update drivers
Open Get Help and run the automated camera troubleshooter. Or open Microsoft's camera support page and select Run the troubleshooter in Get Help.
Open Start > Settings > Windows Update > Check for updates. Open Advanced options > Optional updates, then install camera driver updates when Windows offers them. Restart the PC and open Camera again.
Open Start > Settings > Apps > Installed apps. Select the More icon next to Camera > Advanced options. Choose Repair when the button is available. If the camera still fails, choose Reset.
Once permissions are correct, use Windows' built-in repair tools and official driver updates. Use the official driver page for model-specific updates.
Dell users should open Dell Drivers & Downloads. Enter the Service Tag or model. Install current camera, chipset, firmware, BIOS, Dell Update, or SupportAssist updates offered for that PC.
HP users should open HP Software and Driver Downloads. Enter or detect the product, then choose the operating system when prompted. Install current driver, BIOS, firmware, diagnostics, or HP Support Assistant updates.
Lenovo users should open Lenovo PC Support > Drivers & Software. Detect the PC or enter the model. Install recommended camera, chipset, BIOS, firmware, Lenovo Vantage, or system updates.
Surface owners should open the Surface app. Expand Help & support, check update status, and select Get help for the camera issue.
If the Surface app is missing, open its Microsoft Store page. Choose Get or Install. Open Start and search for Surface.
7. Refresh Windows in Device Manager
Use Device Manager when Windows reports no camera found, shows error 0xA00F4244, or stops listing the integrated camera. Search the taskbar for Device Manager and open it. Look for the camera under Cameras, Imaging devices, or Sound, video and game controllers.
If the camera is missing, select Action > Scan for hardware changes. Restart the PC, then open Camera again.
After a bad update, right-click the camera in Device Manager. Open Properties > Driver. Choose Roll Back Driver, select Yes, restart, and test again.
If rollback is unavailable, right-click the camera. Open Properties > Driver > Uninstall Device. Select Attempt to remove the driver for this device when shown, or Delete the driver software for this device if your dialog uses that older wording. Choose OK.
In Device Manager, select Action > Scan for hardware changes. Restart, and test Camera. Microsoft says not to use this uninstall-driver step on Surface Pro X.
On Surface devices that list Intel(R) TGL AVStream Camera or Intel(R) AVStream Camera, open Device Manager > Cameras. Double-click the listed camera. Open Driver > Uninstall Device. Select Attempt to remove the driver for this device > Uninstall.
Restart Surface. Do not use this Surface driver removal on Surface Pro X. For a Surface that still fails, select Start > Power > Shut down. After it shuts down, press and hold the power button for 20 seconds, continuing through the first logo until the logo appears again.
8. Fix Chromebook camera access
Select the time in the corner. Open Settings > Privacy and security > Privacy controls. Turn Camera access on.
Open Chrome > More > Settings > Privacy and security > Site settings > Camera. Set the blocked site to Allow, or reset the site permission so Chrome asks again.
ChromeOS has a system-level camera switch. When it is off, apps and websites lose access everywhere. Restart the Chromebook.
Test the camera in another app such as Google Meet. If the camera works there, uninstall and reinstall the app where it fails. If the camera still fails, use ChromeOS Reset. Use Recover.
Contact the Chromebook manufacturer if it remains broken.
9. Check security software and managed-device blocks
Security tools and school or work policies override normal camera settings. On Windows PCs with third-party antivirus or security software, open that app's settings and look for webcam, privacy, camera protection, or app-permission controls. Allow the affected app or turn off the camera block, then test the integrated camera again.
On a work or school laptop, a grayed-out camera setting, a managed message, or a setting that returns to blocked after you change it points to administrator control. Ask IT to allow camera access for the device, website, or app you need.
Windows, Chrome, ChromeOS, and managed Macs all support administrator controls for camera devices, websites, and apps. Skip old Windows 10-only paths and legacy Dell Webcam Software Application packages for Windows XP and Vista-era systems. Windows 10 support ended on October 14, 2025, and those old Dell packages are not current integrated camera fixes for Windows 11.
Frequently Asked Questions
Why does my integrated camera work in one app but not another?
The camera hardware is working. Fix the failing app's camera selector, system camera permission, browser site permission, or close the app that is already using the camera.
What should I do when Windows shows no camera found?
Open Device Manager, scan for hardware changes, restart, and test the Camera app. If the problem started after an update, use Roll Back Driver when Windows offers it.
Can antivirus software stop an integrated camera from working?
Yes. Some third-party security apps block webcam access through privacy or camera protection controls. Allow the affected app in the security software, then test again.
Why is my Mac using my iPhone instead of the built-in camera?
Continuity Camera makes the iPhone available as a camera. Choose the built-in camera in the app's video menu, or turn off Continuity Camera on the iPhone under General and AirPlay settings.