Your TP-Link Wi-Fi adapter is plugged in, but Windows or macOS still refuses to connect, detect it, or keep it online. The fix starts with the quick wireless switches, then moves through the correct driver, power settings, router checks, and a clean reinstall when needed.
Check Windows Wi-Fi Controls
Select the Network, Sound, or Battery icon on the right side of the taskbar, then turn Wi-Fi on. Open Settings, choose Network & Internet, then open Airplane mode and turn Airplane mode off.
Open Device Manager, expand Network adapters, right-click the TP-Link or wireless adapter, and choose Enable device when that option appears. Check the computer’s physical Wi-Fi switch, wireless button, or function-key wireless toggle, then switch wireless on. If the adapter turns on but the saved network still fails, forget the network and reconnect with the correct password.
Download the Right TP-Link Driver
Driver repair works only when the file matches the adapter model and hardware version. Open TP-Link’s Download Center, enter the product model number in the search field, select the correct Hardware Version, then download the listed Driver for that exact adapter.
On Windows 11, open TP-Link’s Windows 11 Compatibility page and find the adapter model before changing drivers. TP-Link says most TP-Link wireless adapters use the Windows 10 x64 driver on Windows 11, with final support tied to the exact model and hardware version.
For Archer T5E, Archer TX50E, and Archer TX3000E, use the Intel link on TP-Link’s compatibility page and install Intel’s Wireless Wi-Fi Drivers for Windows 10 and Windows 11.
If the correct driver still will not install, remove the old driver first, then use the manual Device Manager installation below.
Install the Driver Manually
This fixes failed TP-Link installer runs when the downloaded package includes an .inf driver file.
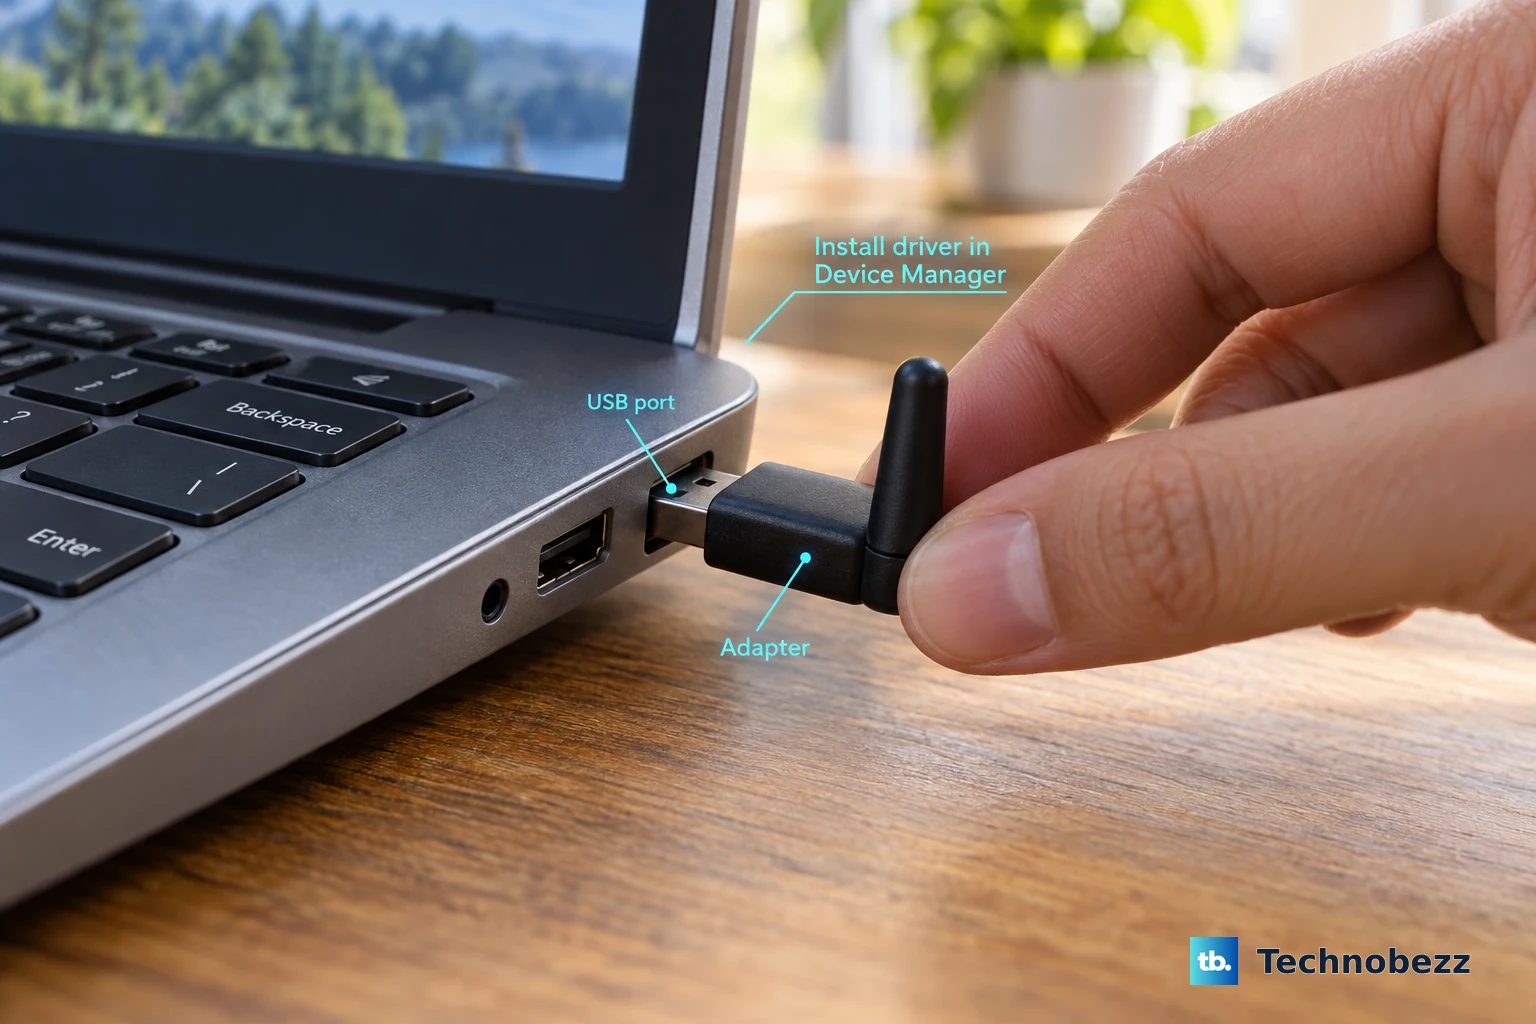
Insert the TP-Link adapter into the computer, then Download the latest driver from TP-Link’s Download Center. Extract the downloaded zip file, then right-click Start and open Device Manager.
Right-click the TP-Link adapter and choose Update driver. Select Browse my computer for driver software. Choose Let me pick from a list of device drivers on my computer, then select Next.
Choose Show compatible hardware, then select Have Disk. Choose Browse and select the extracted .inf file. Click Open, then click OK.
Click Next. Click Close when Windows finishes.
Remove Old Drivers and Restart
Right-click Start and open Device Manager. Open View and select Show hidden devices, then expand the relevant device tree branch. Look for faded old or unused TP-Link or wireless adapter entries.
Right-click the old or unused device and choose Uninstall. Expand Network adapters, then right-click the current TP-Link or wireless network adapter and choose Uninstall device. Check Attempt to remove the driver for this device.
Select Uninstall, then open Start, choose Power, and select Restart. Keep a TP-Link driver download available before removing drivers, especially when this PC has no other internet connection.
Stop Windows Power Saving From Dropping the Adapter
Windows power saving turns off wireless hardware, which causes TP-Link USB and PCIe adapters to disconnect or disappear. Open Control Panel, go to Device Manager, find the wireless adapter, right-click it, open Properties, and select the Power Management tab.
Clear Allow computer to turn off this device, select OK, and reboot the computer. For a USB TP-Link adapter that is not detected or keeps disconnecting, open Computer Management, go to Device Manager, then open Universal Serial Bus controllers.
Open each USB Root Hub, choose Properties, open Power Management, clear Allow the computer to turn off this device to save power, select OK, and restart the computer.
Test Ports, Signal, and Bands
Move the computer closer to the router, ideally about 10 to 15 feet away. Test the connection on 2.4 GHz, 5 GHz, and 6 GHz when those bands are available. Run a speed test on the computer using the TP-Link adapter, then run the same speed test from a phone or tablet in the same location.
Compare the results to see whether the issue follows the adapter or the room. Open Computer Management, go to Device Manager, and check Network adapters when Windows does not detect the adapter. Plug the adapter into another USB port or PCIe slot.
Install the adapter on another computer and check whether Windows detects it there. If the adapter only fails in one port or one PC, troubleshoot that port, slot, or computer next.
Rebuild the Wi-Fi Connection
This fixes bad saved Wi-Fi profiles, router PIN prompts, blocked adapters, and networks that the adapter cannot see.
Open Settings, choose Network & internet, select Wi-Fi, then open Manage known networks. Select your Wi-Fi network and choose Forget, then select the network again and reconnect with the password.
Choose Connecting using a security key instead when Windows asks for a router PIN. Enter the Network Security Key or Wireless Password exactly, including capitalization.
Open Computer Management, go to Services, open WLAN AutoConfig, set Startup type to Automatic, choose Start, then select OK when no Wi-Fi networks appear. Open Device Manager, right-click the wireless adapter, open Properties, choose Advanced, and set Wireless Mode or Band so it allows the router’s frequency.
Tune the Router Settings
When the TP-Link adapter works on another network, fix the router side. Log in to a TP-Link router through tplinkwifi.net or 192.168.0.1, then open Advanced, Wireless, and Wireless Settings.
Check that the needed 2.4 GHz, 5 GHz, or 6 GHz band is enabled. Review Smart Connect, Enable Wireless Radio, Hide SSID, Network Name (SSID), Password, Channel, Channel Width, Security, and Mode, then choose SAVE.
Check TP-Link’s Tether compatibility list to confirm the router is supported. In the TP-Link Tether app, connect the phone or iPad to the router’s Wi-Fi, log in with the device password, open More, choose Wi-Fi Settings, select the band or network, adjust Network Name, Password, Smart Connect, Security, Hide SSID, Mode, Channel Width, Channel, or MU-MIMO, then select Save or Done.
Also check Access Control or Wireless MAC Filtering and make sure the adapter is not blocked. If router changes do not help, return to Windows and run network repair as the last resort.
Run Windows Network Repair
Open Start, go to Settings, select Windows Update, and choose Check for updates. Install available updates and restart when prompted. Run the Windows network troubleshooter from Settings, Network and Internet, Status, then Network troubleshooter. On current Windows 11 layouts, open Settings, System, Troubleshoot, Other troubleshooters, then run Network and Internet.
Open Command Prompt as administrator. Run netsh winsock reset, then run netsh int ip reset. Run ipconfig /release, then run ipconfig /renew. Run ipconfig /flushdns.
Run ipconfig, find the Default gateway, then run ping with that gateway address to test the link to the router. Check the wireless IP address, Default Gateway, and DNS settings, then set the IP option to Obtain IP Address Automatically when the adapter connects to Wi-Fi but has no internet. Use Network reset only after the other repairs fail, because Windows removes and reinstalls network adapters and resets network settings.
Reinstall the Adapter on Mac
Download the correct Mac driver from TP-Link’s Download Center. Plug the TP-Link adapter into the Mac. Double-click the downloaded driver to extract it, then open the extracted folder and run the .pkg installer.
Open System Settings, go to Privacy & Security, scroll down to Security, and choose Open Anyway when macOS blocks the installer. On macOS 12 and earlier, open System Preferences and go to Security & Privacy instead. Enter the Mac administrator username and password. Choose Install Software.
Select Continue Installation, then restart the Mac. Click the Wi-Fi icon, open Open Wireless Utility, wait up to one minute for scanning, then choose your Wi-Fi network and connect.
Open Finder, go to Downloads, open the old TP-Link driver folder, and run its uninstall file before installing the current package when an older TP-Link Mac driver is already installed. Use an administrator Mac account for driver installation; in Users & Groups, the account should show Admin.
Frequently Asked Questions
Why is my TP-Link Wi-Fi adapter not showing up in Device Manager?
Try another USB port or PCIe slot, then test the adapter on another computer. For USB models, disable USB Root Hub power saving in Device Manager and restart.
Can I use a Windows 10 TP-Link driver on Windows 11?
TP-Link says most TP-Link wireless adapters use the Windows 10 x64 driver on Windows 11, but confirm the exact model and hardware version on TP-Link’s compatibility page.
What should I do if the TP-Link driver installer fails?
Download the correct driver, extract the zip file, and install the .inf file manually through Device Manager. If installation still fails, briefly disable security software or install in Safe Mode.
Why does Windows ask for a PIN instead of my Wi-Fi password?
Choose Connecting using a security key instead, then enter the router’s Network Security Key or Wireless Password exactly, including capitalization.