OneNote's proofing and autocorrect features help you write cleaner notes by catching spelling errors and automatically capitalizing sentences. These tools are especially useful if you're taking quick notes or working on longer documents.
Here's how to enable both features in OneNote on Windows 10:
How to proceed
- 1.Open OneNote on your Windows 10 computer
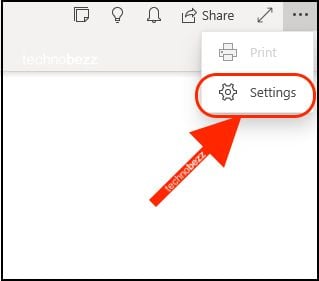
- 1.Click the three dots in the top-right corner of the app to open the menu
- 1.Select Settings from the menu options
Click to expand
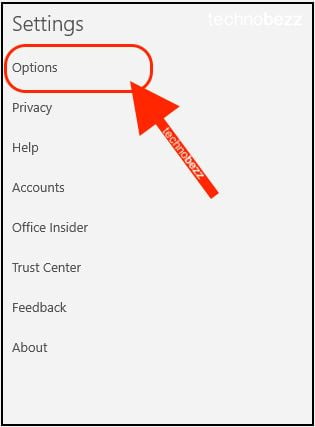
- 1.Choose Options from the Settings menu
Click to expand
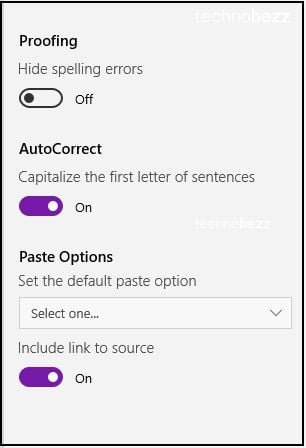
- 1.Scroll down until you find the Proofing and AutoCorrect section
- 1.Toggle the switches next to each option to turn them on
Click to expand
That's it! Once enabled, proofing will highlight spelling errors with red underlines, and autocorrect will automatically capitalize the first letter of new sentences as you type.
These settings help maintain professional-looking notes without interrupting your workflow. You can always return to these options to adjust them later if needed.