We take more photos than ever with our smartphones, but often those images need quick adjustments. Cropping and rotating are two of the most common edits people make to improve their photos. If you're using Windows 10 or Windows 11, the built-in Photos app makes these changes simple with just a few clicks.
Here's how to crop and rotate your images using the Windows Photos app.
Getting Started with the Photos App
First, open the Photos app on your Windows PC. You can find it in your Start menu or by searching for "Photos." Once the app opens, navigate to the image you want to edit and double-click to open it.
Accessing the Editing Tools
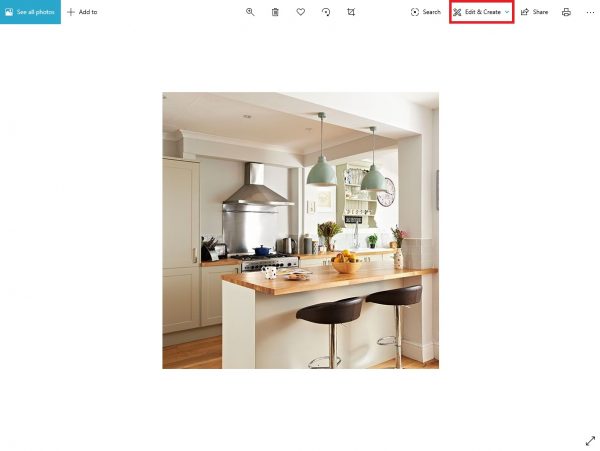
With your image open, look for the "Edit & create" button in the top-right corner of the window. Click this button to reveal a dropdown menu with various editing options.
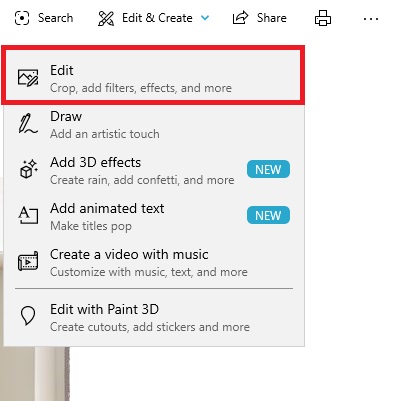
From the dropdown menu, select "Edit" to enter the editing interface where you'll find all the tools you need.
Cropping Your Image
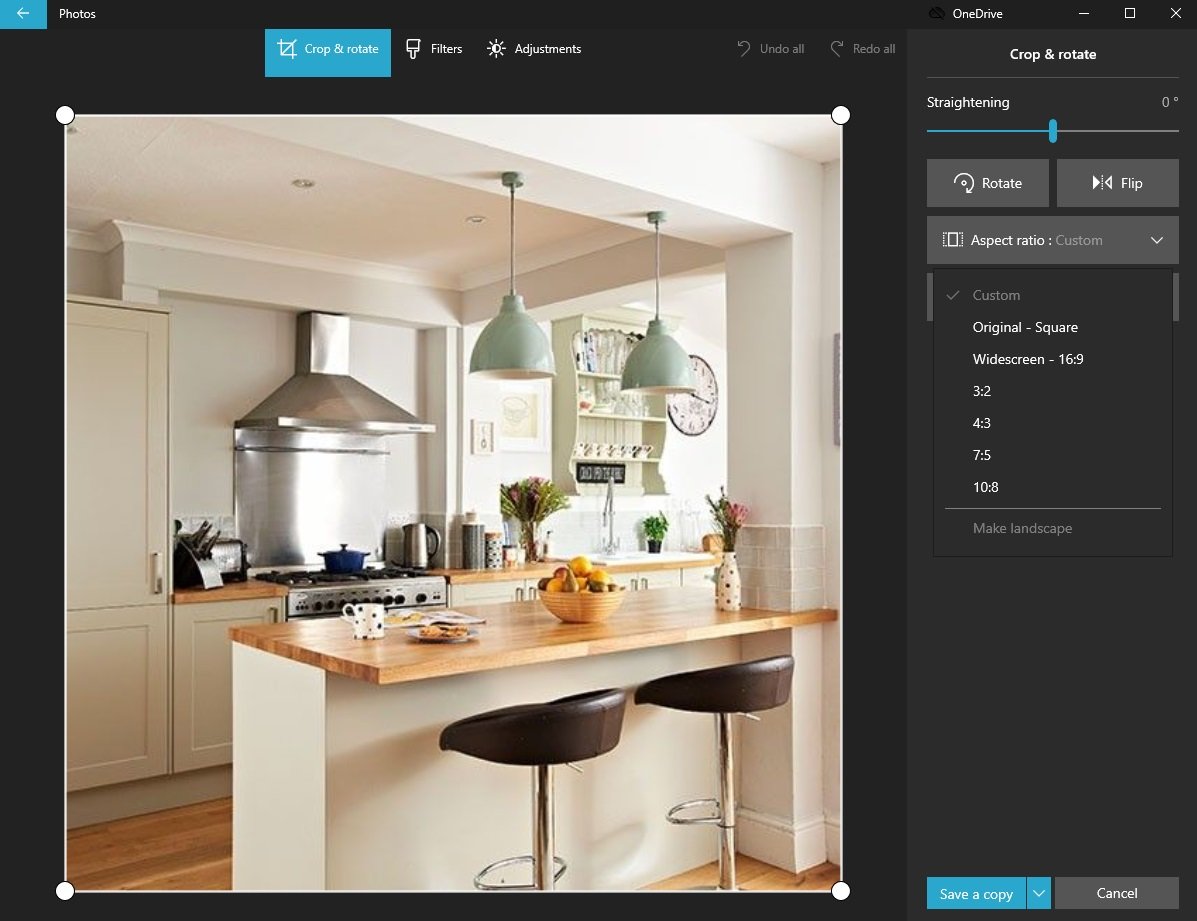
The crop tool appears immediately when you enter edit mode. You have two main ways to crop your photo:
Manual Cropping: Click and drag the circular handles at the corners of your photo to adjust the crop area. This gives you complete control over exactly what parts of the image to keep.

Aspect Ratio Cropping: Click the "Aspect ratio" button to choose from preset ratios like square, 16:9, or 4:3. This automatically crops your image to standard dimensions perfect for social media, printing, or specific display requirements.
Rotating and Flipping Images
On the right side of the editing interface, you'll find rotation options. Click the rotate button to turn your image 90 degrees clockwise with each click. This is perfect for fixing photos taken with your phone in the wrong orientation.
You can also use the "Flip" button to mirror your image horizontally. This creates a mirror image effect that can be useful for creative compositions or correcting scanned documents.
Saving Your Edited Image
When you're satisfied with your changes, click "Save a copy" in the bottom-right corner. This creates a new file with your edits while preserving your original image. Choose where you want to save the copy and click "Save."
If you want to overwrite the original image instead, click the small arrow next to "Save a copy" and select "Save" from the dropdown menu. This will replace your original file with the edited version, so use this option carefully.
That's all there is to it! The Windows Photos app provides simple yet powerful tools for basic image adjustments. Whether you're cropping to improve composition or rotating to fix orientation, these quick edits can make a big difference in how your photos look.