To print labels, choose a template that matches your label package’s product number, enter your text, and print the sheet at 100% scale. You can create the layout in desktop Word, Avery Design & Print Online, Mac Contacts or another app with a matching template. Inspect a plain-paper test before loading label stock.
The short version
- Match the package: Select the exact label product number and paper size before entering your content.
- Choose your layout: Use repeated labels for one address, individual cells for different text, or mail merge for an address list.
- Keep the size: Print a correctly sized label sheet at 100% scale.
- Check the alignment: Inspect a plain-paper test before printing on compatible label stock.
| Method | Use it for | What you need |
|---|---|---|
| Desktop Word | Repeated or individually entered labels | Matching stock definition or template |
| Word mail merge with Excel | Labels filled from an address list | Desktop Word and a saved workbook |
| Avery Design & Print Online | Browser designs and spreadsheet imports | Avery product number and an account |
| Mac Contacts | Addresses saved as contacts | Contact cards containing addresses |
| LibreOffice Writer | Desktop labels on Windows, Mac or Linux | Matching stock or custom dimensions |
| Word for the web | Manually filled label sheets | A suitable label template |
| Apple Pages | Manually filled labels on a Mac | A matching Avery Pages template |
| USPS Click-N-Ship | Purchased postage labels | Shipment details and payment |
Match your label stock and connect your printer
Find the manufacturer and product number on your label package, then match them in your chosen program. The template must match the paper size, label dimensions and spacing. Use stock compatible with your printer and follow its instructions for loading and feeding label sheets.
Make sure the printer is available before creating the design. Connect a USB printer, or connect a network printer to the appropriate network. On Windows 11, open Settings > Bluetooth & devices > Printers & scanners, select Add device, and choose your printer. If discovery fails, use the displayed manual-add option and follow its prompts.
On a Mac, open the Apple menu > System Settings > Printers & Scanners, select Add Printer, Scanner or Fax, choose the printer, and select Add. For an AirPrint printer, connect your Mac and printer to the same network. A compatible USB printer may configure itself when connected.
Create a sheet in desktop Word
In desktop Word, select Mailings > Labels > Options. Choose the label manufacturer and product number, then enter your text in Address. On Mac, the corresponding fields include Label products, Product number and Delivery Address. These tools are available in Word for Microsoft 365, Word 2024 and Word 2021 on Windows and Mac.
For a sheet containing the same text on every label, select Full page of the same label. Choose New Document to create an editable sheet, or select Print when the content is ready.
To put different text on each label, select your stock through Mailings > Labels > Options, then choose New Document on Windows, or select OK in the Labels dialog on Mac. Enter each label’s text in its own table cell. If the cell boundaries are hidden, select Layout > Align > View Gridlines, then print through File > Print.
When your stock is missing from the choices, select Mailings > Labels > Options > New Label and enter its actual measurements. Save and select that definition, enter your content, then choose Print or New Document.
For one unused position on a partially used sheet, select your stock through Mailings > Labels > Options. Enter the content, select Single label, and set Row and Column to the unused position. Load the sheet following your printer’s stock instructions, then select Print.
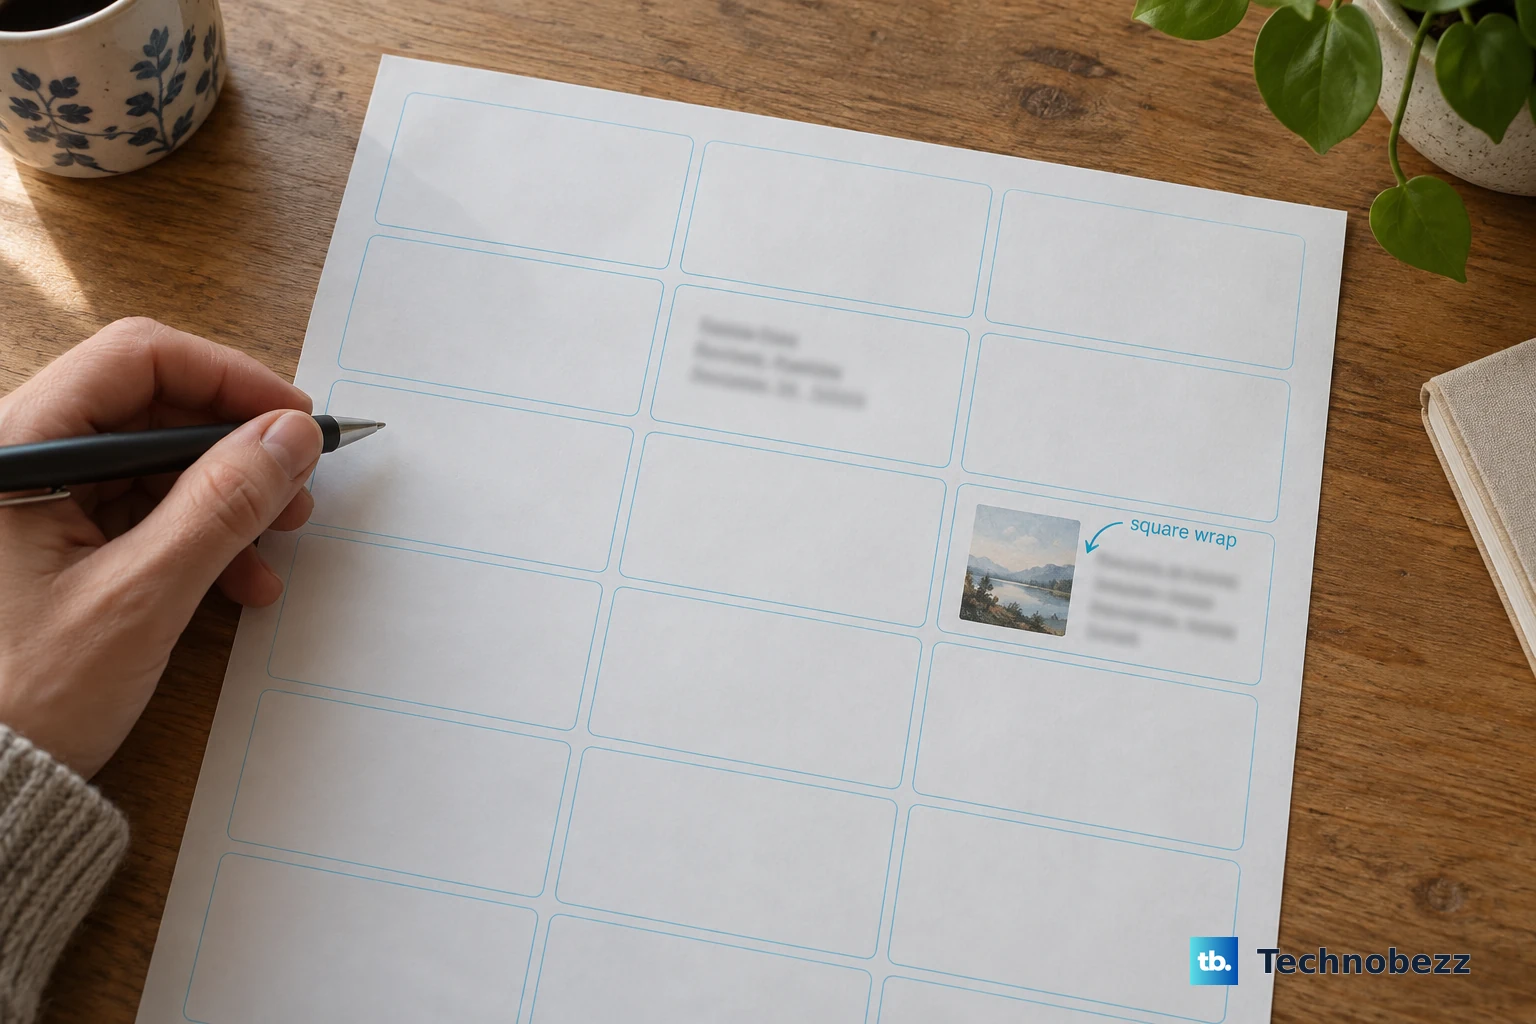
To add a picture, insert it into a label in an editable sheet. Select Picture Format > Text Wrapping > Square on Windows, or Picture Format > Wrap text > Square on Mac. Position it, add your text, and copy the completed label into the other cells before printing.
Fill labels from an Excel address list
Create an Excel worksheet with named address columns, format postal codes as text, and save the workbook locally. Word uses that workbook to fill the printable label layout. You need desktop Word because Word for the web does not run desktop mail merge.
In Word for Windows, select Mailings > Start Mail Merge > Step-by-Step Mail Merge Wizard. Choose Labels, then Next: Starting document > Label Options, and select your stock. Continue to Next: Select recipients, choose Browse, and select the workbook and its worksheet or range.
Proceed to Next: Arrange your labels, insert an Address block, and select Update all labels. Preview the labels and check the address fields and recipients. Complete the wizard and choose Print.
On Mac, select Mailings > Start Mail Merge > Labels, then choose Label products and Product number. Choose Select Recipients > Use an Existing List, and select your workbook and worksheet or range. Use Insert Merge Field to build the first label and format it. Select Update Labels > Preview Results > Finish & Merge > Print Documents.
For an editable copy of the merged labels, choose Finish & Merge > Edit Individual Documents before printing. Inspect or edit the generated document, then use File > Print.
Design labels in your browser with Avery
Open Avery Templates, find your product number, and select Start Designing. Sign in or create an account, choose a design, and continue to Customize Design. Add text through Text > Add Text Box, and pictures through Images > Add Image.
Use the Navigator’s Edit All option to make changes across the sheet. To give individual labels different content, choose Edit One and select the label you want to change. Repeat for the remaining positions, then select Preview & Print > Get PDF To Print.
To import addresses, open Customize > Import Data > Start Import/Merge > Browse for File and choose a supported Excel or CSV file. In Choose Fields, exclude the header row as appropriate. Select Next > Arrange Fields, position the fields, then select Next > Finish. Review the results through Preview & Print and select Get PDF To Print.
For a partially used sheet, open Preview & Print > Show Print Options. Set Fill direction and use Print Specific Labels / Cards or Print from # to # to choose the positions, then select Get PDF To Print. Print the PDF at 100% scale.
To add a QR code, select QR and Barcodes > Add Barcode or QR Code. Choose the format, enter its content, and position the generated code on the label before previewing and printing. If it contains a web address, scan the QR code to check its destination.
If older instructions ask you to install Avery Wizard, DesignPro or downloadable Design & Print, use Avery’s current online designer instead. Avery has retired those products, and Word’s built-in label tools also provide a current alternative.
Print address labels from Mac Contacts
Select the contacts or contact list you want to print, then open File > Print and choose Mailing Labels under Style. If Style is hidden, expand the disclosure arrow beside Contacts. Only contact cards containing addresses print.
Open Layout and choose Avery Standard, A4 or Define Custom to match your stock. Use Label to adjust the included information, sorting, image and font, then select Print. For a return-address label, select your own contact card before opening the print dialog.
For a repeated sheet, create a contact list and copy and paste the desired card into that list repeatedly. Select the list, open the mailing-label print options, match the layout to your stock, and print.
Use LibreOffice or a ready made template
For label tools on Windows, Mac or Linux, install LibreOffice from the official LibreOffice download page. Open Writer and select File > New > Labels. On Labels, choose your stock and enter the text in Inscription, or use Format and Type > User for custom measurements.
Under Options, choose Entire Page or Single Label, specifying Column and Row for one label. For repeated labels, enable Synchronize contents before selecting New Document. Edit the upper-left label and choose Synchronize Labels to apply its content to the others. For a single label, select New Document without synchronization, then print either layout through File > Print.
In Word for the web, create a document from a label template, using More templates to find additional choices. Fill the cells manually, copying content into other cells for repeated labels, then print. The web edition does not have desktop Word’s direct Labels creation feature.
For Pages on Mac, download the template for your exact product number from Avery’s Apple Pages templates. Open it in Pages and fill the cells. Select File > Page Setup, match the paper size, and set Scale to 100%. Continue to File > Print and choose suitable media and quality settings; template availability depends on your label product.
Create and print purchased shipping labels
For purchased postage, use the carrier’s generated label. In USPS Click-N-Ship, choose Create This Label or New Label, complete the sender, recipient, package and service information, and select Add to Cart. Complete payment and obtain the printing output, then match your paper or thermal-label size before printing.
To save or reprint a purchased USPS label, open Shipping History > Order History and select the order and label. Choose More Actions > Save PDF, select the printing format, and choose Get PDF. USPS’s reprint and save window ends at midnight Central time on the shipping date.
If you need a participating Post Office to print an eligible label, open the purchased label in order history. Choose More Actions > Print at the Post Office, then present the emailed QR code or Label Broker ID at the participating location.
Fix label sizing and printing problems
Before using label stock, choose the correct printer and paper size and print a plain-paper test. In Acrobat or Acrobat Reader, select Print this file, then Page Sizing & Handling > Size > Actual size. In Mac Preview, open File > Print, select Scale, and enter 100% for a design that already matches the stock. Inspect the output against your label sheet.
If the positions do not line up, confirm the exact product number, page size, label dimensions and spacing. Check that printing uses 100% scale. Correct any mismatches and repeat the plain-paper test before loading labels.
For print-quality problems, open the printer’s Preferences or Properties and choose a supported media setting and suitable quality. Media choices may include Labels, Heavyweight, Matte Photo or Cardstock; follow your printer’s stock and feed instructions. Use the system print dialog when the app’s print window does not expose the required driver controls.
If your Windows 11 printer is missing, return to Settings > Bluetooth & devices > Printers & scanners and use Add device. If it is listed but incorrectly configured, select it and choose Remove, then reconnect it or use Add device to install it again. Once it is available, check the label template and scaling before printing.
Frequently Asked Questions
Can you print labels from Google Docs or Google Sheets?
Yes, third-party add-ons such as Foxy Labels and Labelmaker create label sheets from documents or spreadsheet rows. Install your chosen add-on through Extensions > Add-ons > Get add-ons, select Install, and complete the authorization prompts. Use the add-on’s matching-stock template and label creation tools, then print the generated document at 100% scale. Avery’s original Google Docs Label Merge add-on is retired.
Can you create labels in Canva?
Yes, you can design labels and download them through Share > Download > PDF Print. For precut sheets, your layout must match the stock because an individual label design does not automatically create a correctly arranged sheet. Add Crop marks and bleed only when your printing service requires them.
Do you need Word to use a dedicated label printer?
No, you can use software supported for your printer, such as DYMO Connect or Brother P-touch Editor. In DYMO Connect, select the printer and matching media, choose New, select a horizontal or vertical Simple template, and choose Open. Enter your content and select Print, using software and drivers supported for your exact model.
Can a Chromebook print labels over Bluetooth?
You cannot use Bluetooth through native ChromeOS printing, which supports compatible USB or network printers. Supported vendor browser or extension workflows are separate options. MUNBYN offers browser Bluetooth printing for specified models, so check your model’s compatibility before choosing that route.
Can you reuse your label print settings on a Mac?
Yes, configure the printer, stock, scale and other options in File > Print, then choose Presets > Save Current Settings as Preset. Name and save the preset, then select it for later compatible label jobs. The settings retained depend on the printer and app.