
You unlock your Galaxy Tab S11 Ultra, pull down the quick panel, and there it is: "SIM Not Provisioned MM#2." You tap the notification thinking it'll go away, but the data icon stays gray. Your tablet has an internet connection just sitting there, but the carrier won't let it through.
This error is a network-side lockout, not a hardware failure. The Tab S11 Ultra has done its job reading the SIM card, it just can't complete the handshake with your provider. Let's get that sorted.
Check if the Account Is Actually Active
This is the most common reason the error shows up, and it's also the easiest to rule out. If you just signed up for a new data plan for the Tab S11 Ultra, the SIM might not be fully activated yet.
Pull up your carrier's app or website and check the status of the line attached to that SIM. If you're on a prepaid plan, make sure there's enough balance to keep the service running. Even a $0 balance can trigger this exact error on some networks.
Give activation about 15 minutes from when you last inserted the SIM. Some carriers take a few minutes to register the tablet's IMEI on their end.
Toggle Airplane Mode, Then Reconnect
This is the single quickest way to force the Tab S11 Ultra to re-register with the network. Open the quick panel from the top right and tap the airplane mode icon. Leave it on for about 15 seconds, then tap it off again.
Watch the status bar for the signal bars or LTE/5G icon to reappear. If the error goes away, your tablet just needed a fresh registration handshake. If it doesn't, move on to the next step.
Remove and Reseat the SIM Card
Even on a tablet this well-built, the SIM tray can be finicky. Power the Tab S11 Ultra off completely, then use the ejector tool to pop out the SIM tray. Take a close look at the gold contacts on the SIM card for any scratches, dents, or discoloration.
Wipe the contacts gently with a dry microfiber cloth, then reinsert the card making sure it sits flat in the tray. Push the tray back in until it clicks flush with the frame, then power the tablet back on.
A partially seated SIM can cause the "Not Provisioned" error even if the tray appears closed. This is worth double-checking.
Manually Select the Network
When the Tab S11 Ultra fails to auto-detect the correct network, the SIM looks unprovisioned even when it's fully active. Open Settings > Connections > Mobile Networks > Network Operators. Tap Search Networks and wait for the list to populate.
Select your carrier from the list. If your carrier offers multiple bands (like 4G and 5G separately), pick the one that matches the default for your plan. The tablet will attempt to register again, and in many cases the provisioned status clears immediately.
Update Carrier Services and Device Firmware
Android 16 on the Tab S11 Ultra relies on Carrier Services for smooth network authentication. If that app is outdated, the provisioning system can get confused. Open the Google Play Store and tap your profile icon, then Manage apps and device. Check for pending Carrier Services updates and install them.
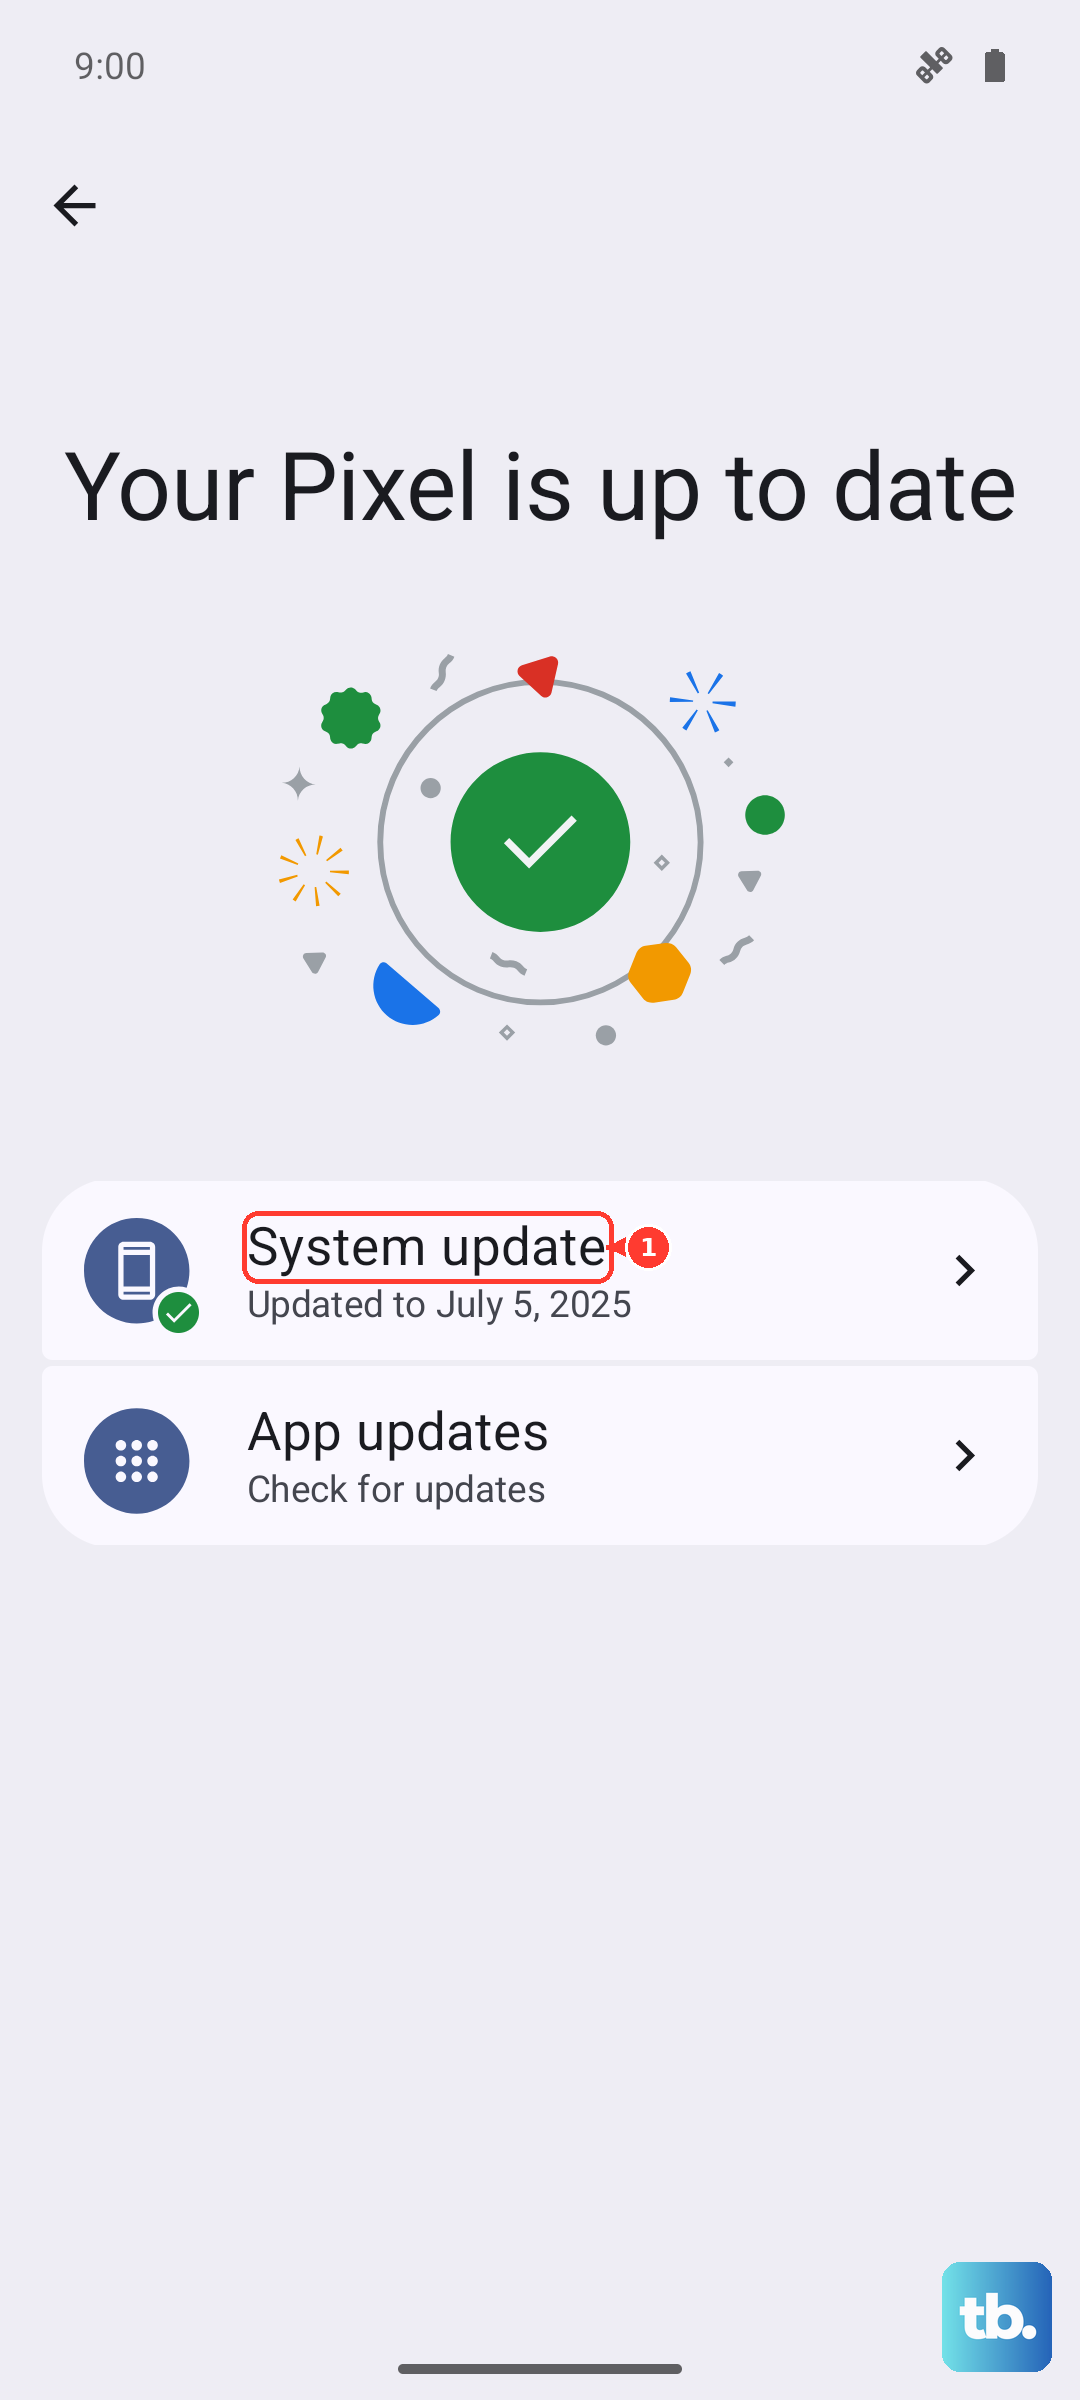
While you're at it, check if a system update is available. Go to Settings > Software Update > Download and Install. Samsung has issued several connectivity patches for the Tab S11 Ultra since its 2025 release, and a recent update might include a fix for this exact carrier detection bug.
Reset Only the Network Settings
If you've tried everything above and the error persists, it's worth resetting the network configuration without wiping your apps or data. Go to Settings > General Management > Reset > Reset Network Settings.
This will clear saved Wi-Fi networks, Bluetooth pairings, and mobile network preferences, but it won't touch your files or accounts. After the reset, the Tab S11 Ultra will ask you to reconnect to Wi-Fi and re-enter your mobile APN settings if they were custom. The SIM should then attempt a clean registration.
Try the SIM in Another Device
This is the fastest way to determine whether the problem is with the SIM card itself or the Tab S11 Ultra. Pop the SIM out and insert it into an unlocked phone or another tablet. If the error appears on that device too, the issue is on the carrier side and you'll need to request a replacement SIM.
If the other device connects fine, the Tab S11 Ultra's SIM reader or radio module might have a glitch. In that case, a force restart can clear any hung system processes. Press and hold the Power button and Volume Down button simultaneously for 10-15 seconds until the Samsung logo appears. Let go and test the connection.
A force restart doesn't erase any data, it just reboots the hardware layer, which sometimes resolves provisioning errors that a regular restart can't touch.
If It's an eSIM, Double Check the QR or Activation Code
The Tab S11 Ultra supports eSIM alongside the physical SIM slot, and eSIM provisioning errors are a bit different. If you're using an eSIM and seeing this error, the profile might not have downloaded completely or the QR code might have expired. Go to Settings > Connections > SIM Card Manager and check if the eSIM profile shows as active.
If you see an option to "Reset eSIM" or "Remove eSIM Profile," delete the profile entirely. Then re-add it using the original QR code or activation code from your carrier. Make sure you're on a strong Wi-Fi connection during the download, because the profile needs internet to activate.
Contact the Carrier for a Provisioning Push
Sometimes the problem is purely on the carrier's side and no amount of tablet tinkering will fix it. Call or chat with your provider and explain you're seeing the "SIM Not Provisioned MM#2" error on a Samsung Galaxy Tab S11 Ultra. Ask them to send a provisioning refresh or "network reset" signal to your line.
Most carriers can do this remotely in under a minute. Your tablet will receive a silent SMS or carrier-configuration message, and within a few seconds the error should disappear. This has been the actual fix for many users running Android 16 who had already tried all the device-side steps.