You want Windows 11 on the PC in front of you, but Windows Update has not offered the upgrade yet or you are not sure which Microsoft install path fits. The Windows 11 Installation Assistant is the direct upgrade tool for an eligible x64 Windows 10 or Windows 11 PC. Start with the assistant when you are upgrading the current PC in place, then switch to Windows Update, installation media, or the Arm64 ISO only when that better matches your device.
1. Confirm the assistant fits this PC
Use the Windows 11 Installation Assistant only on the computer you want to upgrade. Microsoft lists the current release on its Windows 11 download page as Windows 11 2025 Update | Version 25H2, and the assistant is built for supported x64 PCs.
The PC must run Windows 10 version 2004 or higher or Windows 11, and you need a Windows 10 or Windows 11 license. The PC needs 9 GB of free disk space, and the assistant works on x64 hardware. It does not run on Arm-based PCs. If the PC uses an Arm processor, skip the assistant and use Microsoft’s Windows 11 Arm64 ISO path later in this page.
2. Download it from Microsoft
Open Microsoft’s Windows 11 download page, then find Windows 11 Installation Assistant. Select Download Now, and save Windows11InstallationAssistant.exe on the PC you are upgrading.
Get the file from Microsoft, not from a third-party download site. Microsoft also hosts the same assistant on its Download Center product page. On that page, confirm Version: 25H2, then select Download.
3. Start the upgrade
Run the assistant from the same PC after the file finishes downloading.
- 1.Select Run for Windows11InstallationAssistant.exe.
- 2.Approve the administrator or UAC prompt if Windows shows one.
- 3.When compatibility is confirmed, select Accept and Install.
- 4.When prompted, select Restart Now.
- 5.Leave the PC on while it restarts several times and finishes installing Windows 11.
Microsoft says the assistant can be used before Windows Update offers the upgrade, while Windows Update remains Microsoft’s recommended route when the offer is already available.
4. Refresh compatibility with PC Health Check
If the assistant asks you to use PC Health Check, install or open PC Health Check. Right-click Start, then select Search, and type pc health check. Under Best match, select PC Health Check.
Select Check now. Return to the Windows 11 Installation Assistant and select Refresh. After hardware changes, Windows Update eligibility can take up to 24 hours to refresh.
5. Allow the downloaded app when Windows blocks it
Change the app recommendation setting when Windows blocks or warns about installing apps from outside the Microsoft Store. Open Start, select Settings, then select Apps. Select Advanced app settings.
Next to Choose where to get apps, choose Anywhere or Anywhere, but let me know if there's a comparable app in the Microsoft Store. After that, run Windows11InstallationAssistant.exe again.
6. Switch to Windows Update when it is offered
Windows Update is the cleanest path when Microsoft has already validated the device for the upgrade. On Windows 11, open Start > Settings > Windows Update > Check for Windows updates. If the upgrade appears, select Download & install, then restart if prompted.
On Windows 10, open Start > Settings > Update & Security > Windows Update > Check for Windows updates. If Windows 11 is ready, select Download and install. Microsoft recommends moving to Windows 11 because Windows 10 support ended on October 14, 2025.
7. Create media or mount an ISO instead
Open Microsoft’s Windows 11 download page. Under Create Windows 11 Installation Media, select Download Now, then run MediaCreationTool.exe. Select Accept.
On What do you want to do?, select Create installation media for another PC. Select Next, choose the language, edition, and architecture, then choose USB flash drive or ISO file.
Use Microsoft installation media when you need a USB, DVD, ISO, or an upgrade launched from setup media. The Media Creation Tool is for x64 PCs and cannot create installation media for Arm-based PCs. Microsoft requires a license, internet access, storage, and a blank USB flash drive or DVD of at least 8 GB.
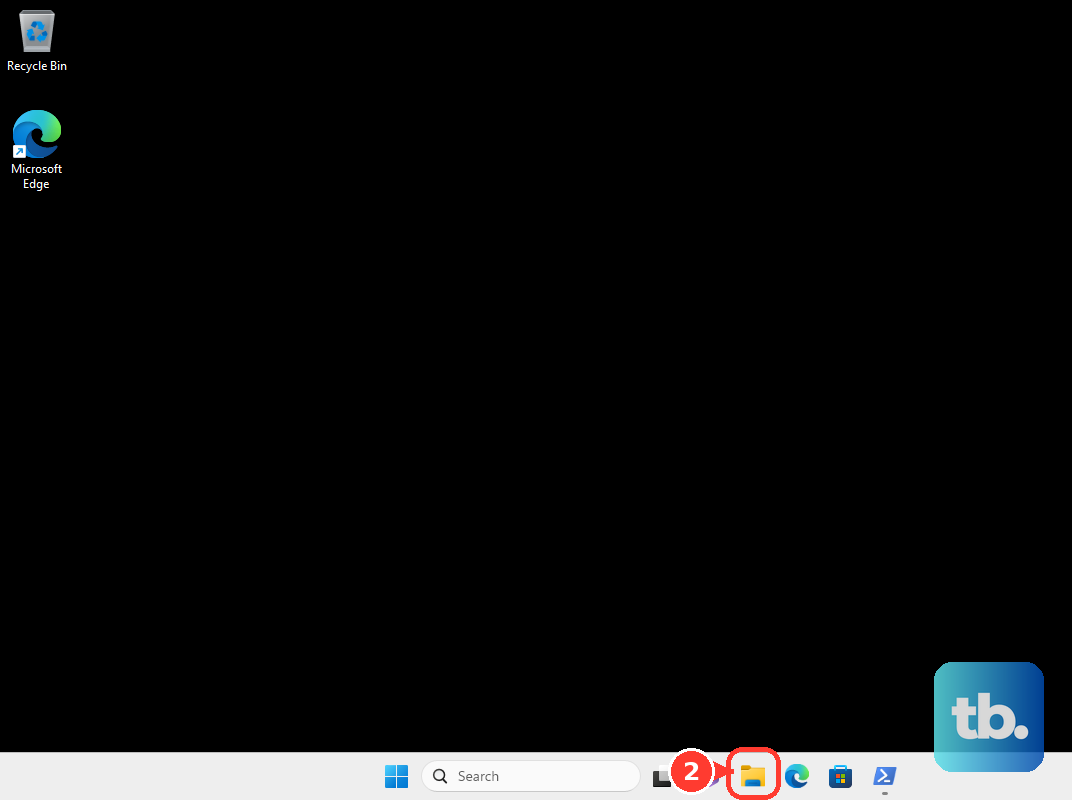
To upgrade from that media inside Windows, sign in, insert the USB or DVD, then select Run setup.exe. If no pop-up appears, open File Explorer, select the media drive, and run setup.exe.
To use the x64 ISO directly, download it from Download Windows 11 Disk Image (ISO) for x64 devices. If needed, right-click the ISO, select Properties, use Change... next to Opens with, choose Windows Explorer, then select Apply. Right-click the ISO, select Mount, open the virtual disc, and double-click setup.exe.
For an Arm-based Windows PC, use Microsoft’s Windows 11 Arm64 ISO download page. Select Download Windows 11 (multi-edition ISO for Arm64), choose a language, download the ISO, select Mount, open the virtual disc, and run setup.exe.
8. Remove the assistant or go back after upgrading
After the upgrade, uninstall the assistant like any other Windows app. Open Start, select Settings, then select Apps. Select Installed apps, find the assistant, select More, and select Uninstall.
You can also open Start > All apps, right-click the app, and select Uninstall. Another Microsoft-supported route is Control Panel > Programs > Programs and Features, then right-click the program and select Uninstall or Uninstall/Change.
To return to the previous Windows version after a recent upgrade, open Settings > System > Recovery, then select Go back if it is available. Microsoft says this option is available only for a limited time, in most cases 10 days. Keep the windows.old and $windows.~bt folders, remove user accounts added after the upgrade, and keep the USB drive used for the upgrade when one was used.
9. Follow your organization’s update policy
On a work or school PC, the Windows 11 offer can be controlled by Group Policy or Microsoft Intune. That is why a PC can show Some settings are managed by your organization or stay locked to a specific Windows feature update.
Administrators can manage feature update timing in Group Policy under Computer Configuration > Policies > Administrative Templates > Windows Components > Windows Update. They can also use Manage updates offered from Windows Update > Select when Preview Builds and feature updates are received or Select the target feature update version. In Intune, Windows feature update policies can target a Windows version, lock devices to that release, and prevent moving beyond it.
Do not use older command-line switch recipes for Windows11InstallationAssistant.exe. Microsoft’s current consumer documentation teaches the graphical assistant flow, and the verified Microsoft Q&A source did not confirm those switches as a supported consumer method.
Frequently Asked Questions
Can I use the Windows 11 Installation Assistant before Windows Update offers Windows 11?
Yes. Microsoft says the assistant can be used before the upgrade appears in Windows Update, though Windows Update is still the recommended route when the offer is available.
Where do I get the Windows 11 Installation Assistant for 25H2?
Use Microsoft’s Windows 11 download page or Microsoft’s Download Center product page. The file is Windows11InstallationAssistant.exe, and the Download Center page lists Version 25H2.
What should I use on an Arm-based Windows PC?
Use Microsoft’s Windows 11 Arm64 ISO download page. The Windows 11 Installation Assistant does not run on Arm-based PCs.
Can I uninstall Windows 11 Installation Assistant after upgrading?
Yes. Use Start > Settings > Apps > Installed apps, find the assistant, select More, then select Uninstall.
How long do I have to go back to the previous Windows version?
Microsoft says Go back is available only for a limited time after upgrading, in most cases 10 days.