Canon IJ setup gets messy fast when search results point to old discs, typo domains, or setup paths that no longer work. Start from Canon's official model page, then choose the connection path for the device you use. Here is the clean setup order for Wi-Fi, USB, Windows, Mac, mobile, and Chromebook.
1. Start Canon IJ setup from the official Canon site
- 1.Go to https://ij.start.canon/ or https://ij.start.canon/connect.
- 2.Select your product category or enter your printer model.
- 3.Open the Setup or Connect flow for your printer.
- 4.Choose Windows or macOS when the page asks for your computer OS.
- 5.Select Download, run the downloaded setup file, and follow the instructions.
- 6.Pick the connection type offered for your model, such as Wi-Fi, USB Connection, or Wired LAN.
Use Canon's official setup address or Canon Support downloads, and skip typo domains and third-party driver portals.
2. Install the Canon printer on Windows
This fixes a Canon printer that is powered on but missing from Windows.
Select Download on your Canon model page and open the setup file.
Next, follow the prompts for Wi-Fi, USB Connection, or Wired LAN.
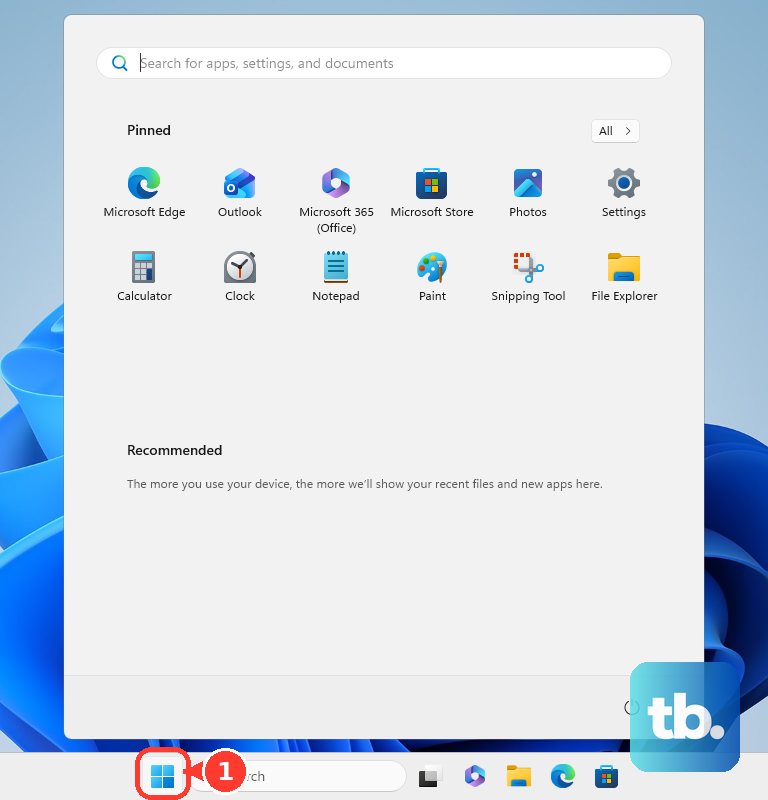
For Windows' built-in setup path, open Start, then Settings, then Bluetooth & devices, then Printers & scanners.
After that, select Add device next to Add a printer or scanner.
Choose your Canon printer and select Add Device.
If Windows does not find it, select The printer that I want isn't listed or Add a new device manually.
After adding the printer, use Windows Update to get updated printer drivers.
3. Set up Wi-Fi from the printer controls
For Easy Wireless Connect on button models, press and hold Wireless connect until Processing appears or the Direct icon flashes, then release it.
Then return to the Canon setup software or Canon PRINT app and continue setup.
For LCD models, open HOME, then LAN settings, then Wi-Fi, then Settings, then Wi-Fi setup, then Easy wireless connect, then OK.
If Easy Wireless Connect is not available, use HOME, then Settings, then LAN settings, then Wi-Fi, then Wi-Fi setup, then Manual connect.
Choose your wireless router or SSID, enter the Wi-Fi password, and confirm the connection.
When your printer shows different labels, use the model setup guide Canon displays at ij.start.canon.
4. Connect with USB or wired LAN
This fixes setup failures caused by weak Wi-Fi, unsupported wireless setup modes, or a printer that works better on a cable.
For USB, run the Canon setup software and choose USB Connection.
Once the installer continues, wait until it shows Printer Connection or Connect Cable.
Connect the USB cable to the Canon printer and computer, then finish setup.
On Mac, connect the USB cable, then open System Settings, then Printers & Scanners to confirm the Canon printer is listed.
For wired LAN on models with Ethernet, connect an Ethernet cable between the printer and router or network device.
On the printer, use Setup or HOME, then Device settings, then LAN settings, then Wired LAN, and enable the connection as prompted.
5. Add the printer on Mac, iPhone, Android, or Chromebook
On Mac, open System Settings, then Printers & Scanners, then Add Printer, Scanner, or Fax.
Select the Canon printer and choose Add.
For IP setup on Mac, select IP, enter the printer address, choose AirPrint or Internet Printing Protocol - IPP, then choose Add.
On iPhone or iPad, connect an AirPrint-enabled Canon printer and the Apple device to the same Wi-Fi network, open the app's print dialog, choose Printer, select the Canon printer, and choose Print.
For iPhone, iPad, or Android, install Canon PRINT from the App Store or Google Play, open Canon PRINT, and follow the in-app setup prompts to add the printer.
On Chromebook, connect the printer to the network, then use the Chromebook's Add your printer flow. When the printer is not connected yet, use a smartphone, Windows PC, or Mac to visit ij.start.canon first.
6. Use WPS or Wireless Direct when normal Wi-Fi is awkward
For WPS push-button setup on LCD models, select WPS (Push button method) and press OK, then press OK again on the confirmation screen.
After that, press and hold the router's WPS button, then press OK on the printer within 2 minutes. On button-only models such as the TS3700 series there is no OK step: press and hold the Wireless select button until the Wi-Fi lamp flashes, then press the router's WPS button within 2 minutes.
When connected, press OK or Back as prompted, then return to the Canon setup software.
For WPS PIN setup, open Wi-Fi setup, then WPS (PIN Code) Connection, and enter the displayed PIN in the router's WPS or PIN page.
For Wireless Direct, use HOME, then Setup, then Printer settings, then LAN settings, then Wireless Direct, then enable the connection.
On your phone or computer, open Wi-Fi settings, choose the DIRECT-XXXX-[model] network, and enter the printer password.
Use manual Wi-Fi setup when WPS fails with WPA3 router security, and check your model page before connecting more than five Wireless Direct devices.
7. Fix drivers utilities and printer not found errors
This fixes broken installs, old drivers, and Canon utilities that no longer detect the printer correctly.
Use Canon Support's Software & Drivers page when ij.start.canon does not show the full driver, utility, or manual you need.
Then use Search for your Product to Get Started, choose Printers, select the device, and download the recommended drivers or software for the detected or selected OS.
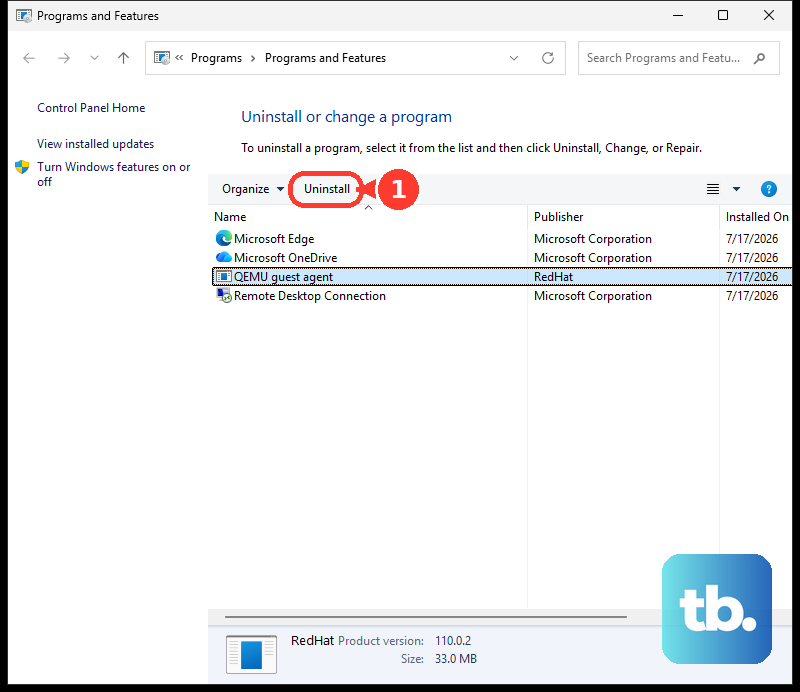
On Windows, remove old Canon MP Drivers from Control Panel, then Programs, then Programs and Features, then select Canon XXX MP Drivers, then Uninstall.
On macOS, open System Settings, then Printers & Scanners, select Canon IJ Printer, choose the remove control, and select Delete Printer.
On Windows, remove old network tools from Control Panel, then Programs and Features, then IJ Network Device Setup Utility, then Uninstall.
On macOS, open Finder, then Go, then Applications, then Canon Utilities, then move IJ Network Device Setup Utility or IJ Network Tool to Trash, restart, and empty Trash.
Reinstall from ij.start.canon or Canon Support after the old printer entry or utility is removed.
8. Skip older Canon IJ setup advice that no longer helps
Do not use Google Cloud Print setup paths. Canon says Google Cloud Print was discontinued by Google on December 31, 2020, and Canon inkjet Google Cloud Print functions are no longer supported.
Use ChromeOS native printing instead of Google Cloud Print on a Chromebook.
Treat Setup CD-ROM instructions as legacy guidance. Use ij.start.canon or Canon Support downloads for current software and drivers.
Use https://ij.start.canon/ instead of older canon.com/ijsetup references.
Avoid unofficial search-result ads, typo domains such as ij.start.cannon, and third-party driver portals.
The current replacement is simple; start at ij.start.canon, enter your exact model, and follow Canon's current setup path.
9. Know when school or work settings block setup
On managed Windows PCs, school or work policies control printer setup and Windows protected print behavior. For a personal PC, use Start > Settings > Bluetooth & Devices > Printers & scanners > Printer Preferences > Windows protected print mode > Set up > Yes, continue.
Microsoft introduced this mode in Windows 11, version 24H2, so earlier Windows versions do not show it, and because it is built for Mopria certified printers, turning it on uninstalls printers that use third-party drivers such as Canon MP Drivers.
For a non-compatible printer, use Turn Off > Yes in the same setting.
When those controls are locked, contact the person or team that manages the device.
Frequently Asked Questions
Can I use Canon PRINT on Windows too?
Yes. Open Microsoft Store, search for Canon PRINT, and choose Get or Install. Canon describes Canon PRINT as formerly Canon Inkjet Smart Connect.
What changes in Windows S mode or Windows on Arm?
Put the printer on the network or connect it by USB, then use Start > Settings > Bluetooth & devices > Printers & scanners > Add device. Canon's Windows S mode path uses automatic driver installation, and Microsoft recommends the built-in add flow on Arm PCs unless the manufacturer gives a different instruction.
How do I print from Android after the printer is already set up?
Install Canon Print Service from Google Play, then open Android Settings > Printing > Canon Print Service and activate it. On Android 7 or later, Google Play lists the service as automatically activated after installation.
How do I register a Canon printer for cloud printing?
In Canon PRINT, tap the printer icon, open Printer Settings, choose Register to Cloud, select OK, then sign in with or create a Canon ID.