When Wi-Fi or Ethernet stops working in Windows 11, resetting the right layer matters: the wireless radio, a single adapter, all adapters, the driver, or the network stack. Start with the quick restart that leaves saved settings alone, then move to the Windows resets that rebuild more of the connection. These steps use Windows 11 paths, including Advanced network settings, Device Manager, and administrator command tools.
Restart the Wi-Fi adapter from Quick Settings
This fixes a stuck Wi-Fi adapter without changing saved network settings. Select the Network, Sound, or Battery icon on the taskbar to open Quick Settings. Turn the Wi-Fi quick setting off, wait a few seconds, then turn Wi-Fi back on.
Select Manage Wi-Fi connections, then choose your network. Select Connect if Windows does not reconnect automatically.
Reset one adapter in Windows 11 Settings
Use Settings when you want to restart one listed adapter without resetting every network adapter on the PC.
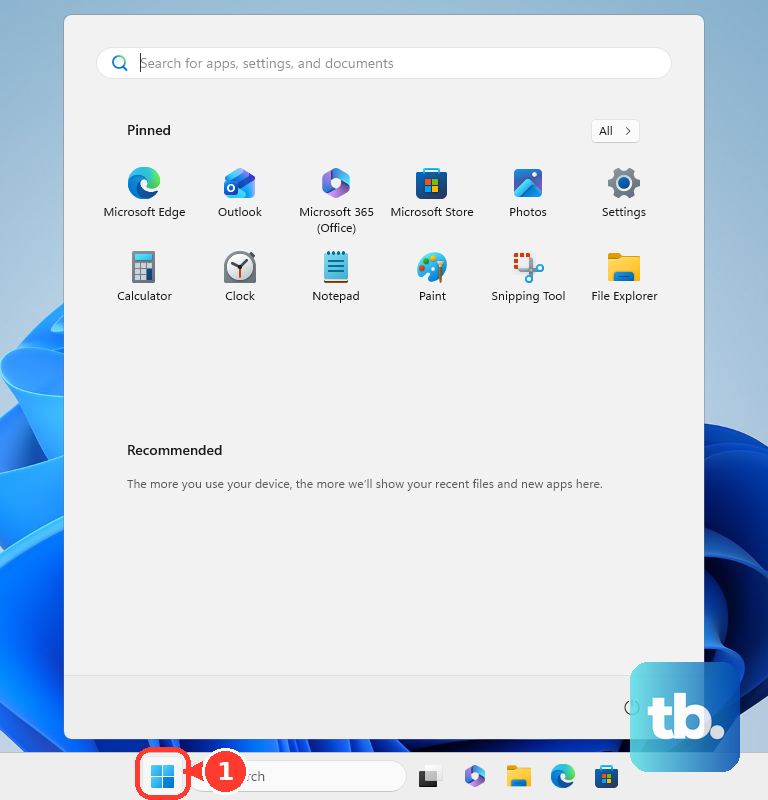
- 1.Open Start, then Settings.
- 2.Go to Network & internet, then Advanced network settings.
- 3.Under Network adapters, find the adapter you want to restart.
- 4.Select Disable.
- 5.Wait briefly, then select Enable.
Use Network reset for a deeper fix
Network reset rebuilds networking when nothing smaller works, so make it the last step you try: run the troubleshooter, the Device Manager fixes, the driver reinstall, and the networking stack reset below first. It removes every network adapter you have installed along with their settings.
Afterward, you may need to reinstall and set up other networking software such as VPN client software or Hyper-V virtual switches, and Windows may set your known networks to the public network profile. Open Start, then Settings, Network & internet, Advanced network settings, and Network reset.
Select Reset now, then select Yes. Windows resets all installed network adapters, reinstalls them after the restart, and returns adapter settings to defaults.
Let the PC restart when Windows prompts you. After you sign back in, reconnect to Wi-Fi or Ethernet.
Skip the older Settings, Network & Internet, Status, Network reset path on Windows 11. That route belongs to Windows 10, while Windows 11 puts Network reset inside Advanced network settings.
Run the Network Adapter troubleshooter
Use this when Windows still sees the adapter but the connection keeps failing. The troubleshooter diagnoses the network adapter and attempts repairs.
Open Start, then Settings. Go to System, then Troubleshoot. Select Other troubleshooters.
Find Network and Internet, select Run, then complete the network tests in Get Help. If your build still lists Network Adapter here instead, select Run on that entry; Windows redirects it to the same Get Help troubleshooter.
Enable a disabled adapter in Device Manager
The most common cause here is a network adapter disabled inside Windows. Select Search on the taskbar and open Device Manager.
Expand Network adapters. Select your wireless network adapter, then choose Enable device. Return to Wi-Fi or Ethernet and connect again.
Disable and enable the adapter in Device Manager
This fixes an adapter driver that needs a clean restart inside Windows. Select Search on the taskbar and open Device Manager.
Expand Network adapters. Double-click the network adapter you want to restart. Open the Driver tab.
Select Disable Device, then select Yes. Select Enable Device.
Reinstall the network adapter driver
Use this when the connection stopped working after an update or you suspect the adapter driver is corrupted. If the PC cannot get online, have a backup driver from the PC or adapter manufacturer before removing the device.
Do not run these steps on Surface Pro X. If you uninstall drivers on that device, the only way to restore them is a full system reset, so use Microsoft’s Surface driver and recovery guidance instead.
Select Search on the taskbar and open Device Manager. Expand Network adapters, then right-click the Ethernet or Wi-Fi adapter. Select Uninstall device. Select Attempt to remove the driver for this device.
Select Uninstall. Open Start, select Power, then select Restart. Windows reinstalls the adapter after the restart. If Windows does not reinstall it automatically, open Device Manager, select Action, then select Scan for hardware changes.
Reset the Windows networking stack
This command-line reset resets TCP/IP and Winsock, renews the DHCP lease, and clears the DNS resolver cache. It leaves the physical network adapter installed.
Select Search on the taskbar, type Command Prompt, then choose Run as administrator. Select Yes. Run netsh winsock reset, netsh int ip reset, ipconfig /release, ipconfig /renew, and ipconfig /flushdns one at a time. If this method fails, use Network reset in Settings or reinstall the adapter driver in Device Manager.
Handle cellular, hardware switches, and work PCs
On a Windows 11 PC with cellular hardware, select the Network icon on the taskbar, select Manage Cellular connections, then turn the Cellular quick setting off and back on. Select Connect if Windows asks.
Use a physical Wi-Fi switch or manufacturer Wi-Fi/Fn key only on laptops and tablets that include one. Turn wireless off, wait briefly, turn it back on, then confirm Wi-Fi is on in Settings, Network & internet, Wi-Fi.
On Microsoft Surface, open the Surface app, choose Help & support, and select Check for updates. Open View optional updates, then Driver updates, and install available Surface drivers.
For non-Surface PCs, use the PC or adapter manufacturer’s official site for drivers. On a work or school Surface device with locked driver controls, your organization handles Surface network drivers and firmware through Windows Update, Surface MSI packages, Intune, Configuration Manager, or Windows Update for Business.
Frequently Asked Questions
How do I restart a network adapter with PowerShell in Windows 11?
Open Windows Terminal or PowerShell as administrator, run Get-NetAdapter, then run Restart-NetAdapter -Name "Wi-Fi" or use the exact adapter name shown by Windows.
How do I disable and enable an adapter from PowerShell?
Open Windows Terminal or PowerShell as administrator, run Get-NetAdapter, run Disable-NetAdapter -Name "Wi-Fi", confirm the prompt, then run Enable-NetAdapter -Name "Wi-Fi".
Is netsh still usable for adapter enable and disable commands?
Yes. In an administrator Command Prompt or Windows Terminal, run netsh interface show interface, then use netsh interface set interface name="Wi-Fi" admin=DISABLED and netsh interface set interface name="Wi-Fi" admin=ENABLED. Microsoft recommends PowerShell for managing networking technologies.
What do I try before a full Network reset?
Restart Windows from Start, Power, Restart. A normal restart restarts adapter drivers and networking services, and the full Network reset flow also requires a restart.