Windows brightness problems usually come from the wrong control, automatic dimming, Night light, HDR behavior, or a display driver issue. Start with the quick brightness controls first, then move through the settings that make the screen dim, warm, washed out, or unresponsive.
These fixes use Windows 11 as the current consumer baseline for 2026. Older Windows 10 brightness shortcuts are skipped because Windows 10 consumer support ended on October 14, 2025.
1. Move the Windows 11 Brightness Slider
Use this first on a laptop, tablet, or built-in display because Windows puts the fastest brightness control in Quick Settings. Select the Network icon on the right side of the taskbar, then move the Brightness slider.
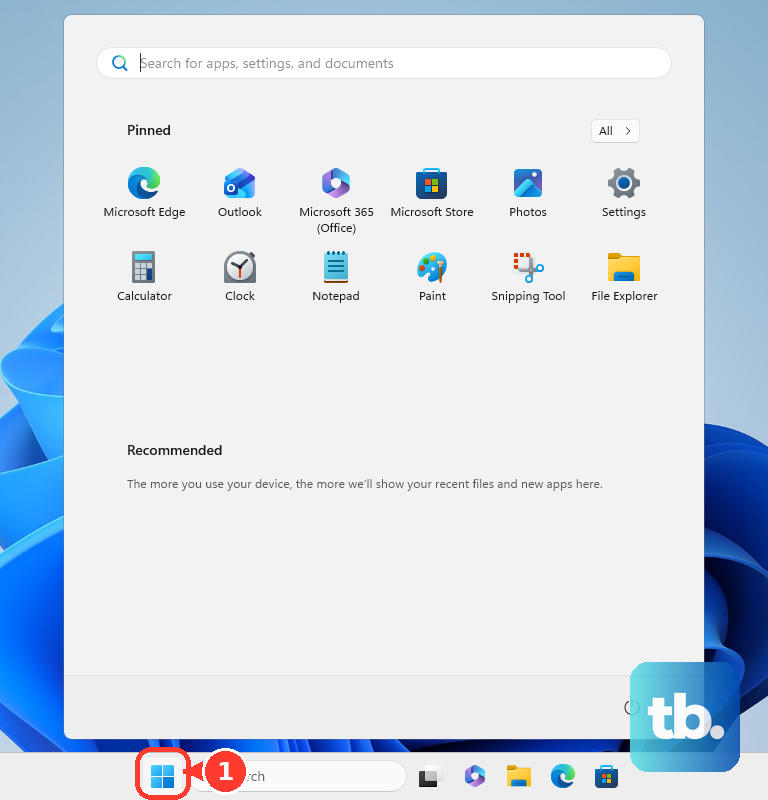
If you want the full settings page instead, select Start. Open Settings, select System, then select Display. Select Brightness, then move the Brightness slider.
On desktop PCs and external monitors, Windows does not provide the normal backlight control. Use the monitor's physical buttons or on-screen display menu for brightness.
2. Press the Right Laptop Brightness Keys
If the slider works but the keyboard shortcuts do nothing, check the key combination your laptop expects. The brightness keys usually use a sun icon. Press the Brightness Up or Brightness Down key, and hold Fn with the brightness key when your model uses function-key combinations.
On Dell Latitude models, press F6 or F7 when Fn Lock is off. Use Fn + F6 or Fn + F7 when Fn Lock is on. Toggle Fn Lock with Fn + Esc.
On supported Lenovo models, use Fn + Home to increase brightness and Fn + End to decrease it, or use F6 and F5 on models with those keys. On ASUS notebooks, use the display brightness hotkeys shown on the keyboard, and use Fn with those keys on models that require it.
Windows brightness hotkeys control supported mobile systems. They do not control legacy external monitors.
3. Stop Automatic Dimming
Open Start > Settings > System > Display, then select Brightness. Turn off Change brightness automatically when lighting changes. Set Change brightness based on content to Off.
Use these settings when the screen gets brighter or darker by itself because Windows may be reacting to room lighting, screen content, and battery mode. Now check Energy saver by opening Start > Settings > System > Power & battery. Select Energy saver, then turn off Lower screen brightness when using energy saver.
For battery recommendations that changed brightness, open Start > Settings > System > Power & battery > Energy recommendations and review any screen brightness, contrast, automatic brightness, or dimming recommendations you applied.
4. Turn Down Night Light
Night light is the first setting to check when the display looks warm, red, or hard to read. Open Start > Settings > System > Display > Night light. Move the Strength slider left, then select Turn off now if the screen still looks too warm.
You can also toggle it from Quick Settings by selecting the Network or Speakers icon. Select the Down arrow if the tile is hidden, then select Night light.
On HDR screens, Night light can make colors look oversaturated. Reduce Strength or select Turn off now before changing HDR settings.
5. Calibrate HDR Brightness
HDR issues show up as crushed dark areas, blown-out highlights, strange color, or a screen that changes brightness after switching power modes.
Install Windows HDR Calibration from the Microsoft Store. The app needs Windows 11, an HDR-capable display with HDR turned on, and a WDDM 2.7 or later graphics driver, and it must run full screen; the saturation controls also require a recent GPU (AMD RX 400 series, Intel 11th Gen or DG1, or NVIDIA GTX 10-series or newer).
Open Start > All apps > Windows HDR Calibration, then move the app window to the HDR-capable display. Drag each calibration slider until the test pattern is no longer visible.
For external HDR bandwidth problems, lower the refresh rate or resolution by opening Settings > System > Display > Advanced display. Select Choose a refresh rate, then choose 30 Hz when it is available.
If that does not fit your setup, use the display mode list by opening Settings > System > Display > Advanced display. Select Display adapter properties, then open the Adapter tab. Select List All Modes, then select 1920 by 1080, 60 Hertz.
If a calibration profile made HDR worse, remove it by selecting Start. Type color management, then select Color Management. Open All Profiles, select the profile created by Windows HDR Calibration, then select Remove.
For laptop HDR color problems on battery, plug in the PC before restarting or change the HDR power setting so HDR stays on while running on battery.
6. Reset the Graphics Output
Use this when brightness controls stop responding, the screen flickers, or the display looks stuck after a dock, projector, or second screen session. Press Windows logo key + Ctrl + Shift + B. Windows resets the graphics driver, and the screen flickers or plays a beep when the reset works.
If Windows is sending the image to the wrong screen, switch projection mode by pressing Windows logo key + P. Choose PC screen only, Duplicate, Extend, or Second screen only.
7. Repair the Display Driver
Open Start > Settings > Windows Update, then select Check for updates. Restart the PC when Windows asks. Go to the driver checks when the brightness slider is missing, brightness keys do nothing, the display flickers, or the problem started after an update.
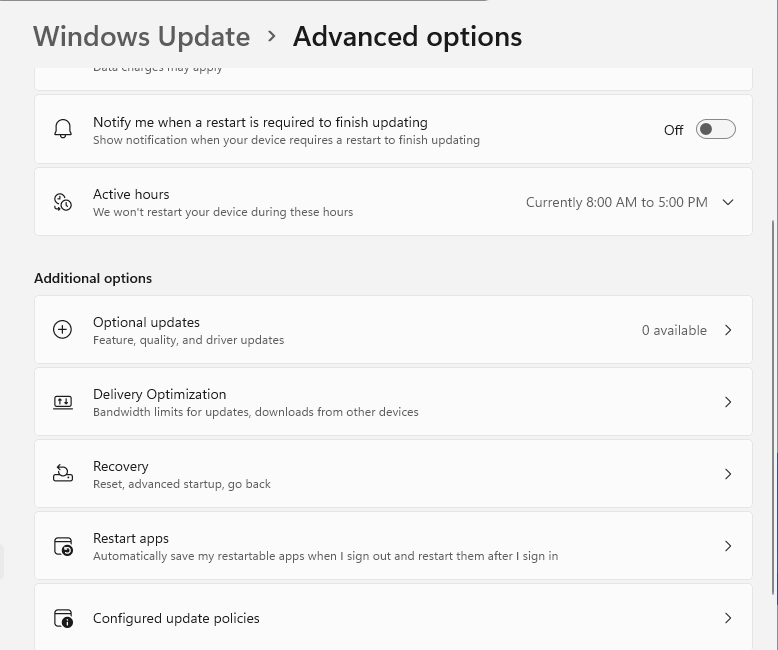
Then check optional driver updates by opening Start > Settings > Windows Update > Advanced options > Optional updates. Select Driver updates, then select available Display, Graphics, or Monitor drivers. Install the selected updates.
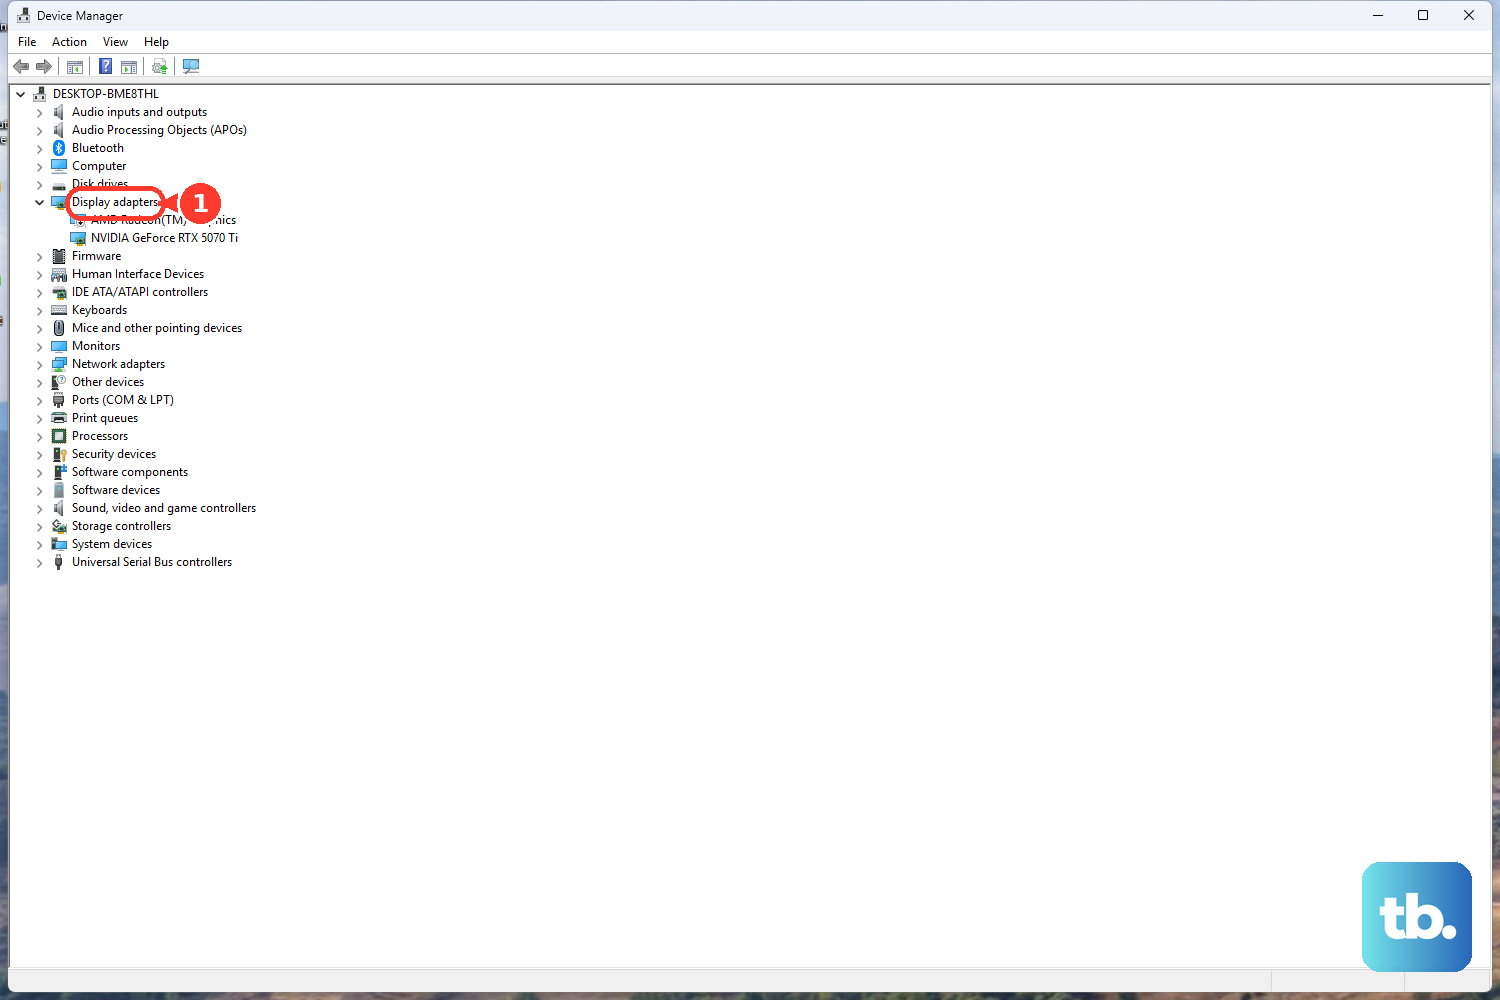
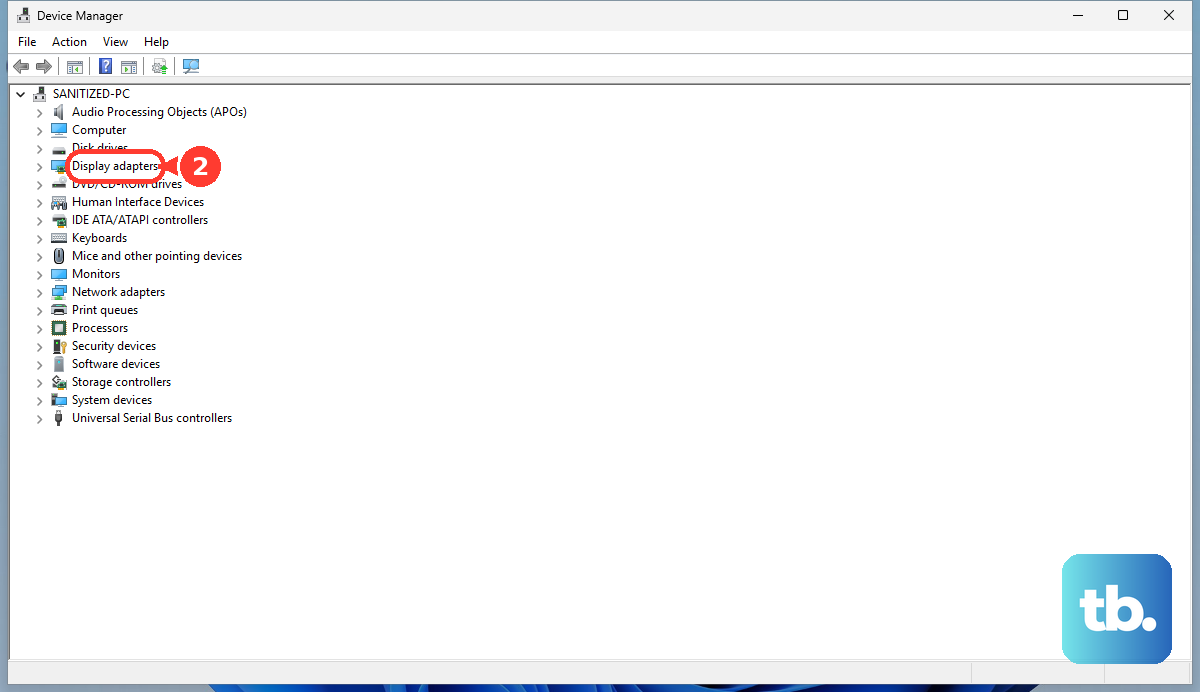
Use Device Manager next by right-clicking Start. Select Device Manager, then expand Display adapters. Right-click the display adapter, select Update driver, then select Search automatically for updated driver software. Select Search for updated drivers on Windows update if Windows does not find one.
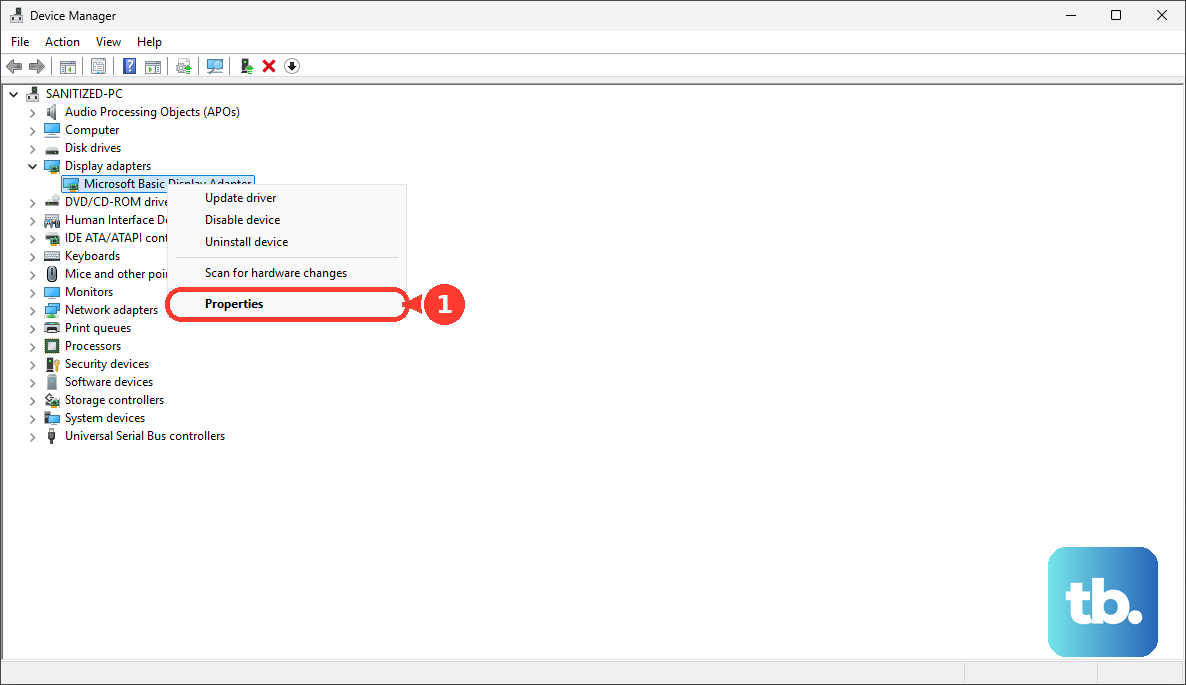
If brightness broke right after a driver update, roll it back by opening Device Manager. Expand Display adapters, right-click the display adapter, then select Properties. Open the Driver tab, select Roll Back Driver, then select Yes.
If updating or rolling back does not fix it, reinstall the adapter by opening Device Manager. Expand Display adapters, right-click the display adapter, then select Uninstall device. Restart the PC.
If only one app flickers or looks wrong, open Task Manager with Ctrl + Alt + Delete or Ctrl + Shift + Esc. When Task Manager looks normal and the rest of the screen does not, update or uninstall the problem app from Settings > Apps > Installed apps.
8. Fix External Monitors and GPU Color Controls
External displays use their own brightness hardware, so use the monitor's physical buttons or on-screen display menu for the actual backlight level. For wireless displays and docks, open Settings > Bluetooth & devices > Devices. Find the device under Wireless displays & docks, then select the wireless display, adapter, or dock. Select Remove device, then reconnect the device.
Then check the manufacturer's support site or Microsoft Store app for firmware updates for that wireless display, adapter, or dock. NVIDIA and AMD tools change how bright the desktop looks, even when they do not change the monitor backlight.
For NVIDIA, open NVIDIA Control Panel. Under Display, select Adjust Desktop Color Settings. Select the display, select Use NVIDIA Settings, then adjust Brightness.
For AMD, open AMD Software. Search for Display, then select Display Settings. Use Custom Color to adjust brightness, contrast, saturation, hue, and color temperature.
On systems with AMD Radeon RX Series graphics or an AMD Ryzen Desktop Processor with Radeon Graphics running Windows 10 or later, use Display Color Enhancement to choose Disabled, Vivid Gaming, or Dynamic Contrast. This control does not appear on unsupported AMD hardware.
For managed Surface devices in kiosk, point-of-sale, work, or school setups, brightness limits can come from Surface Brightness Control, provisioning packages, power policy, or administrator settings. Contact your IT administrator when normal settings are locked or keep reverting.
Frequently Asked Questions
Why is there no brightness slider in Windows 11?
The Windows brightness slider appears for built-in displays that expose brightness control to Windows. Desktop PCs and external monitors use the monitor's physical buttons or on-screen display menu instead.
Why does my Windows screen keep dimming on battery?
Check Start > Settings > System > Power & battery > Energy saver and turn off Lower screen brightness when using energy saver. Also review Energy recommendations for brightness, contrast, automatic brightness, and dimming options.
Why do colors look wrong after turning on HDR?
Turn down or disable Night light first, then run Windows HDR Calibration on the HDR display. If the calibration profile caused the problem, remove it from Color Management under All Profiles.
What should I do if brightness stopped working after an update?
Open Device Manager, expand Display adapters, open the adapter Properties, and use Roll Back Driver. If that fails, uninstall the display adapter and restart Windows.