Dell SupportAssist can stop opening, fail during driver scans, stall on updates, or miss hardware checks. Start with the fast Windows fixes, then move into the Dell services, update folders, OS Recovery settings, and support options Dell documents for SupportAssist for Home PCs.
1. Restart and let SupportAssist services load
This fixes launch failures right after Windows starts.
Select Start > Power > Restart.
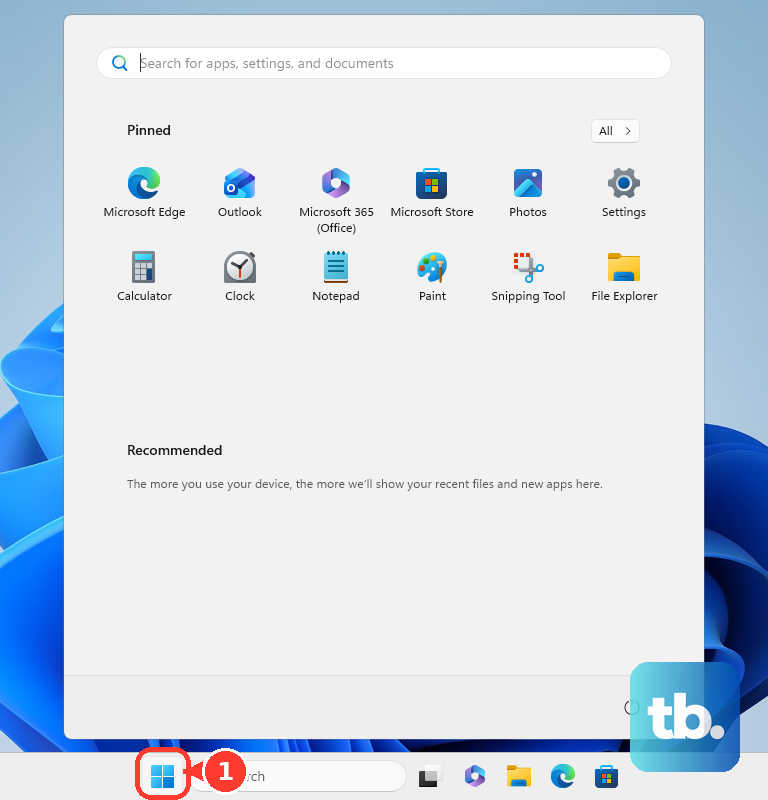
After Windows loads, wait 5 minutes.
Open Dell SupportAssist again.
2. Reinstall SupportAssist from Dell
Dell requires an administrator account here, so sign in to Windows as an administrator before you download or install SupportAssist.
Open Start > Settings > Apps > Installed Apps.
Select Dell SupportAssist, choose Uninstall, and follow the on-screen instructions.
Select Start > Power > Restart.
Next, open Dell's official SupportAssist for Home PCs page and choose Download SupportAssist.
When the installer notification appears, choose Install.
After installation finishes, select Start > Power > Restart.
3. Turn on the services scans depend on
When Dell SupportAssist opens but update checks or driver scans fail, check the services behind it.
Open Search > Services, then find Dell Client Management Service and Dell SupportAssist.
For each service, open Properties, set Startup type to Automatic (Delayed Start), select Apply, select Start, and confirm Service status shows Running.
4. Clear the update service folders
This fixes update or driver scan failures that continue after the Dell services are restarted.
Open Search > Services.
Then stop Dell Client Management Service and Dell SupportAssist.
Go to C:\ProgramData\Dell and remove the UpdateService folder.
Go to C:\Program Files (x86)\Dell and remove the UpdateService folder.
Return to Services and start Dell Client Management Service and Dell SupportAssist.
5. Repair failed hardware scans
Open Search > Services.
Find Dell TechHub, open Properties, set Startup type to Automatic (Delayed Start), select Apply, then select Start.
Confirm Service status shows Running.
If the hardware scan still fails, stop Dell TechHub.
Go to C:\Program Files\Dell and remove the DTP folder.
Return to Services and start Dell TechHub.
Use the Dell TechHub steps for hardware scan failures, and use the UpdateService steps for update or driver scan failures.
6. Fix SupportAssist internet settings
Use this when SupportAssist opens but cannot connect correctly.
You must be signed in to Windows as an administrator to change SupportAssist settings.
Open SupportAssist > Settings > Internet connection > Open, then choose Connect directly for Dell's recommended setup.
For a proxy connection, choose Connect through a proxy, enter the address, port number, user name, and password, then select Save and continue.
7. Install updates from inside SupportAssist
Open Dell SupportAssist.
On the home page, select Update software.
Select Start.
When updates are detected, select View updates and install the required driver updates.
For SupportAssist OS Recovery Tools install problems, uninstall the current SupportAssist app, install the latest SupportAssist, reboot, then open Dell SupportAssist for Home PCs > Update Software > Start, choose SupportAssist OS Recovery Tools from the recommended list, and select Install.
For Dell SupportAssist Remediation version 5.5.16.0 blue-screen restarts, open Settings > Apps > Installed Apps, verify the Dell SupportAssist Remediation version, then update to SupportAssist OS Recovery Tools version 5.5.16.1 or later through Dell SupportAssist > Update Software > Start or Dell Command Update > Check.
8. Start SupportAssist OS Recovery
This fixes cases where Windows will not boot or SupportAssist OS Recovery needs to start outside Windows.
Dell offers SupportAssist OS Recovery only on certain Dell models running a Dell factory-installed Windows 10 or Windows 11 image, so the F12 entry will not appear on systems outside that list.
- 1.Turn on or restart the PC.
- 2.Press F12 to open the one-time boot menu.
- 3.Select SupportAssist OS Recovery and press Enter.
- 4.When BIOSConnect downloads the image, connect to a wired or wireless network and select Start Recovery.
- 5.On first launch, select APPROVE, then choose START WALKTHROUGH or SKIP.
- 6.When OS Recovery cannot be accessed, restart and press F2 until Preparing to enter setup appears, expand SupportAssist System Resolution, set Auto OS Recovery Threshold to 1, 2, or 3 instead of OFF, make sure SupportAssist OS Recovery is selected, then press F10 to save the changes and exit.
9. Get Dell support when the app still fails
Open SupportAssist and select the bottom-right AI powered Virtual Assistant icon to ask a SupportAssist question or choose a suggested task.
Open SupportAssist > Support > Get Support to use the available contact options for your region and service plan.
To create a service request, open SupportAssist > Support > Start a Service Request > Get started, confirm your Dell MyAccount contact information, select a Category, describe the issue, and select Send. Dell lists manual support request creation for PCs with an active ProSupport, Premium Support, ProSupport Plus or ProSupport Flex for Client, Premium Support Plus, or Dell Software Support plan, and not for Basic or expired-contract plans.
When Dell technical support asks for logs, open SupportAssist > Support > Get Support > Get started and choose Upload log file.
When Dell asks for issue files, choose Upload Files > Browse, select the file, and choose Upload.
On a work-managed Dell PC, SupportAssist for Business PCs is handled through TechDirect by your organization, so contact your IT team instead of changing the fleet setup yourself.
Frequently Asked Questions
Which PCs can use Dell SupportAssist for Home PCs?
Dell lists SupportAssist for Home PCs for supported Dell PCs running Windows 11 or Windows 10 version 1809 or later 64-bit.
Why does Dell SupportAssist open but not find updates?
Dell's current fixes are to start or restart Dell Client Management Service and Dell SupportAssist, then remove the Dell UpdateService folders if the update or driver scan still fails.
How do I turn SupportAssist alerts back on?
Sign in to Windows as an administrator, then open SupportAssist, go to Settings, open the Notifications card, and turn on Allow notifications. You can also turn off Snooze notifications and choose the notification types you want.
Can I make a Dell recovery USB when SupportAssist OS Recovery is not enough?
Yes. Dell's OS Recovery Tool can create SupportAssist OS Recovery media on a USB drive with at least 16 GB free space. The USB data is erased, and availability depends on the PC Service Tag.