A PS5 HDMI port not working shows up as no signal, a black screen, flicker, unstable 4K video, wrong colors, or missing HDMI sound. Start with the cable path and display input before changing console settings, because the fastest fixes are also the easiest to verify. Use the steps below in order, from quick signal checks to PlayStation repair.
1. Reseat the HDMI cable and pick the right input
Start here when the TV says no signal or the screen stays black.
- 1.Turn off the PS5 console and the TV or monitor.
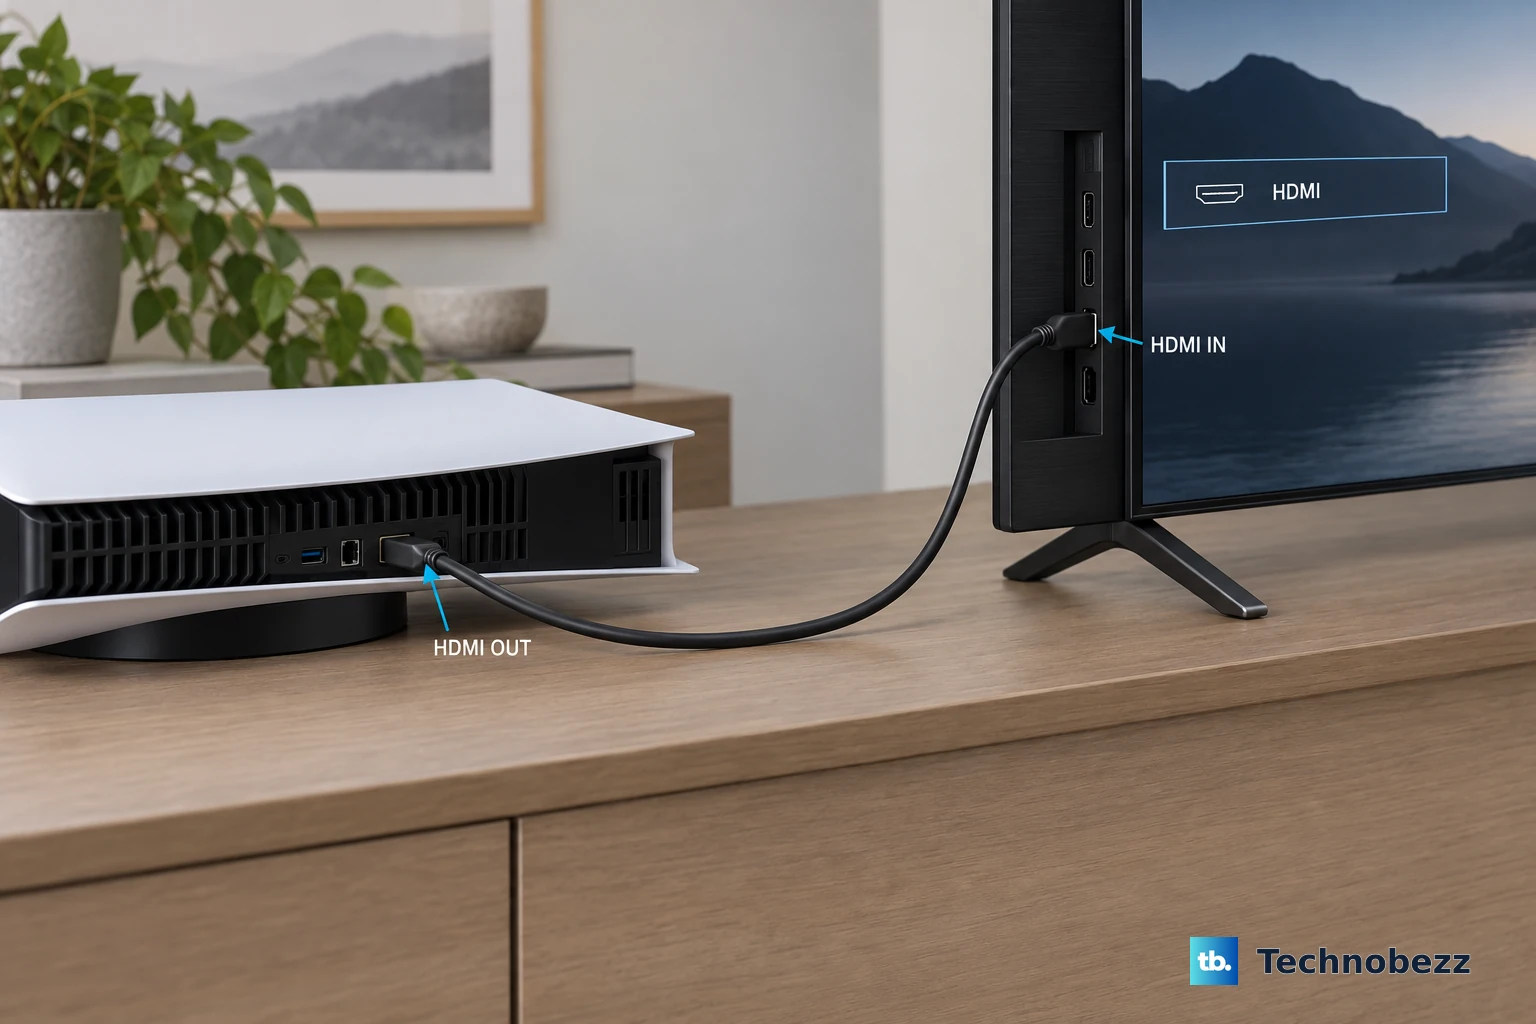
- 2.Insert the included HDMI cable into HDMI OUT on the back of the PS5.
- 3.Insert the other end into an HDMI input on the display.
- 4.Turn on the display and select the matching HDMI Input or HDMI Channel.
- 5.If there is still no image, test another HDMI cable.
- 6.Move the cable to another HDMI input on the display and select that matching HDMI Input.
For 4K 120 Hz output, use the HDMI cable included with the PS5 or an Ultra High Speed HDMI cable rated for 4K 120 Hz.
2. Bypass soundbars and HDMI adapters
Disconnect soundbars, home theater systems, AV receivers, capture devices, HDMI splitters, HDMI switches, and other pass-through devices. Next, connect the PS5 directly to the TV or monitor with the included HDMI cable or an Ultra High Speed HDMI cable. Then select the matching HDMI Input on the display. Turn on the PS5 and check for video.
Pass-through hardware adds another failure point, so stripping the setup down to the console and the screen isolates the signal path. If the picture returns, the PS5 HDMI port is outputting video and the problem is in the removed HDMI chain.
3. Power cycle the PS5 and display for 20 minutes
A full power cycle gives the PS5 and display a fresh HDMI handshake. Turn off the PS5 and the display completely. After that, disconnect the PS5 power cable.
Disconnect the display power cable. Wait 20 minutes. Reconnect both power cables. Turn on the display first, then turn on the PS5.
4. Update the display and enable its high-bandwidth HDMI mode
Open the TV or monitor manufacturer's update menu and install the latest display firmware. Then open the display manual and find the HDMI input setting for enhanced, HDMI 2.1, or high-bandwidth signals. Enable that enhanced or high-bandwidth mode for the HDMI port used by the PS5.
Move the cable to the display's HDMI port that supports the output mode you want. Select the matching HDMI Input and test the PS5 again. Use this step for 4K 120 Hz, VRR, ALLM, HDR, and PS5 Pro 8K setups.
5. Adjust PS5 video output when the menus appear
If the screen works long enough to reach the home screen, fix the video settings from the console menu. Open Settings > Screen and Video > Video Output.
Select Resolution, then choose Automatic. For a compatible 4K display, choose 2160p. Select Information for the Connected HDMI Device to see what the PS5 detects from the display.
For 4K flicker or an unstable picture, open Video Transfer Rate and choose -1. If the issue remains, choose -2.
For blanking in 120 Hz games, open 120 Hz Output and set it to Off. For VRR problems, open VRR and turn Apply to Unsupported Games off. If the issue remains, set VRR to Off. To turn off ALLM fully, open ALLM and set it to Off, then open VRR and set it to Off.
When the image is visible but looks wrong, stay on Video Output and use HDR, Adjust HDR, Deep Color Output, and RGB Range. Change RGB Range only when the HDMI device does not send RGB range information correctly.
6. Change video output from Safe Mode
Turn off the PS5 by holding the power button for three seconds. Press and hold the power button again. Release the power button after the second beep, about seven seconds later. Connect the controller with a USB cable.
Press the PS Button. Select Change Video Output. Choose Change Resolution or Change HDCP Mode.
Use Safe Mode when normal menus are blocked by a blank screen. Use the PS5 path above. The Set HDCP Mode and HDCP 1.4 Only Safe Mode path belongs to PS4 Pro, not PS5.
7. Update the PS5 system software
Once the console UI is visible, install the current system software through Settings > System > System Software > System Software Update and Settings. If Update Available appears, select Update System Software.
If the download failed, restart it from the control center. Press the PS Button to open the control center. Select Downloads/Uploads.
Highlight the system software update. Select View Error Info. Select Try Again.
For a USB update, use Sony's official PS5 system software page and a FAT32 or exFAT USB drive. On a PC or Mac, create a PS5 folder on the USB drive. Inside it, create an UPDATE folder.
Download the PS5 console update file from Sony's official system software page. Save the file as PS5UPDATE.PUP inside UPDATE. Plug the USB drive into the PS5.
Start Safe Mode. Select Update System Software > Update from USB Storage Device > OK.
8. Use Safe Mode recovery before resetting the console
Start Safe Mode. Select Clear Cache and Rebuild Database. Select Clear System Software Cache for system feature or performance issues.
Select Rebuild Database to scan the drive and recreate the content database. Select Restore Default Settings to restore console settings to factory defaults without deleting games, apps, screenshots, video clips, or saved data.
These tools fix software and settings problems. They do not repair a physically damaged HDMI port.
Use resets only after backing up your data. Select Reset PS5 only as a last-resort software step. It deletes all user data.
Select Reset PS5 (Reinstall System Software) only as the final software recovery step. It deletes all data and removes PS5 system software.
If HDMI output is unusable and Remote Play was already enabled, use PS Remote Play as a temporary screen workaround. Remote Play must already be enabled at Settings > System > Remote Play > Enable Remote Play, and rest mode access uses Settings > System > Power Saving > Features Available in Rest Mode with Stay Connected to the Internet and Enable Turning on PS5 from Network turned on.
9. Send the PS5 to PlayStation Repairs
When the cable, direct connection, power cycle, display firmware, video settings, Safe Mode, and system software steps all fail, use PlayStation Repairs. Open the PlayStation Repairs diagnostic tool. Choose the relevant issue, such as No Image or HDMI Cable Doesn't Work.
Follow Sony's diagnostic and repair eligibility flow. After arranging repair, follow Sony's return instructions. Use the PlayStation Repairs Reference Number to check repair status.
Frequently Asked Questions
Can PS Remote Play fix a PS5 HDMI port?
No. PS Remote Play is only a workaround when HDMI output is unusable and Remote Play was already enabled on the PS5.
What HDMI cable should I use with a PS5?
Use the HDMI cable included with the PS5. For a replacement cable, use an Ultra High Speed HDMI cable rated for 4K 120 Hz output.
What should I do if my PS5 has video but no HDMI sound?
Go to Settings > Sound > Audio Output. Set Output Device to the HDMI audio device, then set HDMI Device Type to the connected HDMI device, such as TV or AV amplifier.
Does rebuilding the PS5 database repair the HDMI port?
No. Rebuild Database scans the drive and recreates the content database. It is a Safe Mode recovery step for software issues, not a repair for physical HDMI port damage.