Windows Search indexing keeps working even when you're not searching for anything. You can stop it completely or narrow down the folders and file types it processes. Here are the controls for Windows 11 and Windows 10, including a temporary pause and a way to turn indexing back on.
Disable Windows Search completely
Windows Search normally starts automatically, which is why stopping it alone does not permanently disable indexing. You'll need administrator access. Disabling indexing carries a trade-off in file-search completeness and classic Outlook search performance. Microsoft recommends Automatic (Delayed Start) for normal use, so use the limits below if you still rely on search.
Press Windows+R to open Run. Enter services.msc and press Enter. Right-click Windows Search and select Properties.
On the General tab, set Startup type to Disabled. Select Stop to stop the service now. Click Apply.
Click OK to close the dialog. Using Stop without changing the startup type is only temporary.
Keep indexing smaller with Classic mode
Classic limits indexing compared with Enhanced while keeping Windows Search running. On Windows 11, open Settings > Privacy & security > Search. Some builds call this page Searching Windows. Under Find my files, select Classic.
On Windows 10, open Settings > Search > Searching Windows. Select Classic under Find my files.
Choose exactly which locations get indexed
For more control, remove individual folders, drives, or other locations without stopping the service. Open Control Panel > Indexing Options. Select Modify to view the indexed locations.
Select Show all locations to expose additional locations. Expand the folder tree to choose which folders and subfolders to keep. Clear the checkboxes for locations you don't want indexed.
Select OK to save your selection. If the folders you want excluded are still being indexed, try the folder exclusions below, especially with Enhanced indexing.
Exclude particular folders
Folder exclusions leave selected folders outside the index. They're particularly useful with Enhanced indexing. On Windows 11, open Settings > Privacy & security > Searching Windows (called Search on some builds). On Windows 10, use Settings > Search > Searching Windows.
Select Add an excluded folder. Then choose the folder you want excluded.
Limit file types or skip their contents
Exclude a file extension system-wide, or keep its properties indexed without indexing its contents.
- 1.Open Control Panel > Indexing Options.
- 2.Select Advanced, then the File Types tab.
- 3.Clear the checkboxes for extensions you want excluded. To keep an extension's properties instead, select it and choose Index Properties Only under How should this file be indexed? This choice applies separately to each extension, so repeat it for each file type whose contents you want to leave out.
- 4.Select OK, then Close.
Pause indexing temporarily
Need just a short break? A pause leaves your indexed locations and file types unchanged. Indexing automatically resumes after 15 minutes.
Open Control Panel > Indexing Options. Select Pause. The button's availability depends on the indexing state.
If Pause is unavailable or you need a longer interruption, select Stop in the Windows Search service properties described above. Leave Startup type unchanged for a temporary stop.
Turn Windows Search back on
Restoring the service lets indexing run again after you've disabled it. Open Command Prompt as administrator.
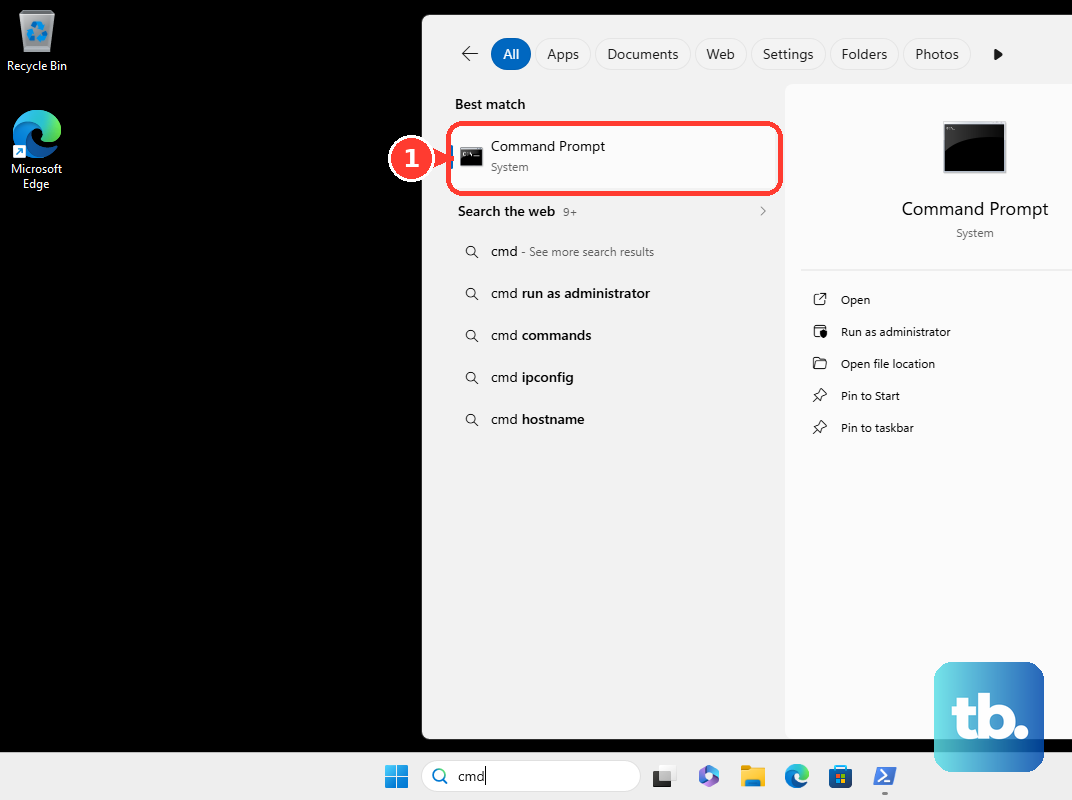
Run sc.exe config WSearch start= delayed-auto to restore the recommended startup setting. Run net start WSearch to start the service.
Return to Control Panel > Indexing Options > Modify. Select the checkboxes for locations you want indexed again. Select OK to save your selection.
Frequently Asked Questions
Does the drive's content-indexing checkbox disable Windows Search?
No. Clearing “Allow files on this drive to have contents indexed in addition to file properties” limits content indexing for that drive. It does not stop the Windows Search service. Protected files can reject the attribute change.
Does excluding encrypted files exclude everything on a BitLocker drive?
No. The “Index encrypted files” setting concerns applicable encrypted files and stores. It is not a blanket exclusion for every file on a BitLocker-protected drive.
Do folder and file-type exclusions also affect Copilot+ semantic indexing?
Yes. On Copilot+ PCs with improved Windows Search, location and extension exclusions affect both semantic and traditional indexing.
Why won't my indexing settings stay changed on a work PC?
Organization-managed settings take precedence when they conflict with your local choices. Ask your IT administrator to adjust the indexing restrictions for your device.