
When your ASUS VivoBook 15 shows a "USB Device Not Recognized" error or just doesn't see your flash drive or mouse, it's a real roadblock. The issue could be with the port itself, a driver hiccup, or a power setting. Let's get it working again.
Test a Different USB Port
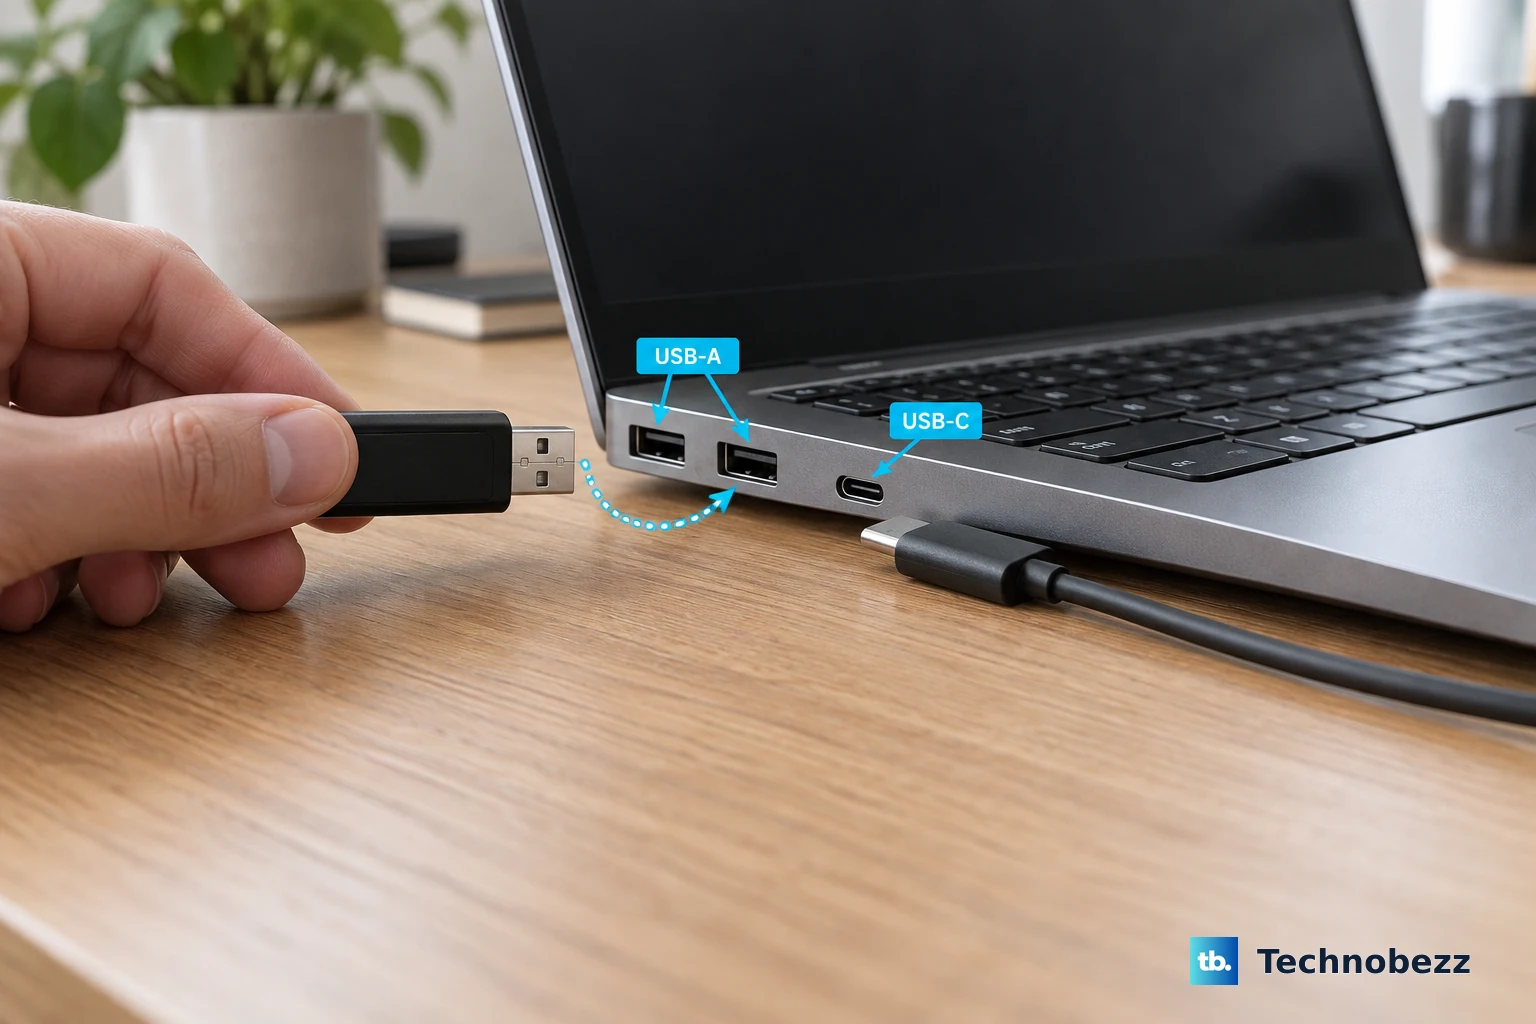
Unplug your device and try it in another USB port on your VivoBook. If it works in a different port, the original one might be physically damaged or have a loose connection internally. I'd try both the USB-A and USB-C ports to see if the problem is specific to one type.
Restart Your VivoBook
A simple restart can clear temporary glitches in the USB controller. Make sure you do a full shutdown and restart, not just putting the laptop to sleep. This forces Windows to reload all the USB drivers fresh, which often solves random detection problems.
Check the Device on Another Computer
Plug the problematic USB device into a different PC. If it doesn't work there either, the device or its cable is likely the culprit. If it works perfectly on another machine, then you know the issue is isolated to your VivoBook's configuration.
Swap Out the USB Cable
For devices like external hard drives or phones, the cable is a common point of failure. Try a different, known-good cable. Some cables are designed only for charging and lack the internal wires for data transfer, so even if it powers the device, it might not connect.
Update or Reinstall USB Drivers
Press the Windows key + X and select Device Manager. Expand the Universal Serial Bus controllers section. Look for any entries with a yellow exclamation mark. Right-click on them and choose Update driver.
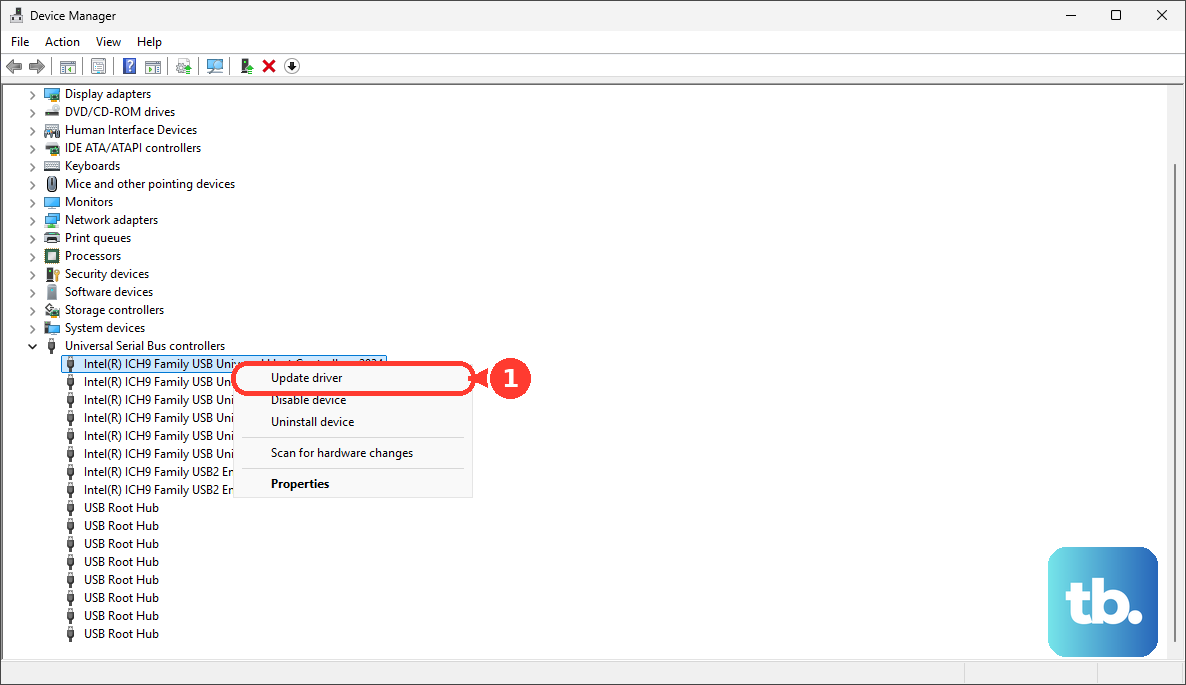
If that doesn't help, you can try uninstalling the driver for the specific USB root hub, then restart your laptop. Windows will automatically reinstall the driver upon reboot. For the most reliable drivers, use the MyASUS app, which provides VivoBook-specific updates.
Disable USB Selective Suspend
Windows tries to save power by putting idle USB ports to sleep, but this can sometimes prevent devices from waking up. Go to Control Panel > Hardware and Sound > Power Options. Click Change plan settings next to your selected plan, then Change advanced power settings.
In the new window, scroll down and expand USB settings, then expand USB selective suspend setting. Set both "On battery" and "Plugged in" to Disabled. Click Apply and OK.
Run the Hardware Troubleshooter
Windows has a built-in tool for this. Open the Start menu, type "cmd", right-click on Command Prompt, and select Run as administrator. In the window, type the command msdt.exe -id DeviceDiagnostic and press Enter.
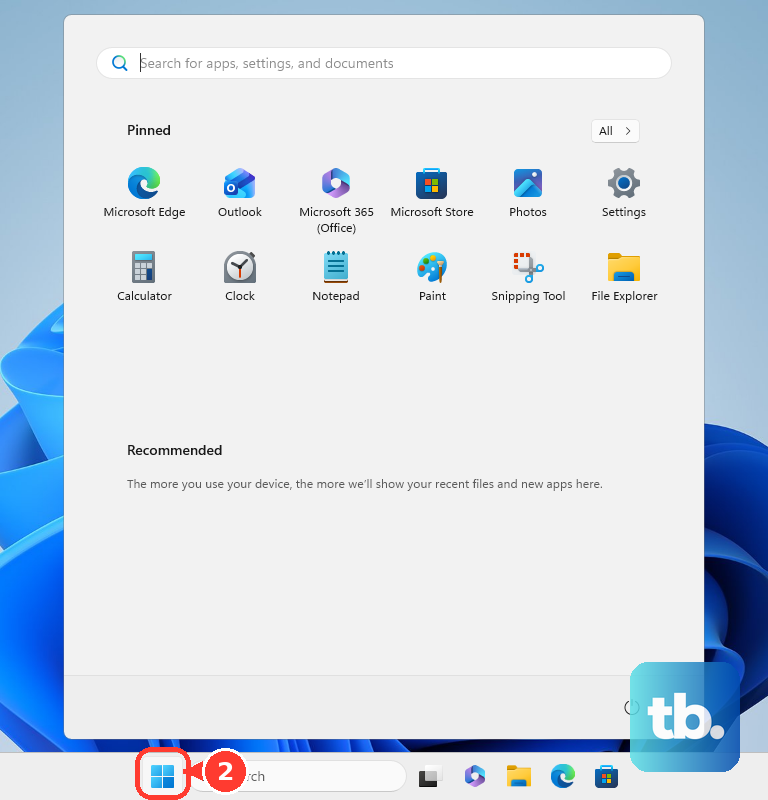
This launches the Hardware and Devices troubleshooter. Follow the prompts to let it scan for and attempt to fix problems with your USB controllers and connected devices.
Install All Windows Updates
Microsoft and ASUS release fixes through Windows Update. Go to Settings > Windows Update and click Check for updates. Install all available updates, especially any optional driver updates.
You can find optional updates by going to Advanced options > Optional updates. These often contain newer chipset or USB controller drivers that can improve compatibility.
Scan for Hardware Changes in Device Manager
This is a quick manual refresh. Go back to Device Manager. Click on the Action menu at the top and select Scan for hardware changes. This tells Windows to immediately re-check all hardware buses, including USB, for any connected devices it might have missed.
If you've tried all these steps and certain ports still don't work, there could be a physical issue with the port or the motherboard connection. Before considering hardware repair, a final step within the MyASUS app is to run its diagnostic tests, which can check the system's hardware health.