Wi-Fi connection problems are among the most common issues Mac users face. When your MacBook won't connect to Wi-Fi but other devices work fine, it's usually a software or settings issue rather than a hardware problem. Try these troubleshooting steps in order to resolve the connection problem.
Start with the Basics
Restart Your Mac
A simple restart often resolves temporary software glitches that can interfere with Wi-Fi connectivity. When restarting, uncheck the "Reopen windows when logging back in" option to ensure a clean startup.

Check Your Wi-Fi Connection
Make sure you're trying to connect to the correct Wi-Fi network and that the network is actually available. Verify that other devices can connect to the same network to rule out router issues.
Update macOS
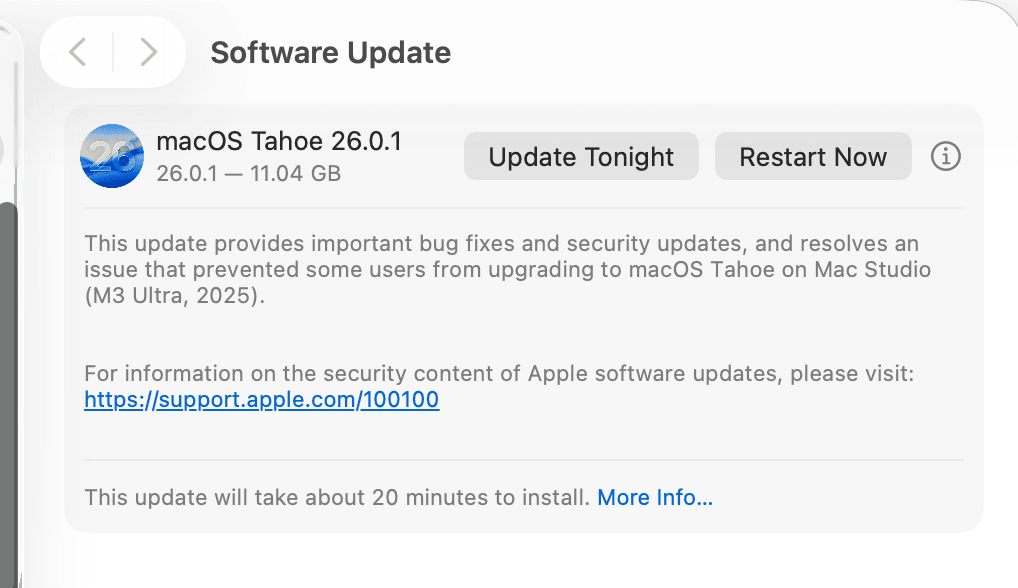
Bugs in older macOS versions can cause Wi-Fi connectivity problems. Keeping your system updated ensures you have the latest fixes and improvements. Always back up your data before updating.
Network Settings Solutions
Remove and Reconnect to Wi-Fi
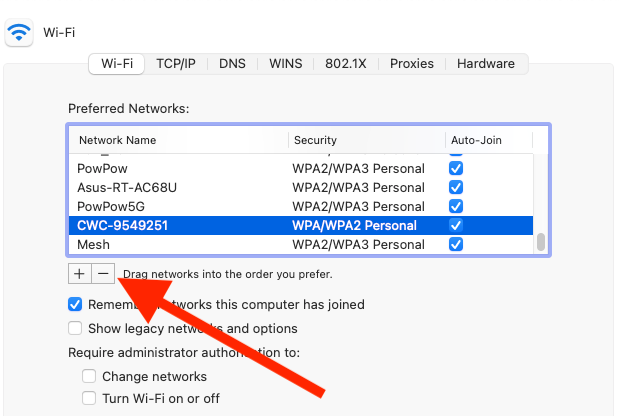
If your Mac won't connect to a specific network, try removing it from your known networks and reconnecting:
- 1.Go to System Preferences > Network
- 2.Select Wi-Fi in the left column
- 3.Click Advanced
- 4.Select the problematic Wi-Fi network and click the minus (-) sign
- 5.Try reconnecting by entering your password
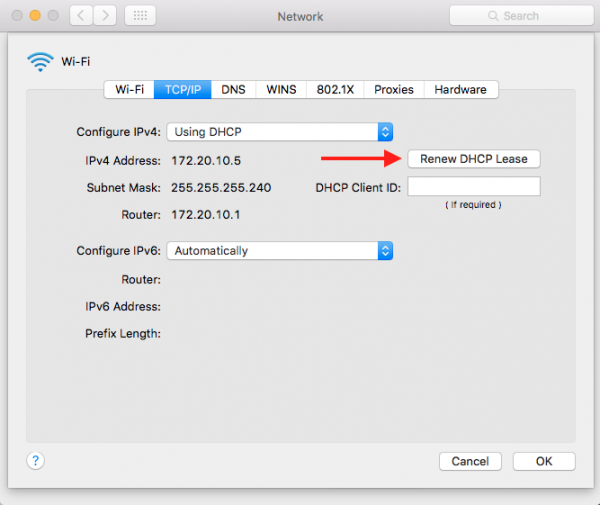
Renew DHCP Lease
This refreshes your network connection and can resolve IP address conflicts:
- 1.Go to System Preferences > Network
- 2.Select Wi-Fi
- 3.Click Advanced > TCP/IP tab
- 4.Click Renew DHCP Lease
Reset Network Location
If you frequently switch between different Wi-Fi networks, reset your location settings to automatic:
- 1.Go to System Preferences > Network
- 2.Choose Location
- 3.Select Automatic
Advanced Troubleshooting
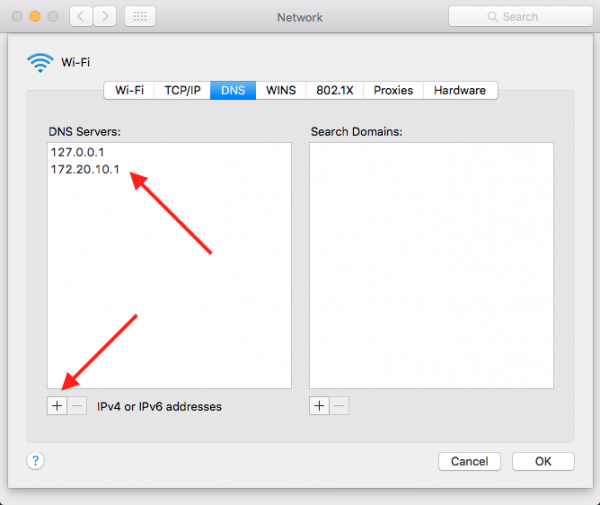
Check DNS Settings
Incorrect DNS settings can prevent internet access even when connected to Wi-Fi:
- 1.Go to System Preferences > Network
- 2.Select Wi-Fi
- 3.Click Advanced > DNS tab
- 4.Ensure DNS servers are correctly configured
- 5.Try using Google DNS (8.8.8.8 and 8.8.4.4) as alternatives
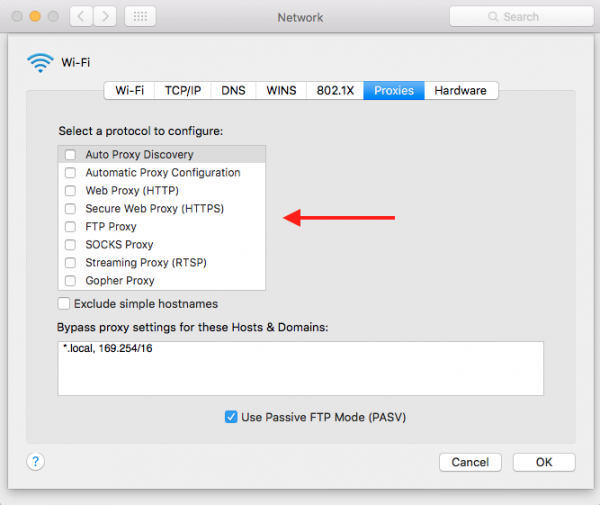
Disable Proxy Settings
Proxy settings can interfere with normal network connections:
- 1.Go to System Preferences > Network
- 2.Select Wi-Fi
- 3.Click Advanced > Proxies tab
- 4.Ensure all proxy protocols are unchecked
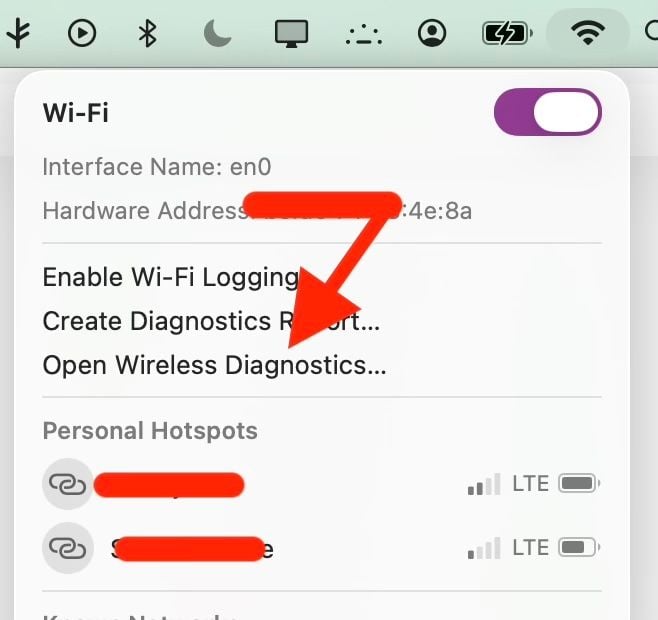
Use Wireless Diagnostics
Mac includes a built-in tool to diagnose Wi-Fi problems:
- 1.Hold down the Option key and click the Wi-Fi icon in the menu bar
- 2.Select Open Wireless Diagnostics
- 3.Follow the on-screen instructions to identify and fix issues
Check for VPN Interference
VPN applications can sometimes conflict with Wi-Fi connections. If you're using a VPN, try disconnecting it temporarily to see if that resolves the connection issue.
System-Level Solutions
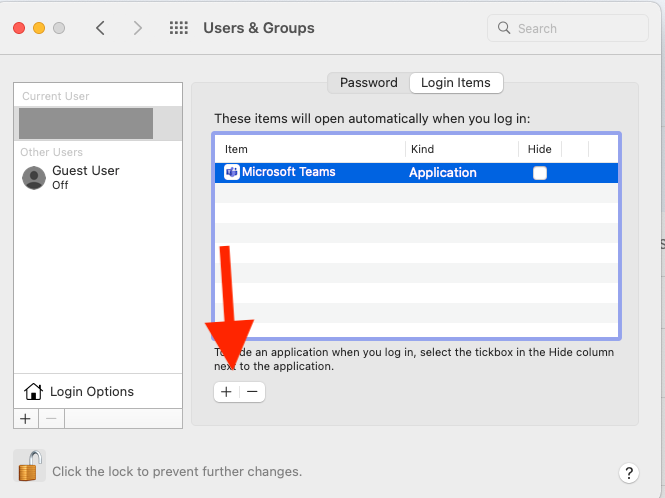
Remove Login Items
Applications that launch at startup can sometimes interfere with network connections:
- 1.Go to System Preferences > Users & Groups
- 2.Click Login Items
- 3.Click the lock to make changes
- 4.Select unnecessary applications and click the minus (-) sign
Reset System Configuration
For persistent Wi-Fi issues, you can reset network configuration files:
- 1.Open Finder and press Command+Shift+G
- 2.
Enter: /Library/Preferences/SystemConfiguration/ - 3.Copy all files to a backup folder
- 4.Delete the original files
- 5.Restart your Mac

Delete Network Preferences
Corrupted preference files can cause connection problems:
- 1.Open Finder and press Command+Shift+G
- 2.Enter: ~/Library/Preferences/
- 3.
 Click to expand
 - 4.Look for and backup these files:
- com.apple.internetconfig.plist
- com.apple.internetconfigpriv.plist
- Delete the original files and restart

Hardware Considerations
If none of the software solutions work and your Mac shows "Wi-Fi: No hardware installed" or similar messages, the issue may be hardware-related. In this case, contact Apple Support or visit an Apple Authorized Service Provider for professional assistance.
Remember to work through these solutions in order, starting with the simplest fixes before moving to more advanced troubleshooting. Most Wi-Fi connection issues can be resolved without professional help using these methods.