Here’s how to find and Set Screen Savers in Windows.
Access Screen Saver Settings
There are two main ways to find the screen saver settings in Windows.
Method 1: Through Settings App
- 1.Open Settings by clicking the Start menu and selecting the gear icon, or press Windows key + I
- 2.Click on "Personalization"
- 3.Select "Lock screen" from the left sidebar
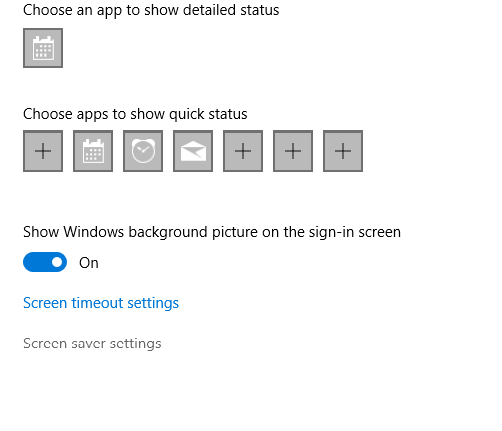
- 4.Scroll down and click "Screen saver settings"
Click to expand
Method 2: Using Search
- 1.Click the search box next to the Start menu or press Windows key + S
- 2.Type "screen saver"
- 3.Click "Change screen saver" from the search results
Configure Your Screen Saver
Once you're in the Screen Saver Settings window, you can customize everything:
- Choose a screen saver: Select from built-in options like Bubbles, Ribbons, Photos, or 3D Text
- Set wait time: Choose how many minutes of inactivity before the screen saver starts
- Preview: Click "Preview" to see how your selected screen saver looks
- On resume settings: Check "On resume, display logon screen" to automatically lock your computer when the screen saver turns off
For photo screen savers, you can click "Settings" to choose which folder contains your pictures and adjust slideshow options.
Why Screen Savers Still Matter
While screen savers aren't necessary for modern displays, they serve other useful purposes:
- Security: Automatically locking your screen when you step away
- Personalization: Adding visual interest to your desktop
- Privacy: Hiding your work when you're not at your desk
Screen savers activate after the specified number of minutes of inactivity, and you can return to your desktop by moving your mouse, pressing any key, or touching the screen if you have a touchscreen.