Converting YouTube videos to WAV format gives you high-quality audio files perfect for music production, podcast editing, or any project where sound quality matters. WAV files preserve the original audio without compression, making them ideal for professional use.
Why Choose WAV Format
WAV files offer uncompressed audio quality that maintains the full sound spectrum from the original source. This makes them perfect for:
- Music production and mastering
- Audio editing and remixing
- Professional podcast workflows
- Archiving high-quality audio
Unlike compressed formats like MP3, WAV files don't lose any audio data during conversion, ensuring you get the best possible sound quality from YouTube videos.
How to Convert YouTube to WAV
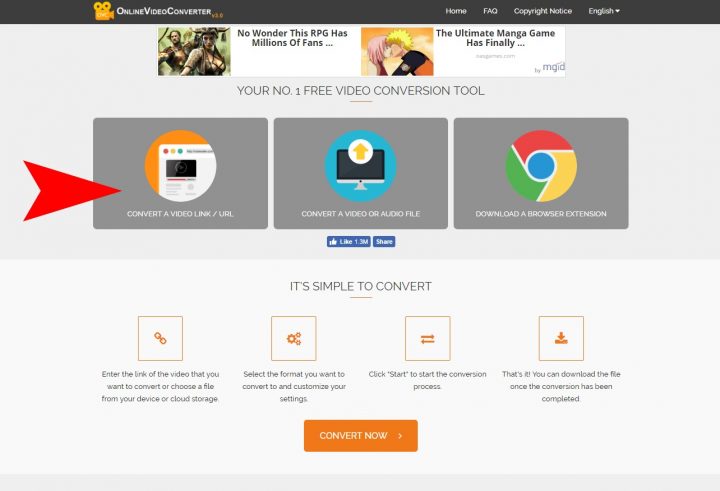
Online Converters (Quick and Easy)
For occasional conversions, online tools are your best bet. They're free, work on any device with a web browser, and require no software installation.
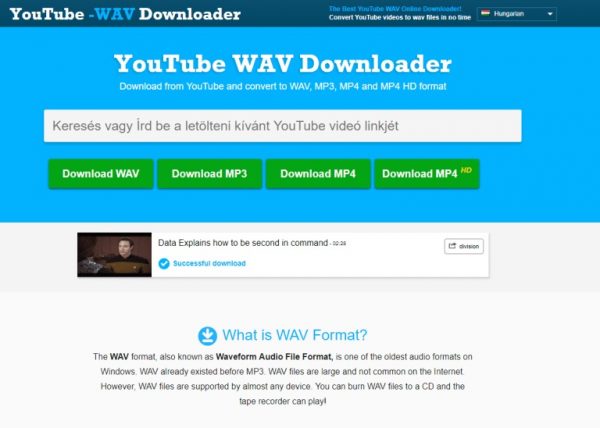
Popular Online Options:
- Y2Down - Offers studio-quality WAV conversion with 320kbps MP3 and lossless WAV formats
- 4kdownload - Provides CD-quality audio output at 1411 kbps bitrate
- YTConverter - Simple interface for quick conversions
- YouTubetoWAV.com - Dedicated WAV conversion with no registration required
Step-by-Step Conversion Process
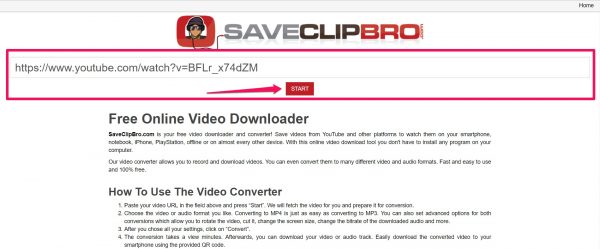
- 1.Copy the YouTube URL - Go to YouTube and copy the link of the video you want to convert
- 2.Paste into converter - Visit your chosen online converter and paste the URL
- 3.Select WAV format - Choose WAV from the available audio format options
- 4.Download your file - Click convert and download the WAV file to your device
Most conversions take less than 30 seconds, and you'll have a high-quality WAV file ready to use.
Quality Considerations
When converting YouTube videos to WAV, keep these factors in mind:
- Source quality matters - Higher resolution videos (480p and above) typically contain better audio
- Check audio before converting - Listen to the video first to ensure the audio quality meets your needs
- File size - WAV files are larger than MP3s, so plan your storage accordingly
You can check a YouTube video's audio quality by right-clicking and selecting "Stats for Nerds" to see the codec information.
Desktop Software Options
If you convert YouTube videos frequently, desktop software might be more convenient. Programs like Audacity (free) or paid options like NoteBurner offer:
- Batch conversion of multiple videos
- Playlist downloading
- Advanced audio settings
- Better organization features
Important Legal Notes
Always respect copyright when converting YouTube content. Only convert videos you have permission to use, such as:
- Your own uploaded content
- Creative Commons licensed videos
- Content with explicit permission from the copyright holder
- Videos for personal use under fair use guidelines
Most online converters work best with publicly available, non-copyright-restricted content.
Getting the Best Results
For optimal WAV quality:
- Choose videos uploaded in high resolution
- Use converters that preserve original audio quality
- Consider the 1411 kbps bitrate for CD-quality sound
- Store your WAV files on external drives or cloud storage due to their larger size
Whether you're a musician sampling sounds, a podcaster needing clean audio, or just want high-quality music files, converting YouTube to WAV gives you professional-grade audio ready for any project.