


If you have just started using Windows 10, you will be happy to know that this OS allows you to make changes to have the best experience. You can disable the options you don't like and turn on various helpful settings.
In addition, you can change the style of the OS and its parts to match your taste. That is why every user has their own personalized experience. If you want, you can change the size and color of the pointer. If that sounds cool to you, keep reading. Here, in this article, we will share a quick and straightforward guide on how to change the pointer size and color in Windows 10.
See also: How to make Windows 10 play sounds when you press Num Lock, Caps Lock, and Scroll Lock.
How to change pointer size and color in Windows 10
By default, the pointer in Windows 10 is white and small in size. If you don't like its current look, there is a set of options that you can change. Here is what you need to do:
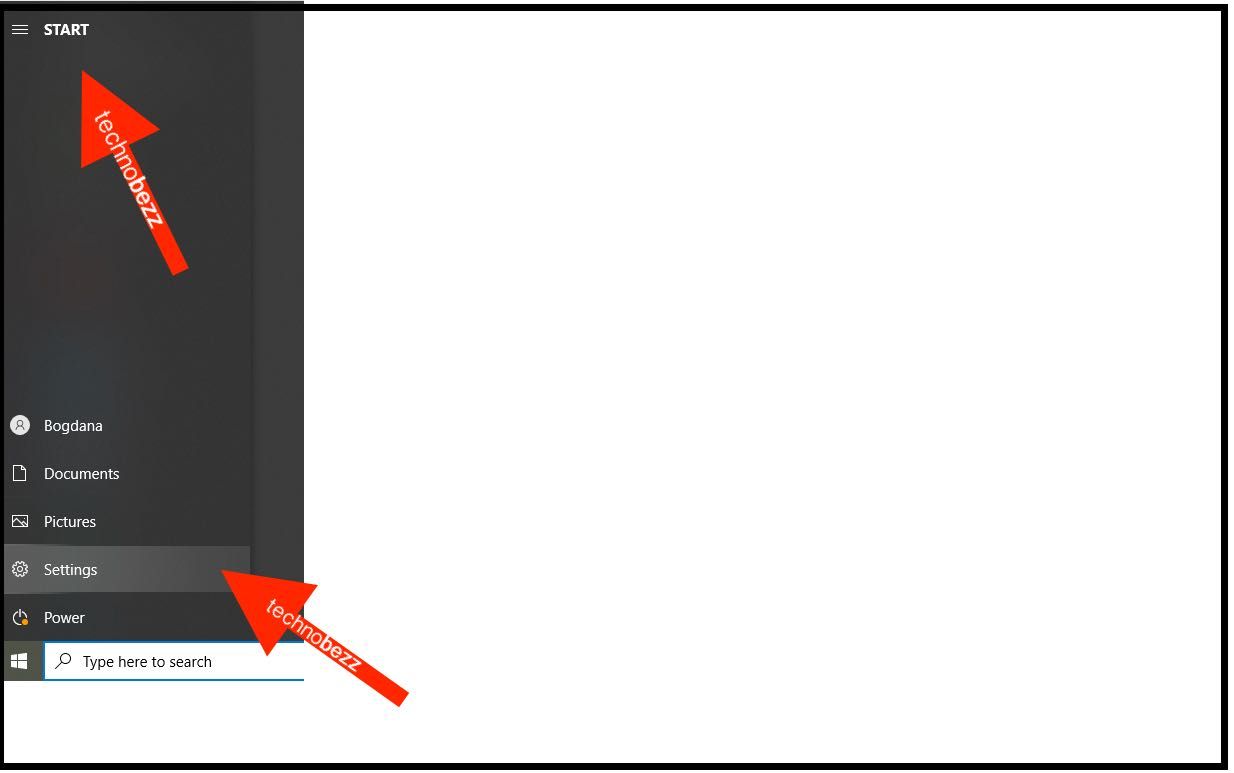
- Click on the Start button in the bottom right corner of the screen
- Now click on the gear icon to open the Settings menu
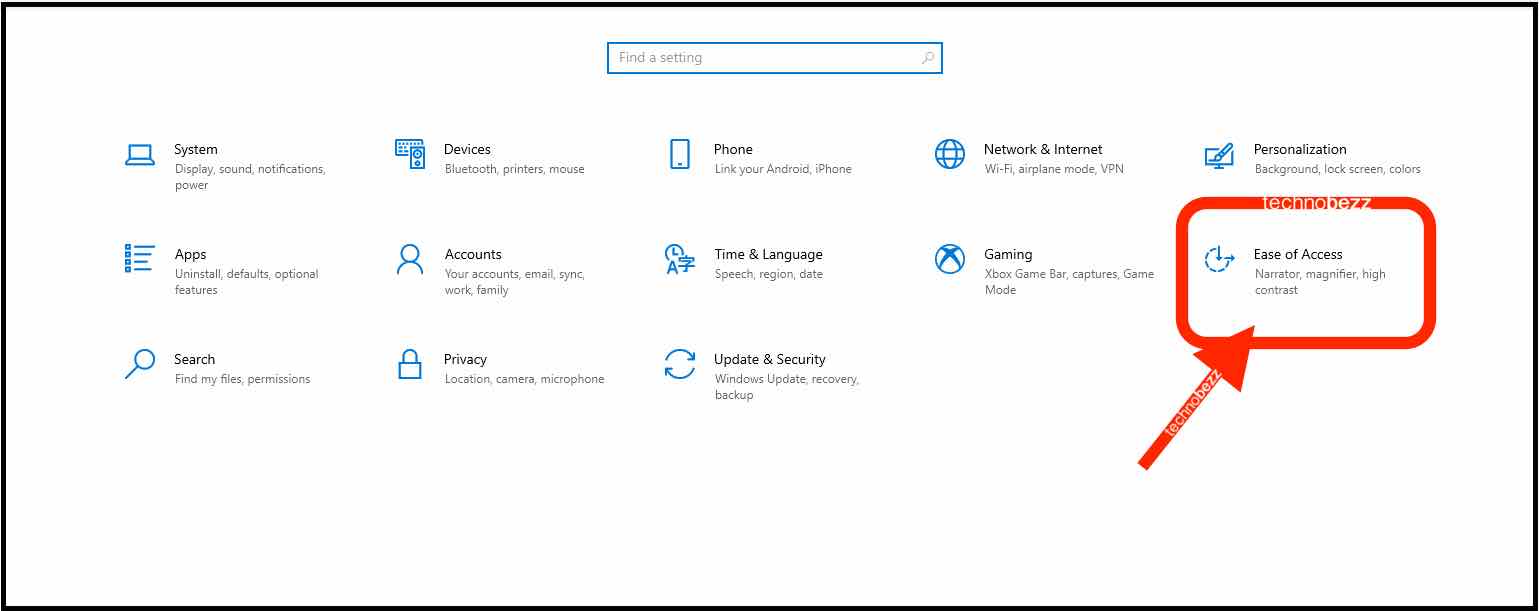
- Under Settings, click on Ease of Access
- Next, click on the Mouse pointer
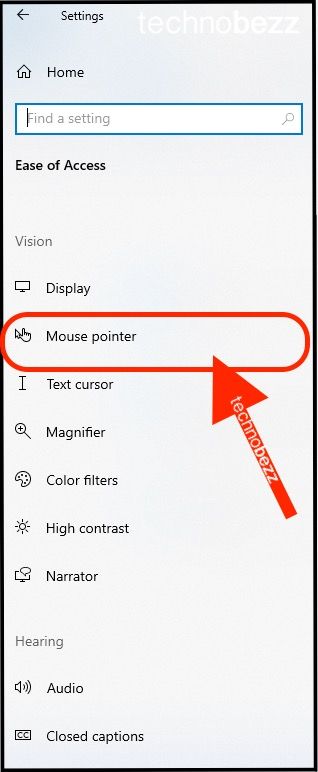
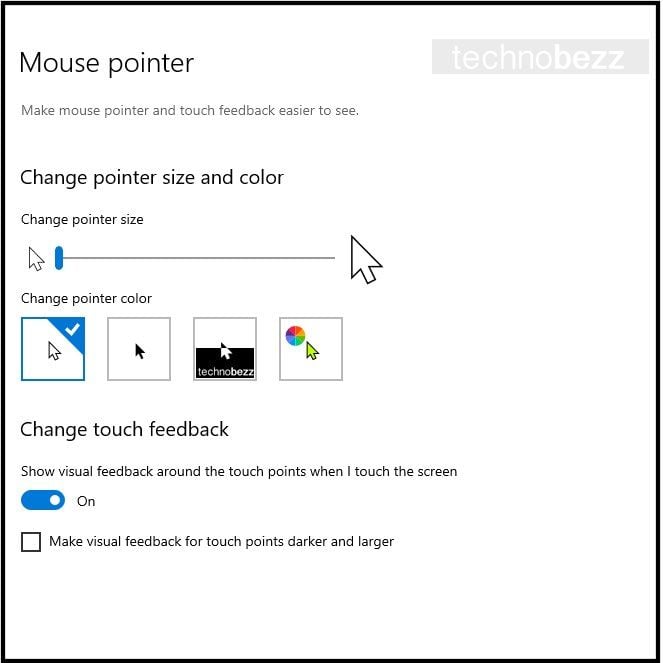
- At the top of the page, you will see the options that allow you to change its size and color.
- To change its size, drag the slider below "Change pointer size" to the right or left.
- To change its color, click on one of the options below, "Change pointer color."
Once you select the color and size, the pointer's look will change immediately. Simple, right?
