Not sure how to take a screenshot on a Chromebook? You’re in the right place; we will show you the steps.
You may find the steps confusing if you just got a brand-new Chromebook and have never used one before. When it comes to screenshots, like all other devices out there, starting with Android and iOS to Mac and Windows PCs, you can take a screenshot by pressing particular keys simultaneously. Without further ado, let’s see how to do it.
How to take a screenshot on a Chromebook: Entire screen
For Chromebooks, you have two options: you can capture the entire screen or only part of it. First, we will show you the drill for the entire screen.
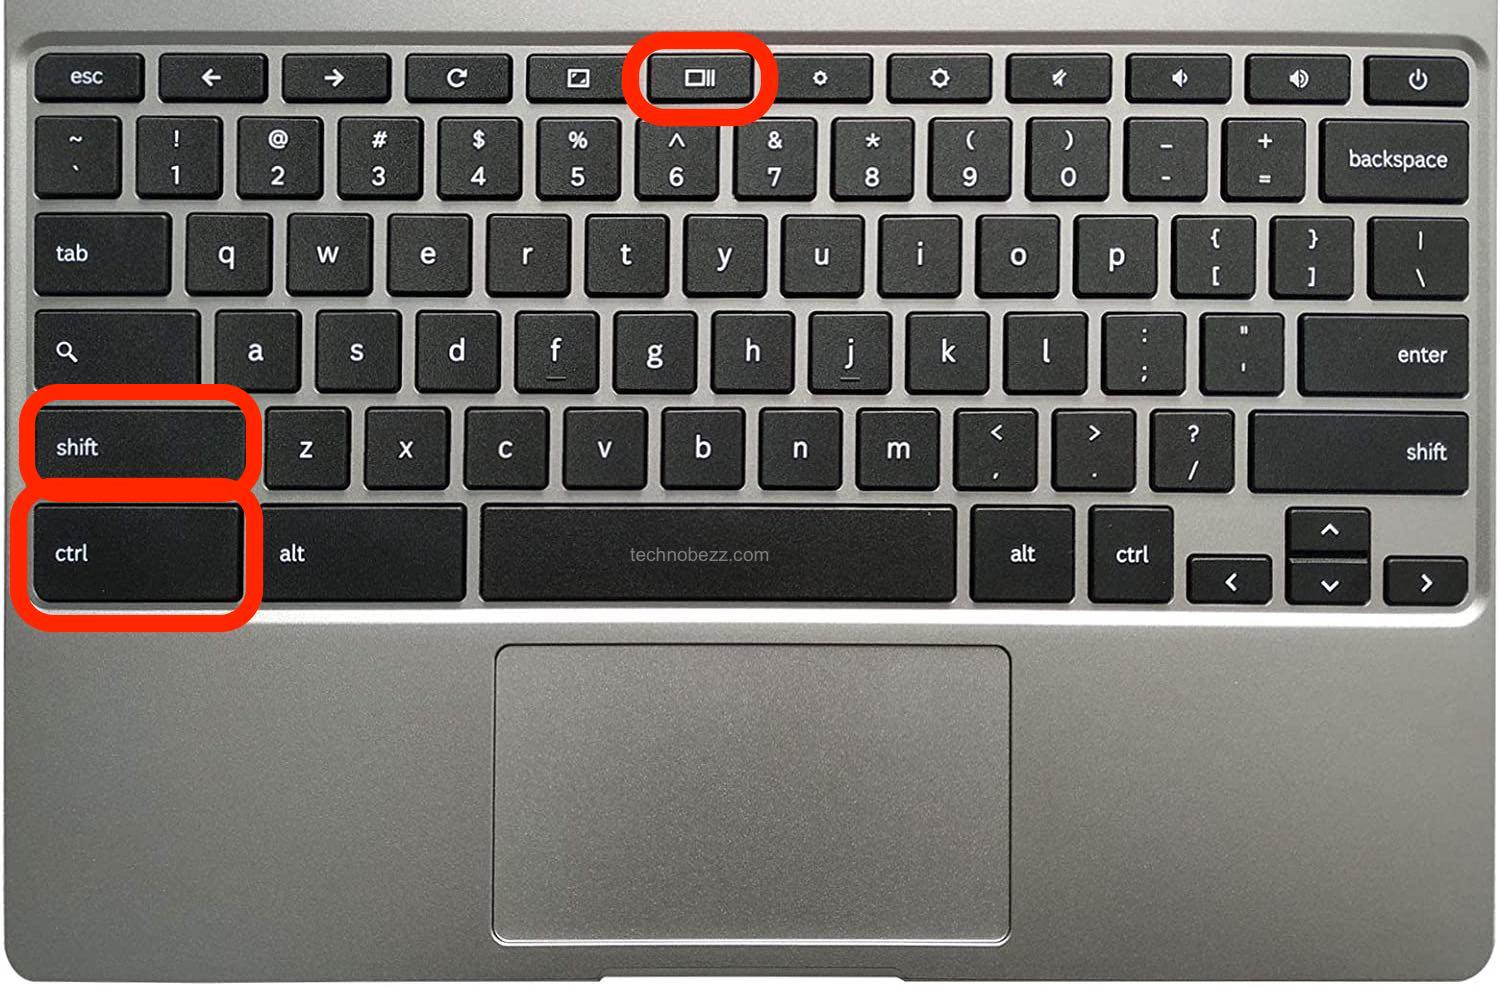
The combination of the keys is Ctrl + Switch Windows Key.
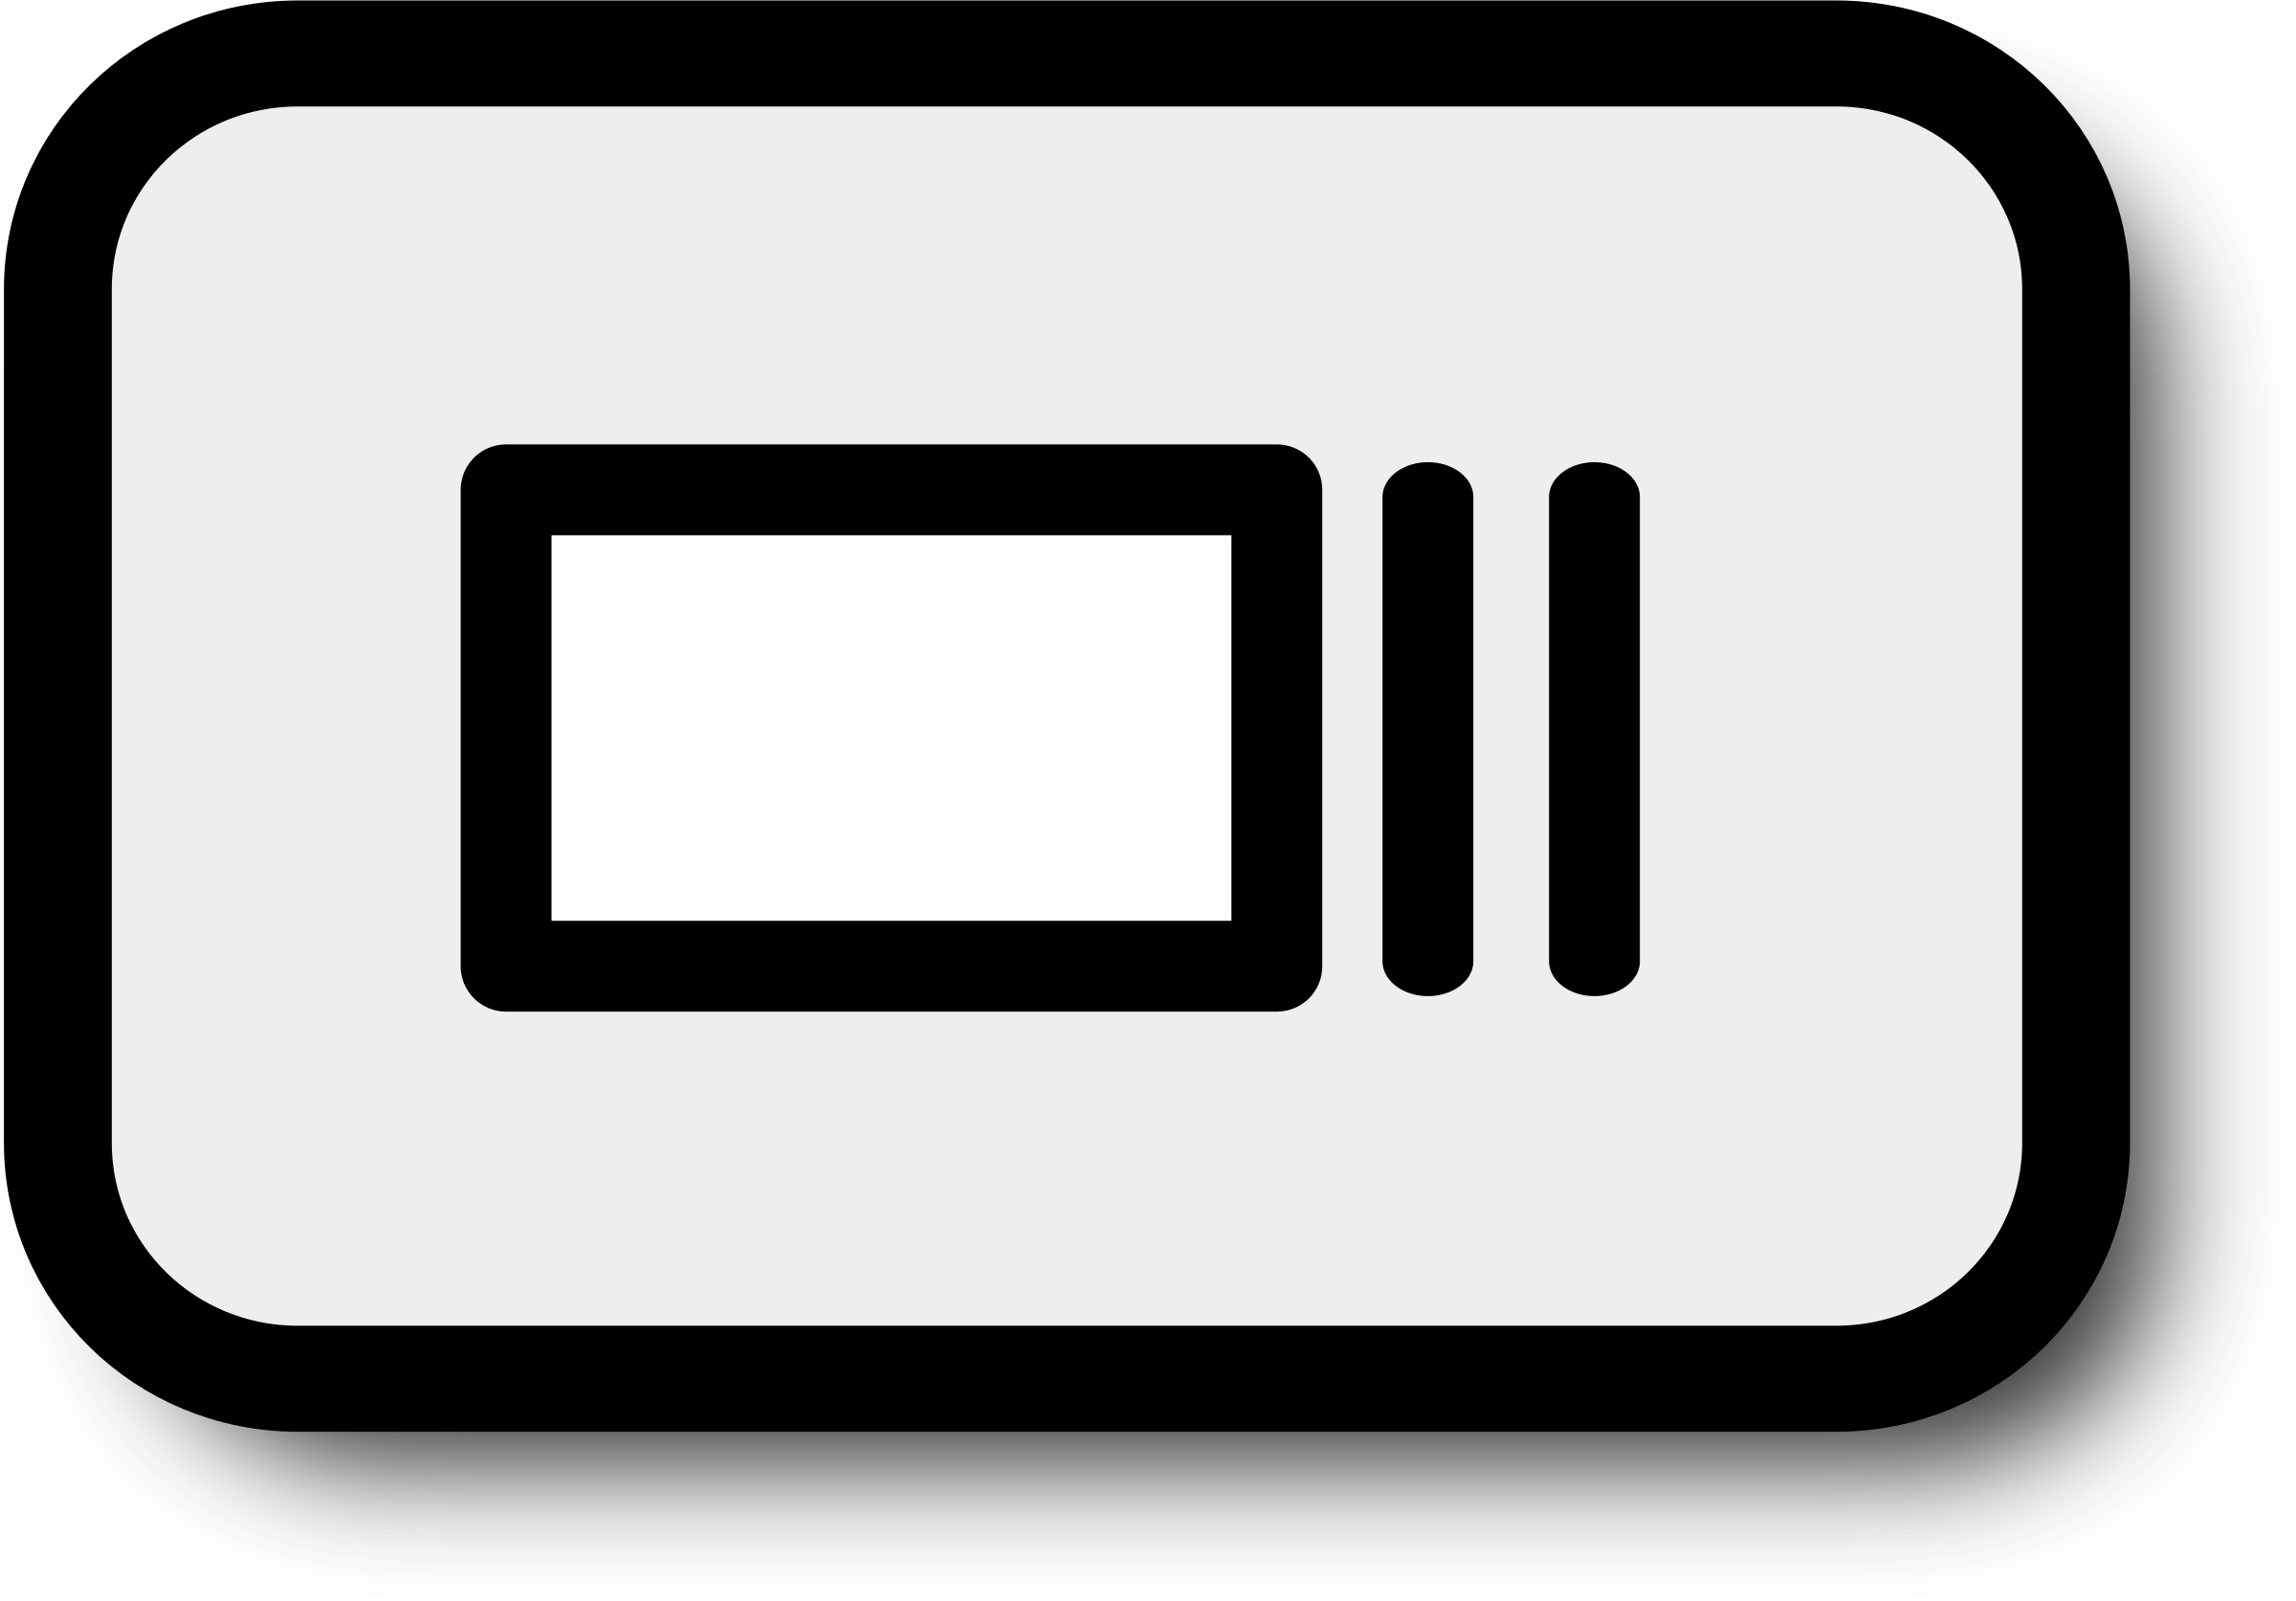
Not sure what the Windows switcher looks like? Here it is.

The key is usually located right above number 6 on your keyboard.
Once you press these keys simultaneously, you’ll be notified that the screenshot has been taken successfully. You can click Copy to clipboard or press Ctrl +V to paste it where you want. Or, you can go to the “Downloads” folder. Then you can do whatever you want with the screenshot. You can open it with the Chromebook’s photo viewer to edit, upload it to Google Drive or send it to someone. It’s up to you.
How to take a screenshot on a Chromebook: Part of the screen
Chromebooks allow you to capture just part of the screen if that is more convenient for you. The combination of keys you need to press is similar to the one we’ve shown you above.
To capture the part of the screen, press Ctrl + Shift + Switch Windows Key (the one in the image above). 
As you can see, all you need to do is add Shift, and instead of the entire screen, you will be able to capture just a part of it. When you press the keys, the mouse pointer turns into a crosshair. This allows you to select the area you want to capture.
As before, you can either Copy to the clipboard and then paste the screenshot where you want by pressing Ctrl + V. Or head to the “Downloads” folder.

