
Missing notifications on your Galaxy Tab S9 can mean missing important messages, emails, or alerts. It's a common hiccup with Android and Samsung's One UI, but it's usually something you can fix yourself without too much fuss.
I'd start with the simplest fix first: a force restart. This clears out any temporary software glitches that might be blocking alerts. Just press and hold the Volume Down button and the Side button (power button) together for about 10 seconds until you see the Samsung logo appear.
Once it boots back up, check if a test notification comes through. If the problem persists, the issue is often with how a specific app is configured, so we'll dig into those settings next.
Check the App's Notification Settings
Android and One UI give you a lot of control over notifications per app. The first place to look is in the system settings for the app that's not alerting you. Open Settings > Notifications > App notifications.
Find the problematic app in the list and tap on it. Make sure the toggle at the top is set to "On." Then, check the individual notification categories underneath. Sometimes, specific types of alerts, like "Promotions" for Gmail, are turned off by default.
Also, look for a setting called "Allow notifications" or "Show notifications" within the app's own settings menu. It's worth a quick glance to ensure nothing got switched off accidentally inside the app itself.
Disable Battery Optimization for That App
Samsung's battery optimization is great for longevity, but it can sometimes be too aggressive and stop apps from running in the background to deliver notifications. You can exempt important apps from this.
Go to Settings > Apps, select the app, and then tap on Battery. You'll see an option for "Optimize battery usage." Tap it, change the dropdown at the top from "Apps not optimized" to "All," find the app in the list, and switch its toggle off.
This tells the system to let the app run more freely in the background, which is essential for timely alerts from messaging apps, email clients, and calendar services.
Ensure Do Not Disturb and Focus Modes Are Off
It sounds obvious, but it's easy to overlook. Swipe down twice from the top of your screen to open the full Quick Settings panel. Look for the "Do Not Disturb" or "Mute" icon. If it's highlighted, tap it to turn it off.
Also, check for any active "Focus modes" or "Modes and routines." Go to Settings > Modes and routines. If a mode like "Work" or "Sleep" is active, it might be blocking notifications. You can either turn the mode off or edit its rules to allow notifications from your crucial apps.
Clear the App's Cache and Data
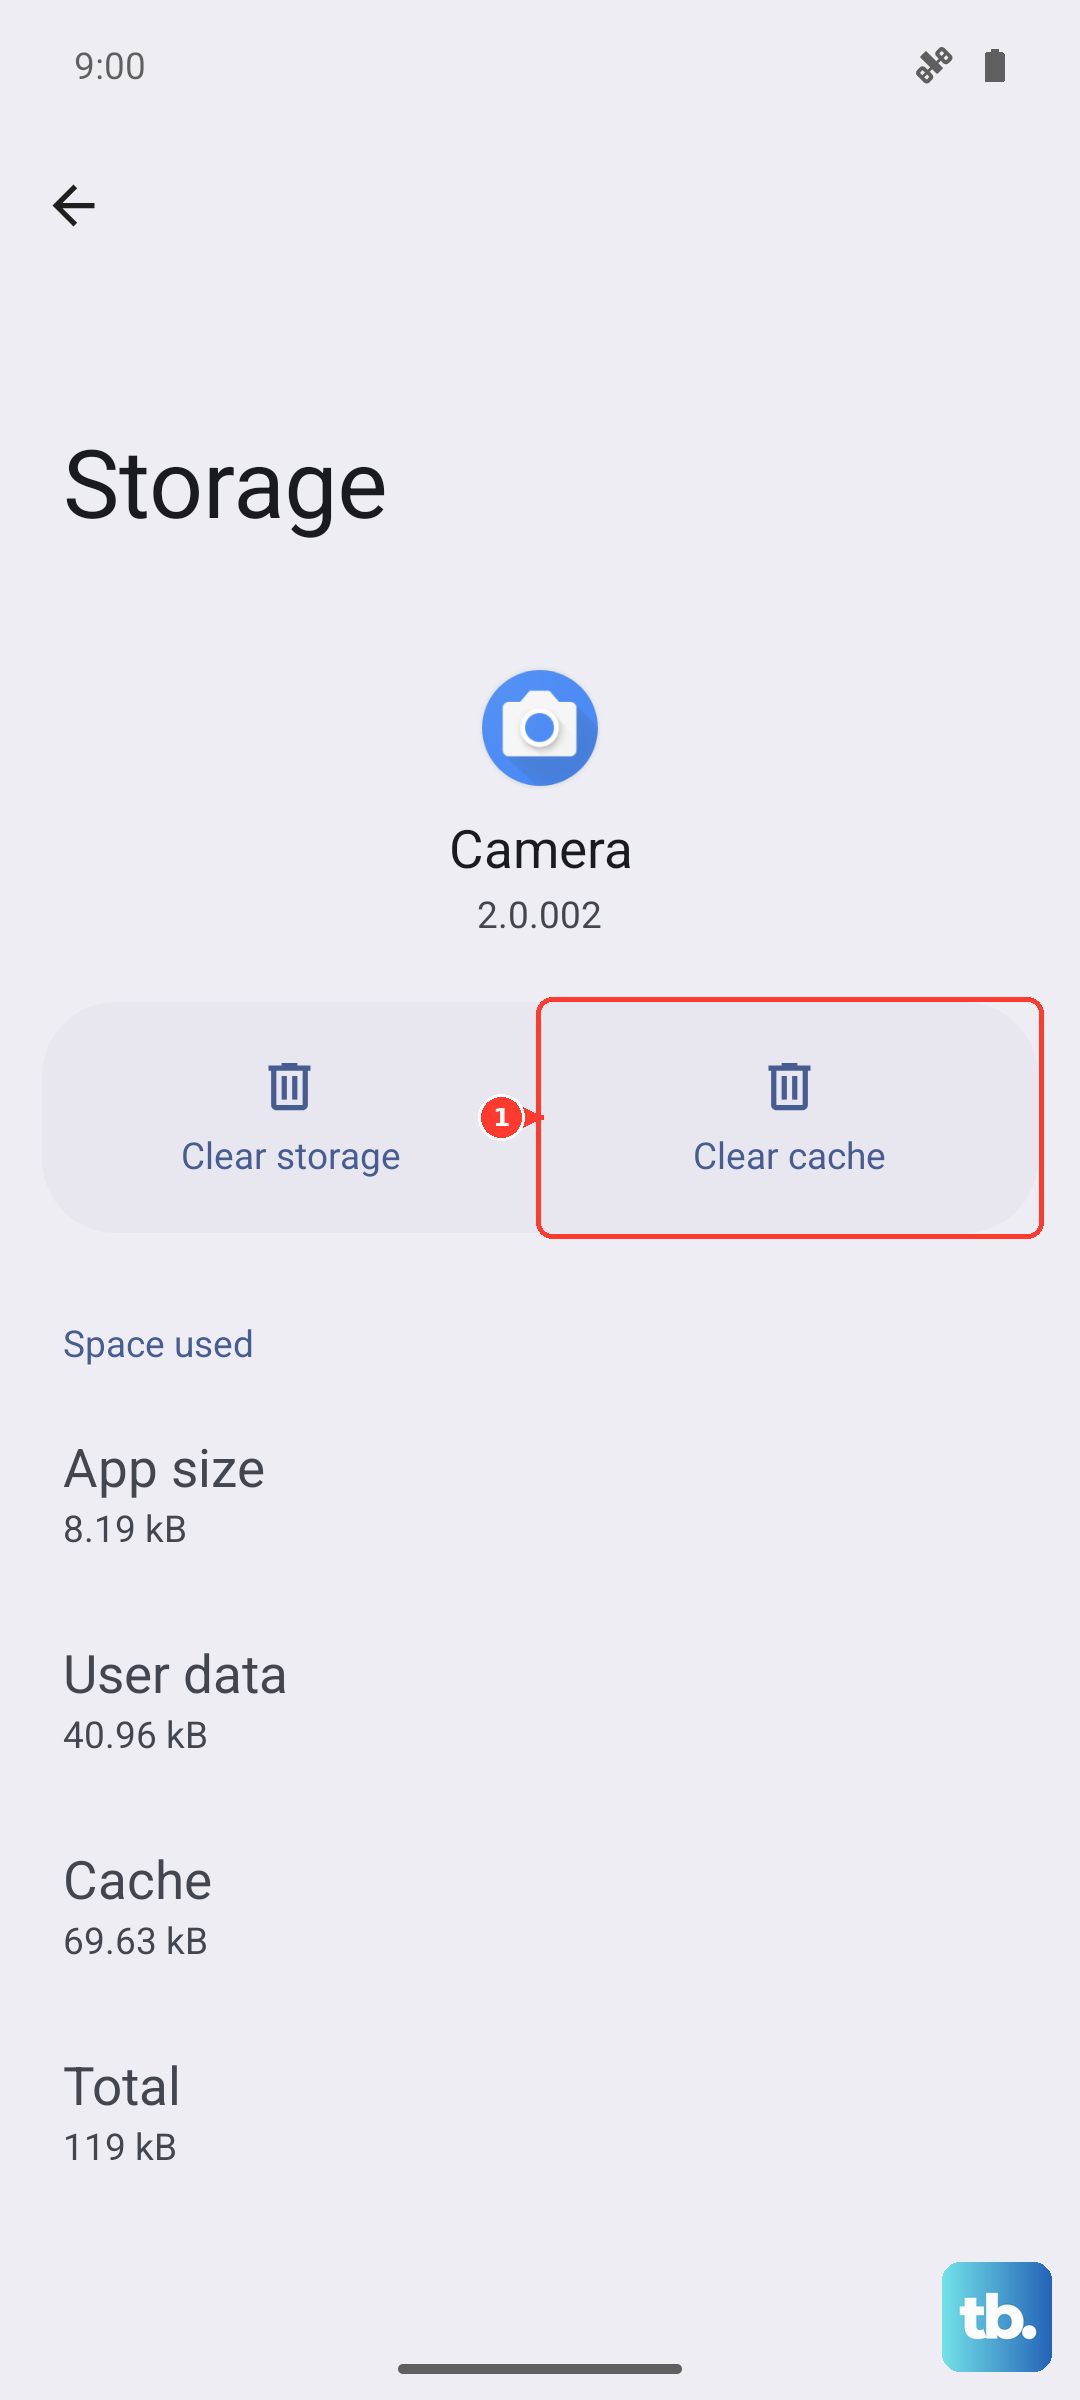
Corrupted temporary files can break an app's functionality. Clearing the cache is safe and won't delete your personal data like login info or messages stored online. Go to Settings > Apps, find the app, tap on it, and then select Storage.
Tap "Clear cache" first and test the notifications. If that doesn't work, you can try "Clear data." Be warned, this will reset the app to its freshly installed state, so you'll need to log back in and reconfigure any settings within the app itself.
Update the App and Your Tablet's Software
An outdated app might have a known bug that breaks notifications. Open the Google Play Store, tap your profile icon, and go to "Manage apps & device" to check for updates. Install any available updates for the problematic app.
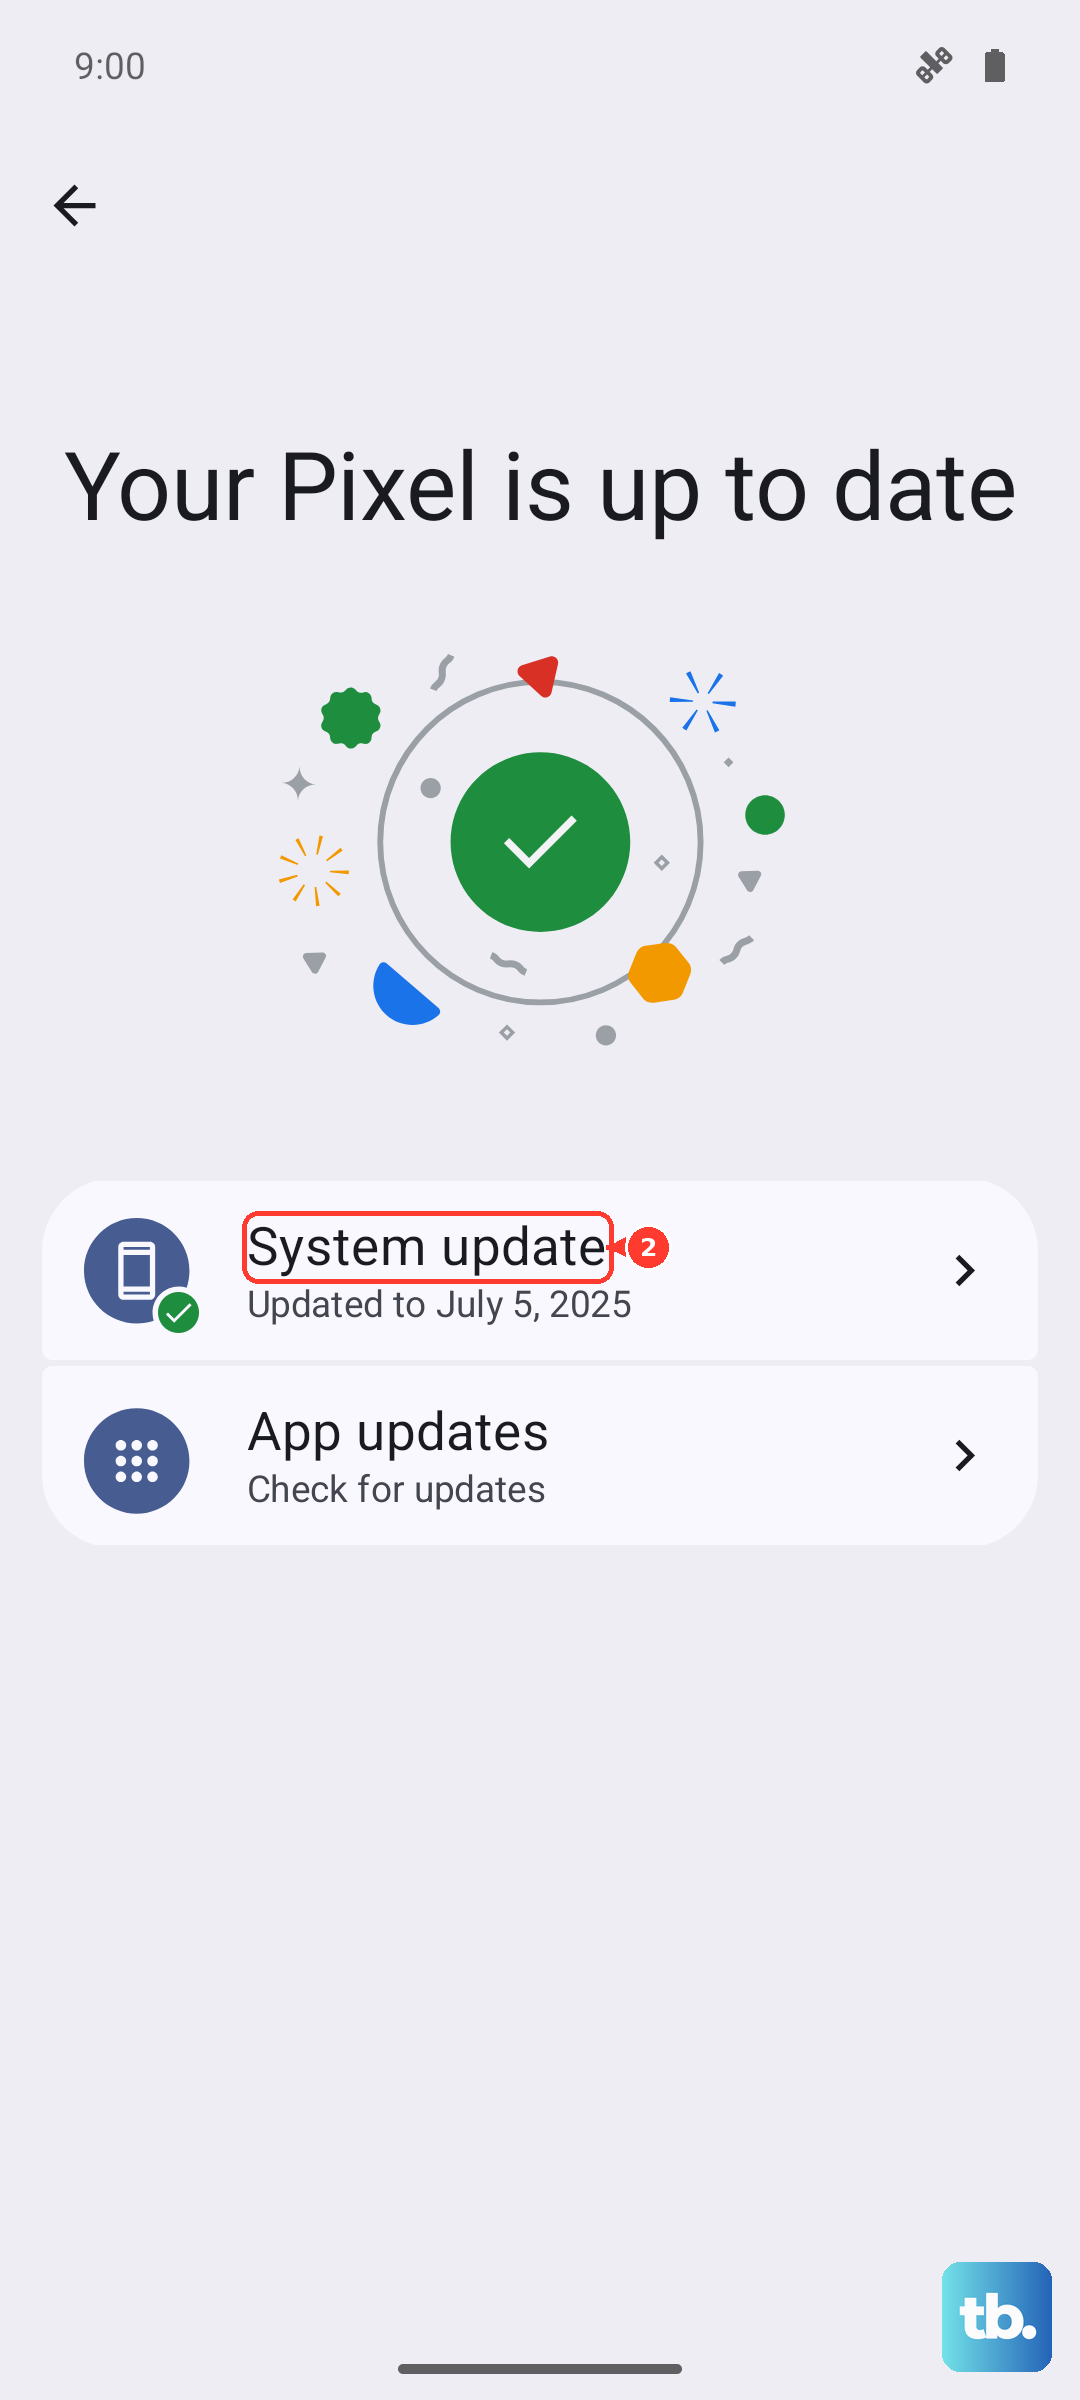
Next, check for a system update. Samsung regularly releases fixes for One UI. Go to Settings > Software update > Download and install. Keeping your Tab S9 on the latest version of One UI 6 (or Android 14) can resolve a lot of underlying system issues.
Review Notification Permissions and Special Access
Beyond basic notifications, some apps need extra permissions. Go to Settings > Apps, select the app, and tap "Permissions." Ensure it has the permissions it needs, like "Contacts" for a messaging app.
Also, check for "Special access" settings. In your Apps list, tap the three-dot menu and select "Special access." Look at options like "Allow unrestricted data usage" or "Optimize battery usage" again from this different menu to make sure nothing is being restricted.
Reset All App Preferences
This is a broader fix that resets all your app-related system settings without deleting any personal app data. It will revert notification permissions, default apps, background data restrictions, and other preferences back to their original defaults.
To do this, go to Settings > Apps, tap the three-dot menu in the top right, and select "Reset app preferences." You'll have to re-allow notifications for apps when they next ask, but it can clear up conflicts caused by a single bad setting.
Check for Conflicting Apps or Launchers
If you're using a third-party launcher like Nova or Niagara, try switching back to Samsung's default One UI Home launcher temporarily to see if notifications return. Some launchers have their own notification systems that can interfere.
Also, think about any recently installed apps, especially cleaner apps, battery savers, or other utility tools. Try uninstalling them one by one to see if the notification problem resolves, as they might be overly aggressive with background process management.
Inspect the Notification Channel for Samsung's BadgeProvider
Samsung uses a system app called BadgeProvider to manage the little red notification dots (badges) on app icons. If this gets confused, it can sometimes affect alerts. Go to Settings > Apps, tap "Show system apps" from the three-dot menu, and find "BadgeProvider."
Tap on it, go to Notifications, and ensure its notification channel is enabled. You can also try clearing its cache from the Storage menu. This won't harm any of your personal data.
Clear the System Cache Partition
This clears temporary system files that can become corrupted, which is different from clearing an app's cache. You'll need to boot into Recovery Mode. First, turn off your tablet completely.
Press and hold the Volume Up button and the Side button simultaneously. When you see the Samsung logo, release both buttons. You'll see a blue "Installing system update" screen briefly, then the Android Recovery menu.
Use the Volume Down button to highlight "Wipe cache partition," then press the Side button to select it. Confirm the action. Once it's done, select "Reboot system now." This process doesn't delete any of your photos, apps, or settings.