
Missing notifications on your Galaxy Tab A9+ can mean missing important messages, emails, or alerts. It's a common hiccup that's usually easy to fix. Let's start with the quickest solution that often works.
First, give your tablet a fresh start. Press and hold the Volume Down and Power buttons together for about ten seconds. Keep holding until you see the Samsung logo appear, then let go. This force restart clears out any temporary glitches in the system that might be blocking notifications.
Check Do Not Disturb and Focus Modes
It sounds simple, but it's the most common reason notifications go silent. Swipe down from the top of your screen twice to open the full Quick Settings panel. Look for the Do Not Disturb icon, it looks like a circle with a line through it. If it's highlighted, tap it to turn it off.
Also, check if any Focus Modes are active. Go to Settings > Notifications > Do Not Disturb. See if a schedule is enabled or if a mode like "Sleep" is currently on. These features are great for minimizing distractions, but they'll hide your alerts if you forget they're running.
Review App-Specific Notification Settings
Android and One UI give you fine-grained control over each app's alerts. The problem might not be with the system, but with the individual app you're not hearing from.
Open Settings > Notifications > App notifications. You'll see a list of all your installed apps. Find the app that's not alerting you (like Gmail, Messages, or Discord) and tap on it. Make sure the toggle at the top is set to "On." Then, check that the specific notification categories within the app, like "New messages" or "Inbox," are also enabled.
Ensure Background Data and Battery Optimization
To save battery life, Android can restrict what apps do in the background. If an app is put to sleep or has its data restricted, it can't check for new messages to notify you about.
Go to Settings > Apps, select the problematic app, and then tap Battery. Make sure it's not set to "Restricted." For more control, go to Settings > Battery and device care > Battery > Background usage limits. Check that the app isn't in the "Sleeping apps" or "Deep sleeping apps" lists. If it is, you can remove it from there.
Clear the App's Cache and Data
Corrupted temporary files can cause all sorts of odd behavior, including notification failures. Clearing this data gives the app a clean slate. Don't worry, this usually won't delete your login info or personal data within the app.
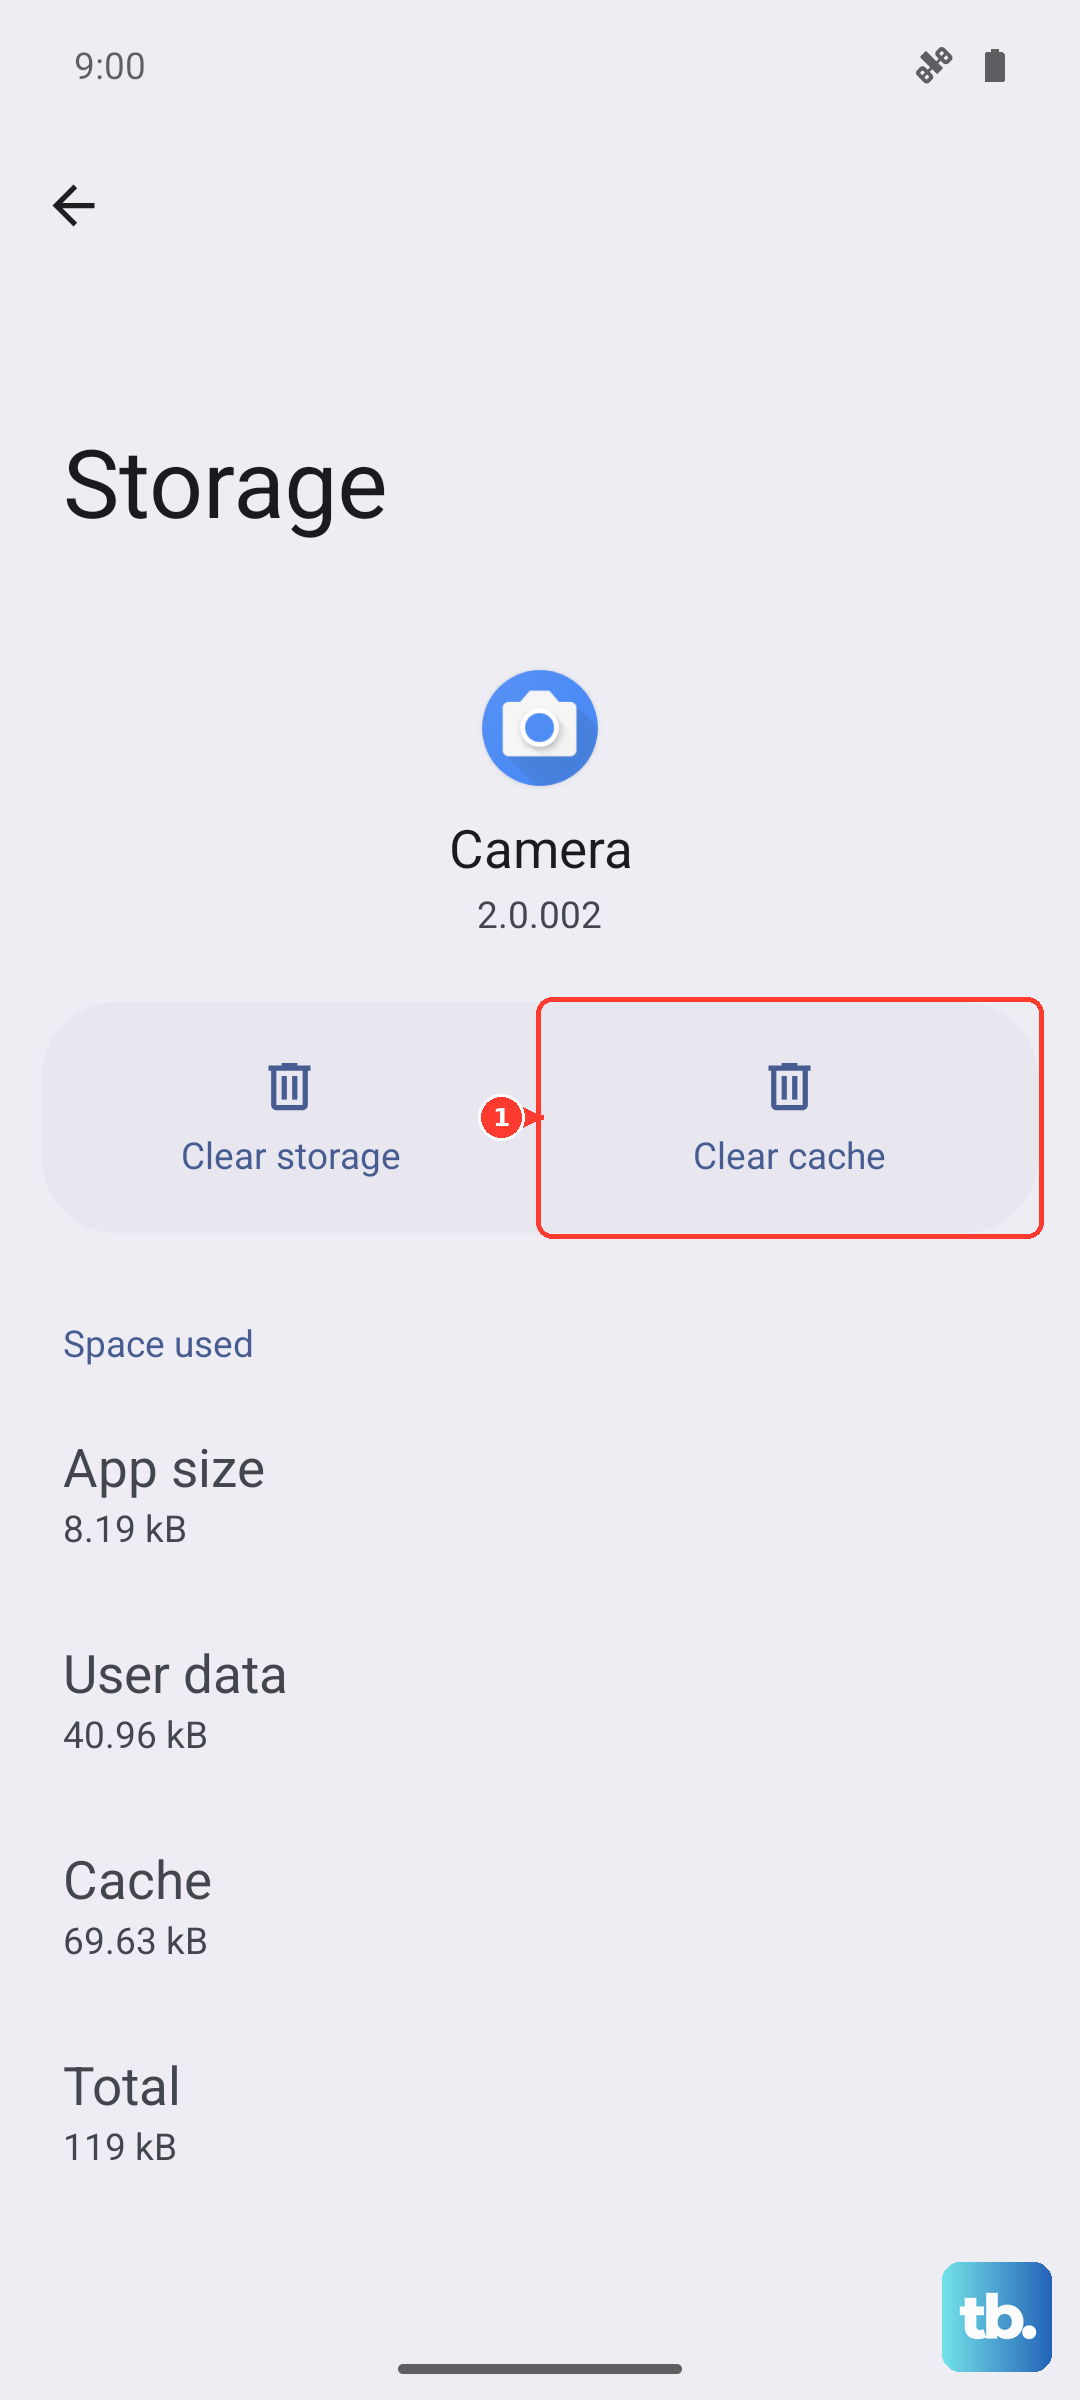
Head to Settings > Apps, find the app, and tap on it. Go to Storage and tap "Clear cache." If that doesn't work, you can try "Clear data," but be aware this will reset the app to its freshly installed state, so you might need to log back in.
Check for Software Updates
Software bugs are a common cause of notification issues, and Samsung regularly releases updates with fixes. Keeping your tablet updated is one of the best ways to ensure everything runs smoothly.
Open Settings > Software update and tap "Download and install." If an update is available, I'd recommend installing it while your tablet is connected to Wi-Fi and its charger, as the 15W charging on the A9+ means updates can take a little while.
Reset App Preferences
This is a useful, broad fix that doesn't delete any of your personal data. It resets all your permissions, notification settings, and default apps back to their factory state. You'll just need to re-grant permission when apps ask for it again.
Navigate to Settings > Apps. Tap the three-dot menu in the top right and select "Reset app preferences." Confirm your choice. This will instantly reset settings for all apps, so it's a very effective way to clear any bad configuration causing the problem.
Disable Adaptive Notifications
Samsung's One UI has a feature called "Adaptive notifications" that tries to learn which alerts are important to you and silence the rest. Sometimes, it can get a bit overzealous.
You can turn this off by going to Settings > Notifications > Advanced settings. Look for "Adaptive notifications" and toggle it off. This stops the system from automatically sorting and prioritizing your alerts for you.
Verify Notification Style and Pop-ups
Make sure your notifications are set to appear properly on your lock screen and as pop-ups. In Settings > Notifications > Lock screen notifications, ensure they are set to "Show content" or "Show details."
For pop-ups, go back to the main Notifications settings and tap "Floating notifications." You can choose "Brief pop-ups" or "Detailed pop-ups" to ensure alerts appear on your screen. If this is set to "Off," you'll only see icons in the status bar.
Examine Sound and Vibration Settings
Double-check that your notification volume isn't muted. Press a volume button on the side of your tablet and tap the three-dot menu that appears next to the volume slider. Make sure the notification volume slider is turned up.
Also, go to Settings > Sounds and vibration > Notification sound to confirm a sound is selected. Sometimes after an update or a settings reset, this can revert to "Silent."
Clear the System UI Cache
The system interface itself has a cache that can become corrupted. You'll need to access the recovery menu to clear it. First, turn off your tablet completely.
Now, press and hold the Volume Up and Power buttons together. Release both buttons when you see the Samsung logo. You'll boot into the Android Recovery menu. Use the Volume Down button to highlight "Wipe cache partition," then press the Power button to select it. Confirm the action. When it's done, select "Reboot system now." This process doesn't touch any of your personal files or apps.