
Seeing a "No SIM card detected" or "Insert SIM card" message on your Samsung Galaxy Tab A9+ can be a real headache, especially when you need mobile data on the go. This issue is often caused by something simple, like a software hiccup or a bit of dust in the tray.
Restart Your Tablet
This is the universal first step for a reason. A simple restart clears temporary glitches that can confuse the tablet's SIM card reader. Just press and hold the Power button until the power menu appears, then tap "Restart."
If the screen is unresponsive, you can perform a force restart. Press and hold the Volume Down button and the Power button together for about 10 seconds. The tablet will vibrate and reboot.
Check Airplane Mode
It's easy to toggle Airplane Mode on by accident, which disables all radios, including the cellular modem. Swipe down from the top of your screen twice to open the full Quick Settings panel.
Look for the Airplane Mode icon and tap it to turn it on. Wait 5 seconds, then tap it again to turn it off. This forces the tablet's cellular connection to reinitialize.
Inspect and Clean the SIM Card
Power off your Galaxy Tab A9+ completely before doing this. Locate the SIM tray on the side of the tablet and use the included SIM ejector tool or a small paperclip to pop it open.
Carefully remove the SIM card and look at the gold contacts. If you see any dust, lint, or discoloration, gently wipe them with a clean, dry microfiber cloth. Blow any debris out of the SIM tray slot as well.
Reinsert the SIM card, making sure it's seated correctly in the tray with the notched corner aligned. Push the tray back in until it clicks. The best way to rule out a bad SIM is to test it in another compatible device.
Verify SIM Card is Enabled in Settings
Sometimes the software can disable the SIM. Open the Settings app on your Tab A9+ and tap "Connections." Then, select "SIM card manager."
You should see your SIM listed here. Make sure the switch next to it is turned on. If you have a dual-SIM model, ensure the correct one is selected for mobile data.
Update Your Tablet's Software
Software bugs in Android 14 or One UI 6 can sometimes interfere with cellular connectivity. Keeping your system updated is crucial. Go to Settings, then scroll down and tap "Software update."
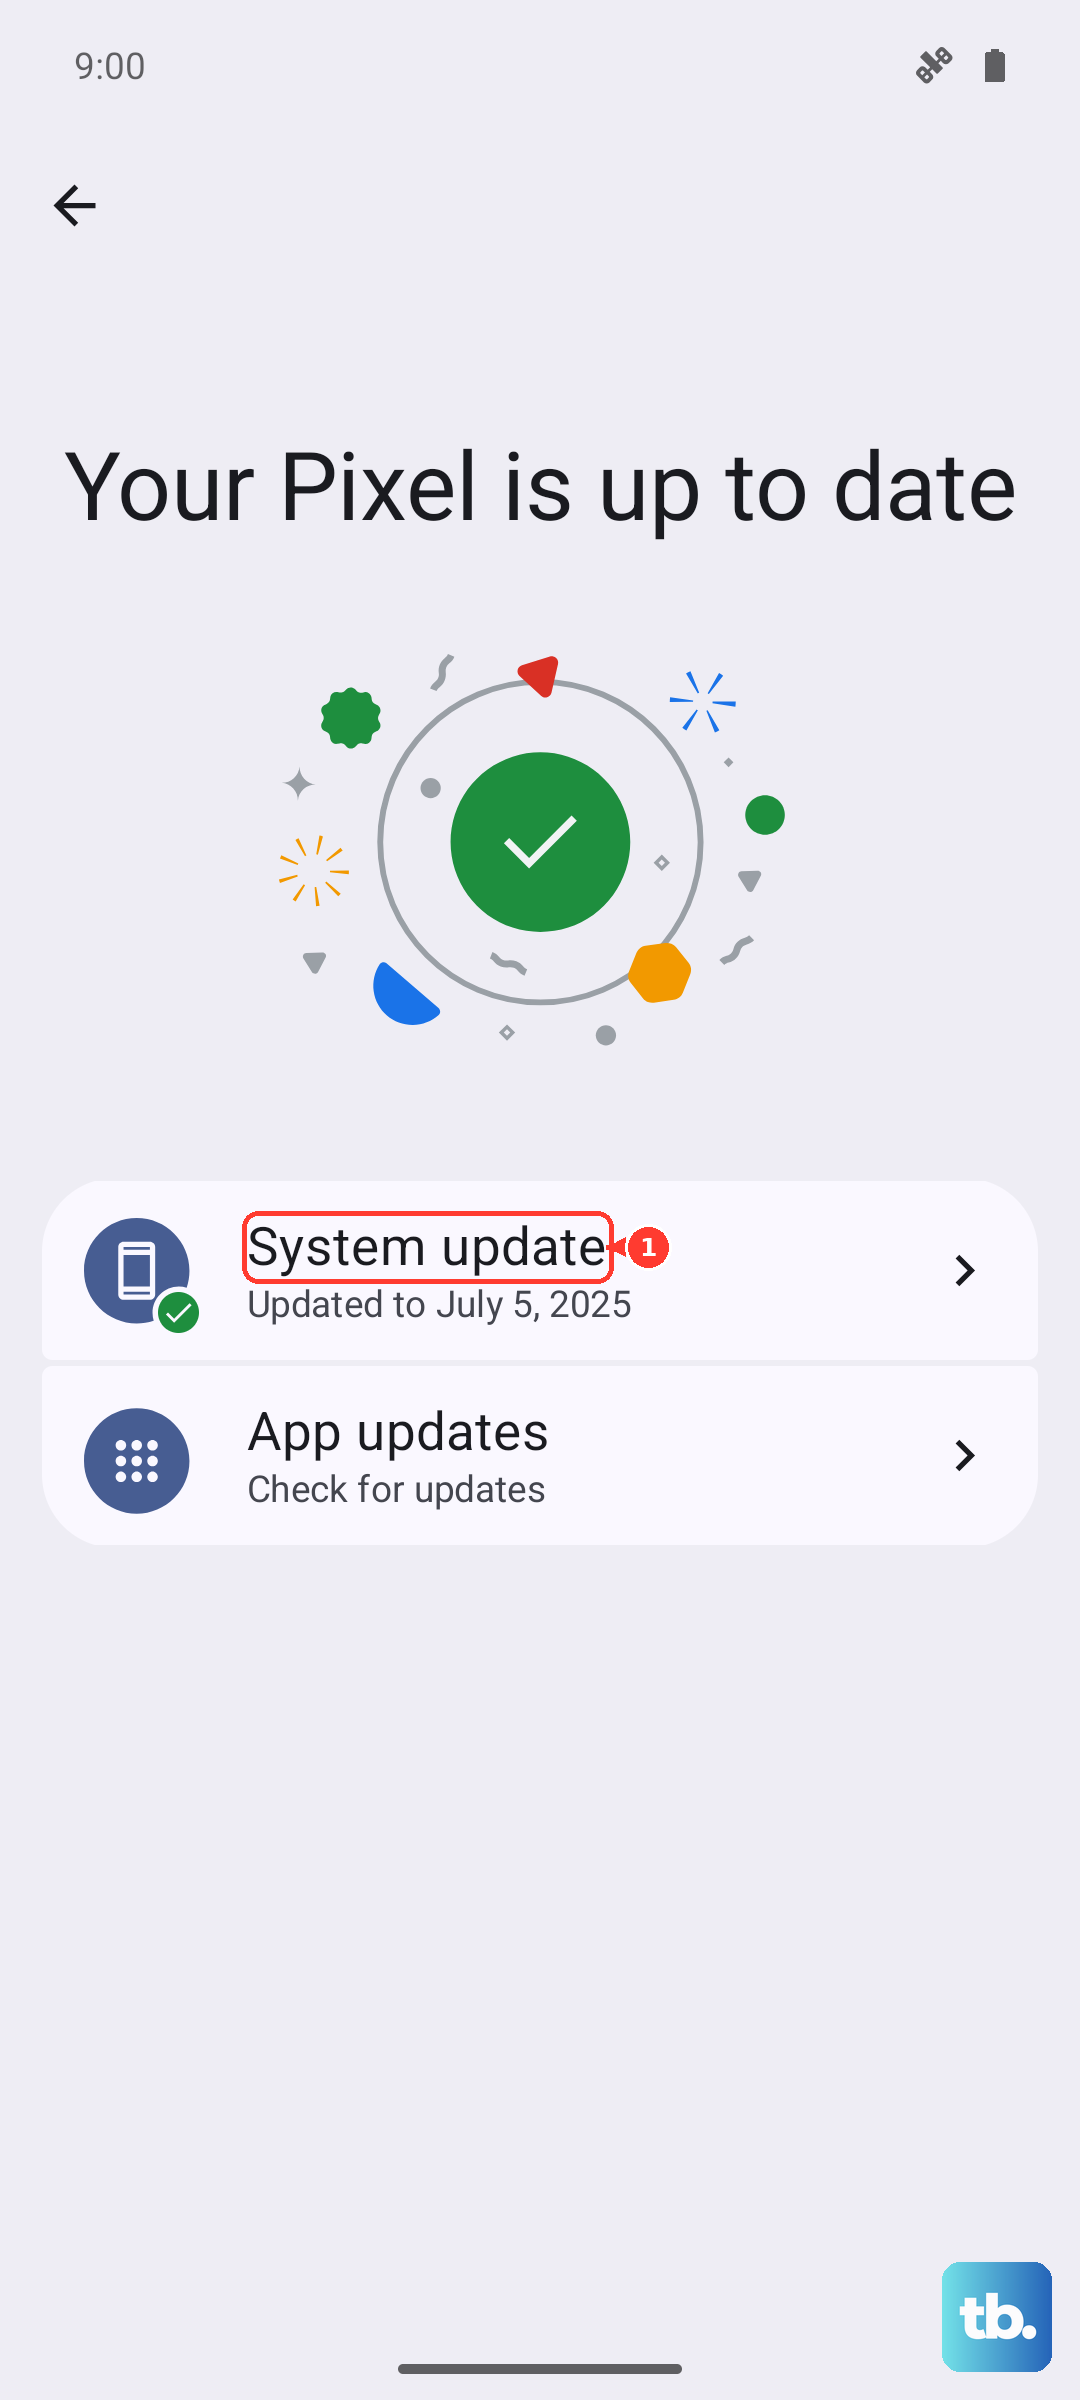
Tap "Download and install." If an update is available, let it complete and then restart your tablet. I've seen updates specifically address network and modem-related issues.
Reset the Network Settings
This is a more thorough step that clears all your saved network configurations without touching your personal files. It will erase Wi-Fi passwords, Bluetooth pairings, and cellular settings.
To do this, go to Settings, then "General management." Tap "Reset," and then select "Reset network settings." Confirm your choice, and the tablet will reboot. You'll need to reconnect to Wi-Fi and re-pair Bluetooth devices afterward.
Check the Access Point Name (APN)
Incorrect APN settings will prevent your tablet from connecting to your carrier's mobile data network, which can sometimes be mistaken for a SIM detection issue. Go to Settings > Connections > Mobile networks > Access Point Names.
Your carrier's APN should be listed and selected. If it's missing or looks wrong, tap the three-dot menu in the top right and choose "Reset to default." If that doesn't populate it, you'll need to get the correct APN details from your carrier's website and enter them manually.
Try Manual Network Selection
Your tablet usually finds and connects to your carrier's network automatically. If that process is glitching, you can manually select it. Go to Settings > Connections > Mobile networks.
Tap "Network operators" or "Select network." The tablet will search for available networks. When the list appears, choose your carrier's name from it. This bypasses the automatic selection logic.
Clear the SIM Toolkit Cache
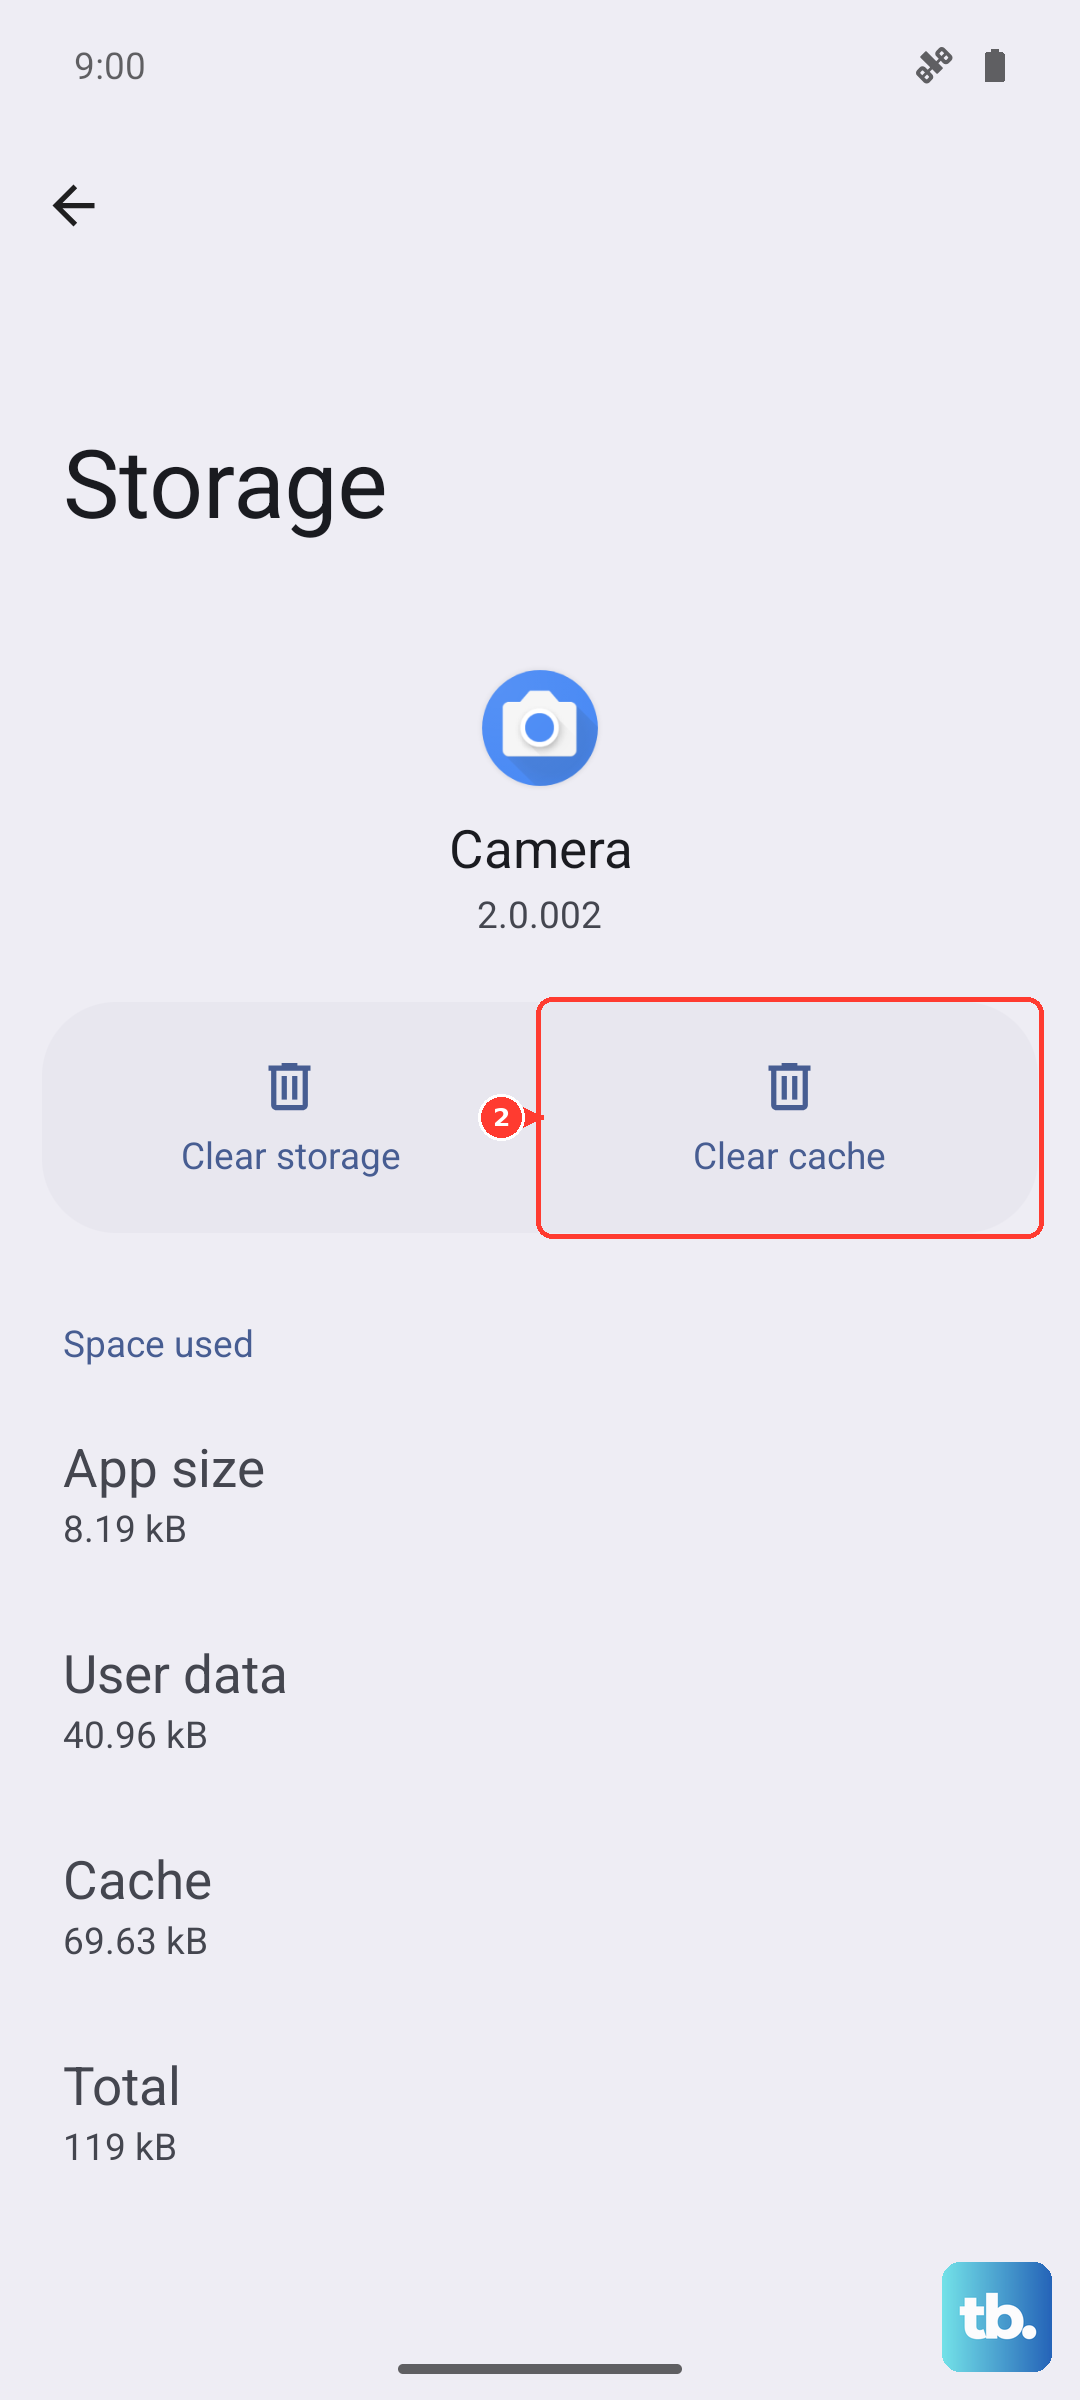
System apps that manage the SIM can accumulate corrupted cache data. Open Settings and go to "Apps." Tap the three-dot menu in the top right and select "Show system apps."
In the search bar, type "SIM Toolkit." Tap on it, then go to "Storage." Tap "Clear cache." Do not tap "Clear data" unless instructed by your carrier, as that may delete carrier-specific services.
Consider a Factory Reset
This is a last resort for persistent software issues. A factory reset will erase everything on your tablet, so you must back up all important data first. Use Samsung Cloud or transfer files to a computer.
Once backed up, go to Settings > General management > Reset > Factory data reset. Follow the prompts to erase the device. After it reboots, set it up as new and test the SIM card before restoring your data.