When your Samsung Galaxy A55's email stops working, it can throw your whole day off. Whether you're missing important messages or can't send anything out, these problems usually have a fix you can handle yourself.
Before we get into the specific steps, let's check a few basics. Make sure you're connected to the internet, either through Wi-Fi or your mobile data. It's also worth a quick check to see if your email provider, like Gmail or Outlook, is having a widespread outage. Finally, double-check that you're using the correct email address and password.
Restart the Email App
This is often the quickest fix. A simple restart can clear out any temporary glitch that's causing the app to freeze or not sync. Swipe up from the bottom of your screen and hold to see your recent apps. Find the email app you're using, like Samsung Email or Gmail, and swipe it all the way up to close it. Wait a few seconds, then tap the app icon to open it fresh.
Check Your Sync and Fetch Settings
Your phone controls how often it checks for new emails. If these settings are off, messages won't come in automatically. Open the Samsung Email app, tap the three-line menu icon, and go to Settings. Select your email account and look for Sync settings or Email check frequency.
Make sure sync is turned on. For the check frequency, setting it to "Push" is best if your provider supports it, as it delivers emails instantly. If not, choose a short interval like every 15 minutes. Also, go to your phone's main Settings > Accounts and backup > Manage accounts, select your email account, and ensure the sync toggle for "Email" is enabled.
Toggle Airplane Mode
This resets all your network connections at once. Swipe down twice from the top of your screen to open the Quick Settings panel. Tap the Airplane mode icon to turn it on. Wait about 30 seconds, then tap it again to turn it off. Your phone will reconnect to Wi-Fi and mobile data, which can clear up a stuck connection.
Switch Between Wi-Fi and Mobile Data
Sometimes the issue is with one specific network. If you're on Wi-Fi and emails aren't coming through, try turning Wi-Fi off to force the phone to use your cellular data. You can do this from the Quick Settings panel. If the problem goes away, the issue is likely with your Wi-Fi router or internet connection.
Conversely, if you're only using mobile data, try connecting to a known good Wi-Fi network. This helps rule out a weak cellular signal or a data restriction from your carrier.
Verify Your Email Account Password
Passwords expire or get changed, especially for work accounts. The simplest test is to open a web browser on your phone or computer and try to log into your email account's website. If you can't log in there, you'll need to reset your password.
Once you have the new password, you'll need to update it on your A55. Go to Settings > Accounts and backup > Manage accounts, tap your email account, and select Account settings. Look for the option to update your password or re-enter your security credentials.
Check for App Updates
Whether you use the pre-installed Samsung Email app or downloaded Gmail or Outlook, an outdated app can cause problems. Open the Galaxy Store for Samsung apps or the Google Play Store for others. Tap your profile icon, go to Updates, and see if your email app is listed. If it is, tap update.
Enable Background Data for the Email App
If background data is restricted, the app can't check for new messages when it's not open. Go to Settings > Apps. Find and select your email app, then tap Mobile data. Make sure the switch for Allow background data usage is turned on. This ensures it can sync even when you're not actively using it.
Review Your Notification Settings
If emails are arriving but you're not getting alerts, your notification settings might be muted. Go to Settings > Notifications > App notifications. Find your email app in the list and tap on it. Make sure notifications are turned on at the top. You can also check the specific notification categories, like "New mail," to ensure they're set to alert you.
Disable Any Active VPN
A VPN is great for privacy, but it can sometimes interfere with the connection to your email server. If you have a VPN app running, open it and disconnect. You can also check in Settings > Connections > More connection settings > VPN to see if a device-level VPN profile is active and turn it off. Try your email again without the VPN.
Force Restart Your Galaxy A55
A standard restart fixes many minor software hiccups. For a more thorough reset, use the force restart method. Press and hold the Volume Down button and the Side key (power button) together for about 10 seconds. Release when you see the Samsung logo appear. This is different from a normal reboot and can clear deeper system caches.
Set Date and Time to Automatic
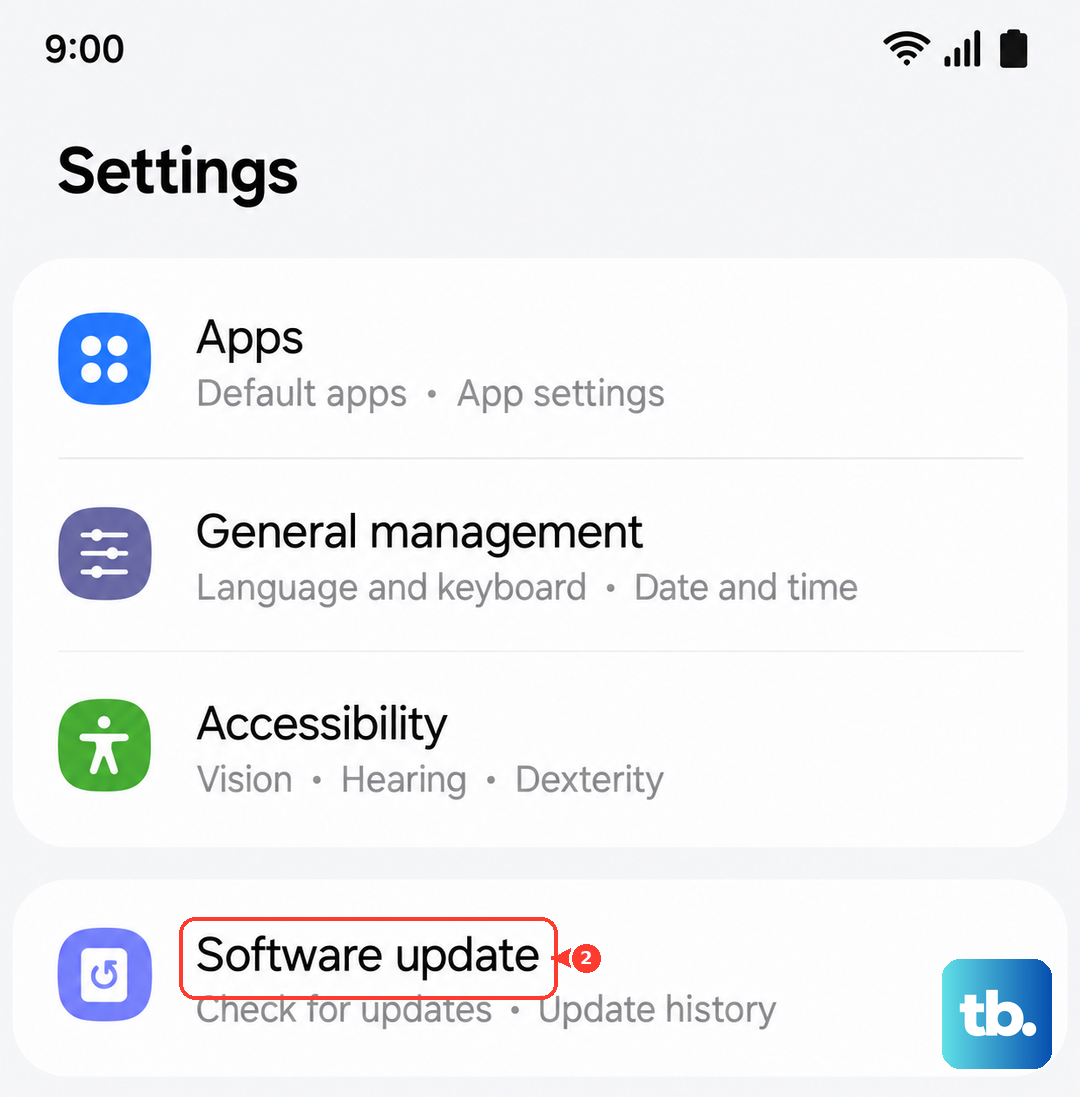
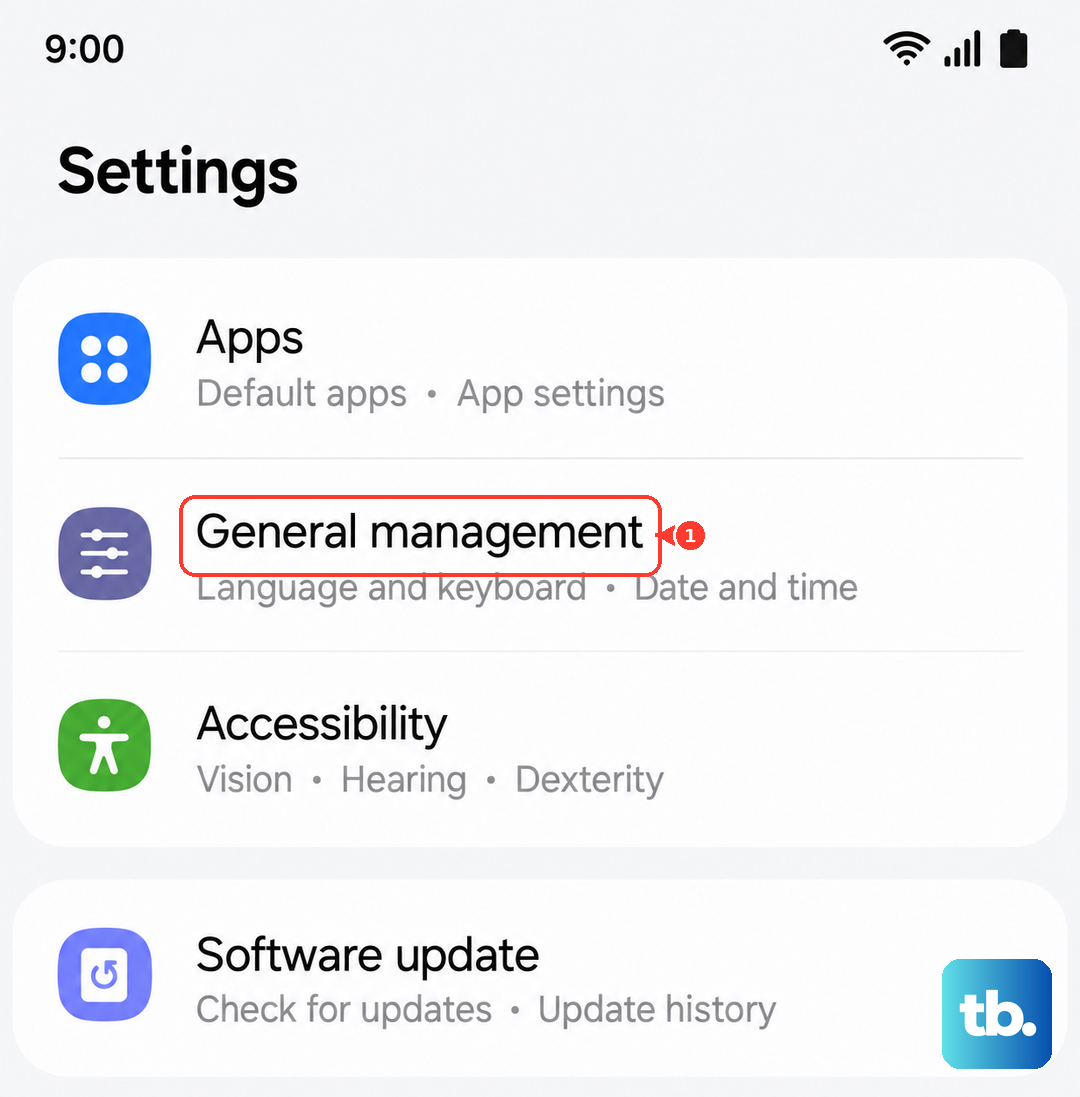
Incorrect date and time settings can break secure connections to email servers. Go to Settings > General management > Date and time. Make sure the option for Automatic date and time is switched on. This lets your phone set the time correctly via your network.
Clear the Email App's Cache and Data
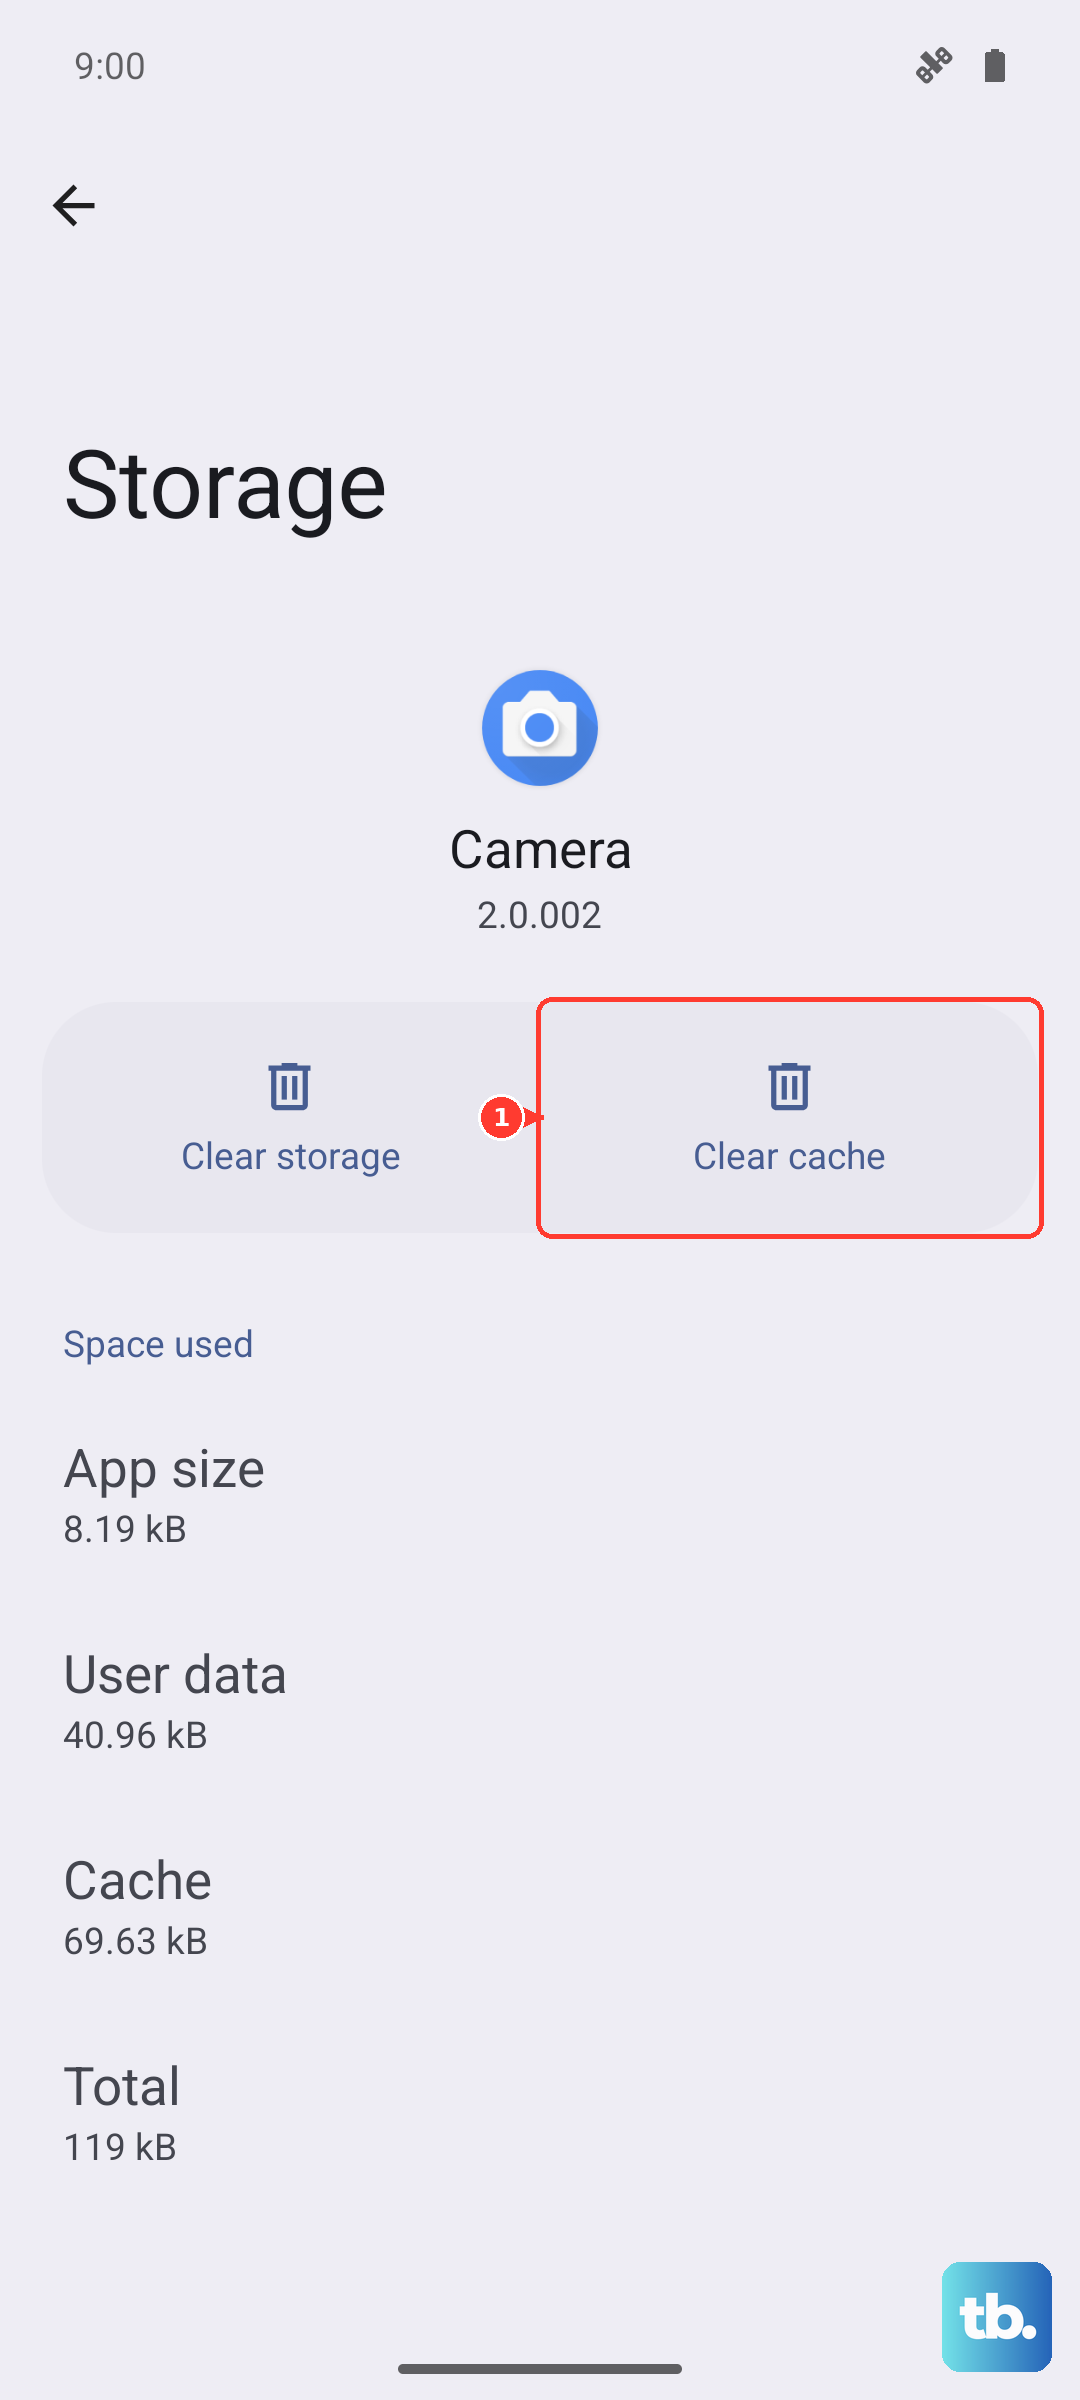
Corrupted temporary files (cache) can cause strange behavior. Go to Settings > Apps, find your email app, and select it. Tap on Storage. First, tap Clear cache. This is safe and won't delete your emails. If the problem persists, you can tap Clear data. Warning: this will remove the app's settings and you'll need to set up your email account again, but your emails are stored on the server, so they'll redownload.
Remove and Re-add Your Email Account
This is a definitive way to refresh the connection between your phone and your email server. Go to Settings > Accounts and backup > Manage accounts. Tap on the problematic email account, then tap Remove account at the bottom. Confirm the removal. Then, go back and tap Add account to set it up again from scratch. This often resolves persistent sync errors.
Check for a Software Update
Samsung regularly releases updates for One UI that include bug fixes. An update might contain a patch specifically for email issues. Go to Settings > Software update and tap Download and install. If an update is available, make sure your phone is charged above 50% and connected to Wi-Fi before installing it.