When your Motorola Moto G Power (2025) stops sending or receiving email, it can throw a wrench in your whole day. You might be missing important messages or unable to reply to anyone. The good news is that most of these problems have simple fixes you can try right now.
Before we get into the specific steps, let's cover a few quick checks. Make sure you have a solid internet connection, either over Wi-Fi or your mobile data. It's also worth checking if your email provider, like Gmail or Outlook, is having a widespread outage. Finally, double-check that you're using the correct email address and password.
Check Your Sync and Fetch Settings
For Gmail, open the Gmail app, tap the menu icon, go to Settings, choose the account, and under Data usage make sure Sync Gmail is checked. For non-Gmail addresses in the Gmail app, check the account's sync frequency or server settings in that same account settings area.
On the phone itself, go to Settings > Passwords, passkeys & accounts, tap the account, then tap Account sync to review or manually sync supported Google apps. Motorola notes that whether other apps can auto-sync varies by app.
Switch Between Wi-Fi and Mobile Data
Sometimes the issue is with your network, not your phone. A quick test is to switch between connection types. If you're on Wi-Fi, turn it off and rely on your cellular data for a moment to see if emails come through.
You can do this by swiping down from the top of your screen to open the Quick Settings panel. Tap the Wi-Fi icon to turn it off. Try sending or refreshing your email app. If that doesn't work, turn Wi-Fi back on and try turning mobile data off and on instead.
Toggle Airplane Mode On and Off
This is a classic trick that resets all your phone's radio connections at once. Swipe down twice from the top of your screen to see the full Quick Settings menu. Tap the Airplane Mode icon and wait about 15 seconds.
After the brief wait, tap the icon again to turn Airplane Mode off. Your phone will reconnect to Wi-Fi and cellular networks. This can clear up temporary glitches that are blocking your email app from connecting to its servers.
Force Close and Reopen Your Email App
A simple app restart clears its temporary memory and can fix minor bugs. Swipe up from the bottom of your screen and hold to see your recent apps. Find your email app, like Gmail or Outlook, and swipe it all the way up or off the screen to close it completely.
Wait a few seconds, then tap the app icon on your home screen to open it fresh. This gives the app a clean slate to re-establish its connection to your email account.
Verify Your Email Login Credentials
Passwords expire or get changed, especially if you use two-factor authentication. The quickest way to check is to open a web browser on your phone and try to log into your email account's website, like mail.google.com.
If you can't log in there, you'll need to reset your password through your email provider's website. Once you have the new password, you'll need to update it in your phone's account settings or within the email app itself.
Check for Mobile Data Restrictions on the App
To save data, you might have restricted the email app's background data. Go to Settings > Network & Internet > SIMs and mobile network, tap your SIM, tap the data-usage bar, choose the email app, and make sure Background data is on.
If you use Data Saver, go to Settings > Network & Internet > Data Saver > Unrestricted mobile data and allow the email app if it needs to sync while Data Saver is on.
Ensure Your Date and Time Are Correct
Incorrect date and time settings can cause security certificates to fail, which will stop your email from syncing. Open Settings and go to System > Date & time.
Make sure the option for Use network-provided time or Automatic date & time is turned on. This allows your Moto G Power to get the correct time from your carrier or Wi-Fi network, which is crucial for secure connections.
Disable Any Active VPN Connection
While VPNs are great for privacy, they can sometimes interfere with specific app connections, including email. If you have a VPN app running, open it and disconnect from the VPN server.
You can also check in your phone's settings. Go to Settings > Network & Internet > VPN. If a VPN is listed, tap the settings icon next to it and turn that VPN off, then try your email app again without the VPN active.
Update Your Email App and Android
Outdated apps can have bugs that break functionality. Open the Google Play Store, tap your profile icon, and go to Manage apps & device. Check if there's an update available for Gmail, Outlook, or whichever email app you use.
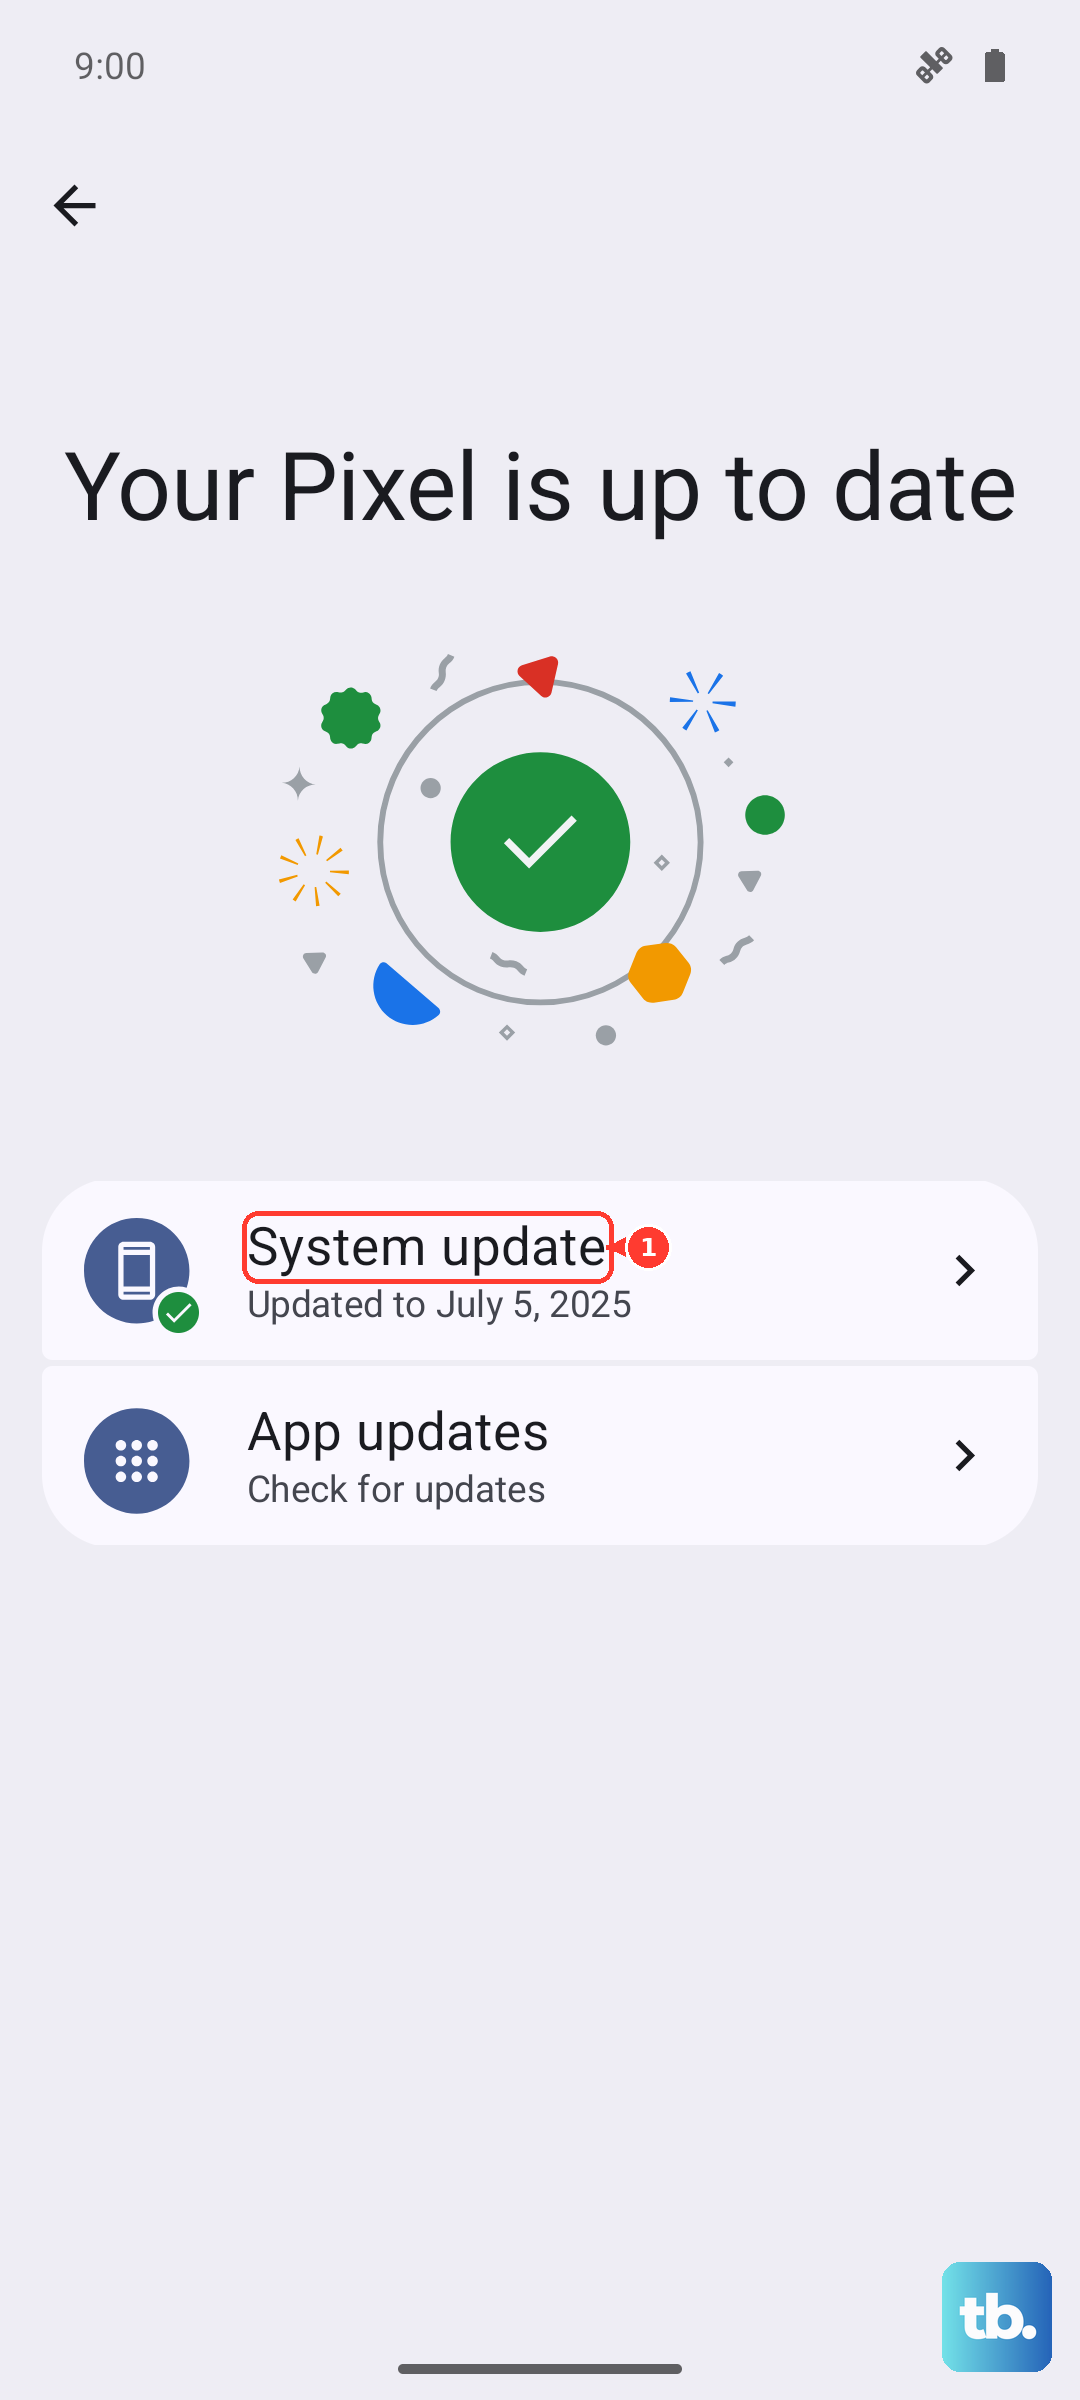
It's also smart to check for a system update. Go to Settings > System updates > Check for updates. Install any available update, since security updates include fixes and improvements for the current Android version and OS updates move eligible phones to newer Android versions.
Remove and Re-add Your Email Account
This is a more thorough step that refreshes the connection from scratch. Go to Settings > Passwords, passkeys & accounts, then tap the email account that's giving you trouble.
Tap Remove account and confirm. Motorola notes that removing an account removes synced information from the phone, but does not delete it from the account itself. To add it again, go to Settings > Passwords, passkeys & accounts > Add account, or sign back in through the email app.
Review Your Notification Settings
If emails are arriving but you're not getting alerts, the notification settings might be muted. Press and hold on your email app's icon on the home screen and tap App info. Then, tap Notifications.
Make sure all notification categories are turned on. You can also tap on a category like "New mail" to customize the sound and vibration. This ensures you'll see and hear when new messages arrive.
Perform a Force Restart on Your Phone
A full reboot can clear out system-level glitches. For the Moto G Power (2025), simply press and hold the Power button for about 10 seconds until the screen goes black and the Motorola logo reappears.
This forces the phone to shut down and start back up, which is more effective than a standard restart if the phone is acting sluggish. Once it boots up, unlock it and check your email app.
Clear the Cache for Your Email App
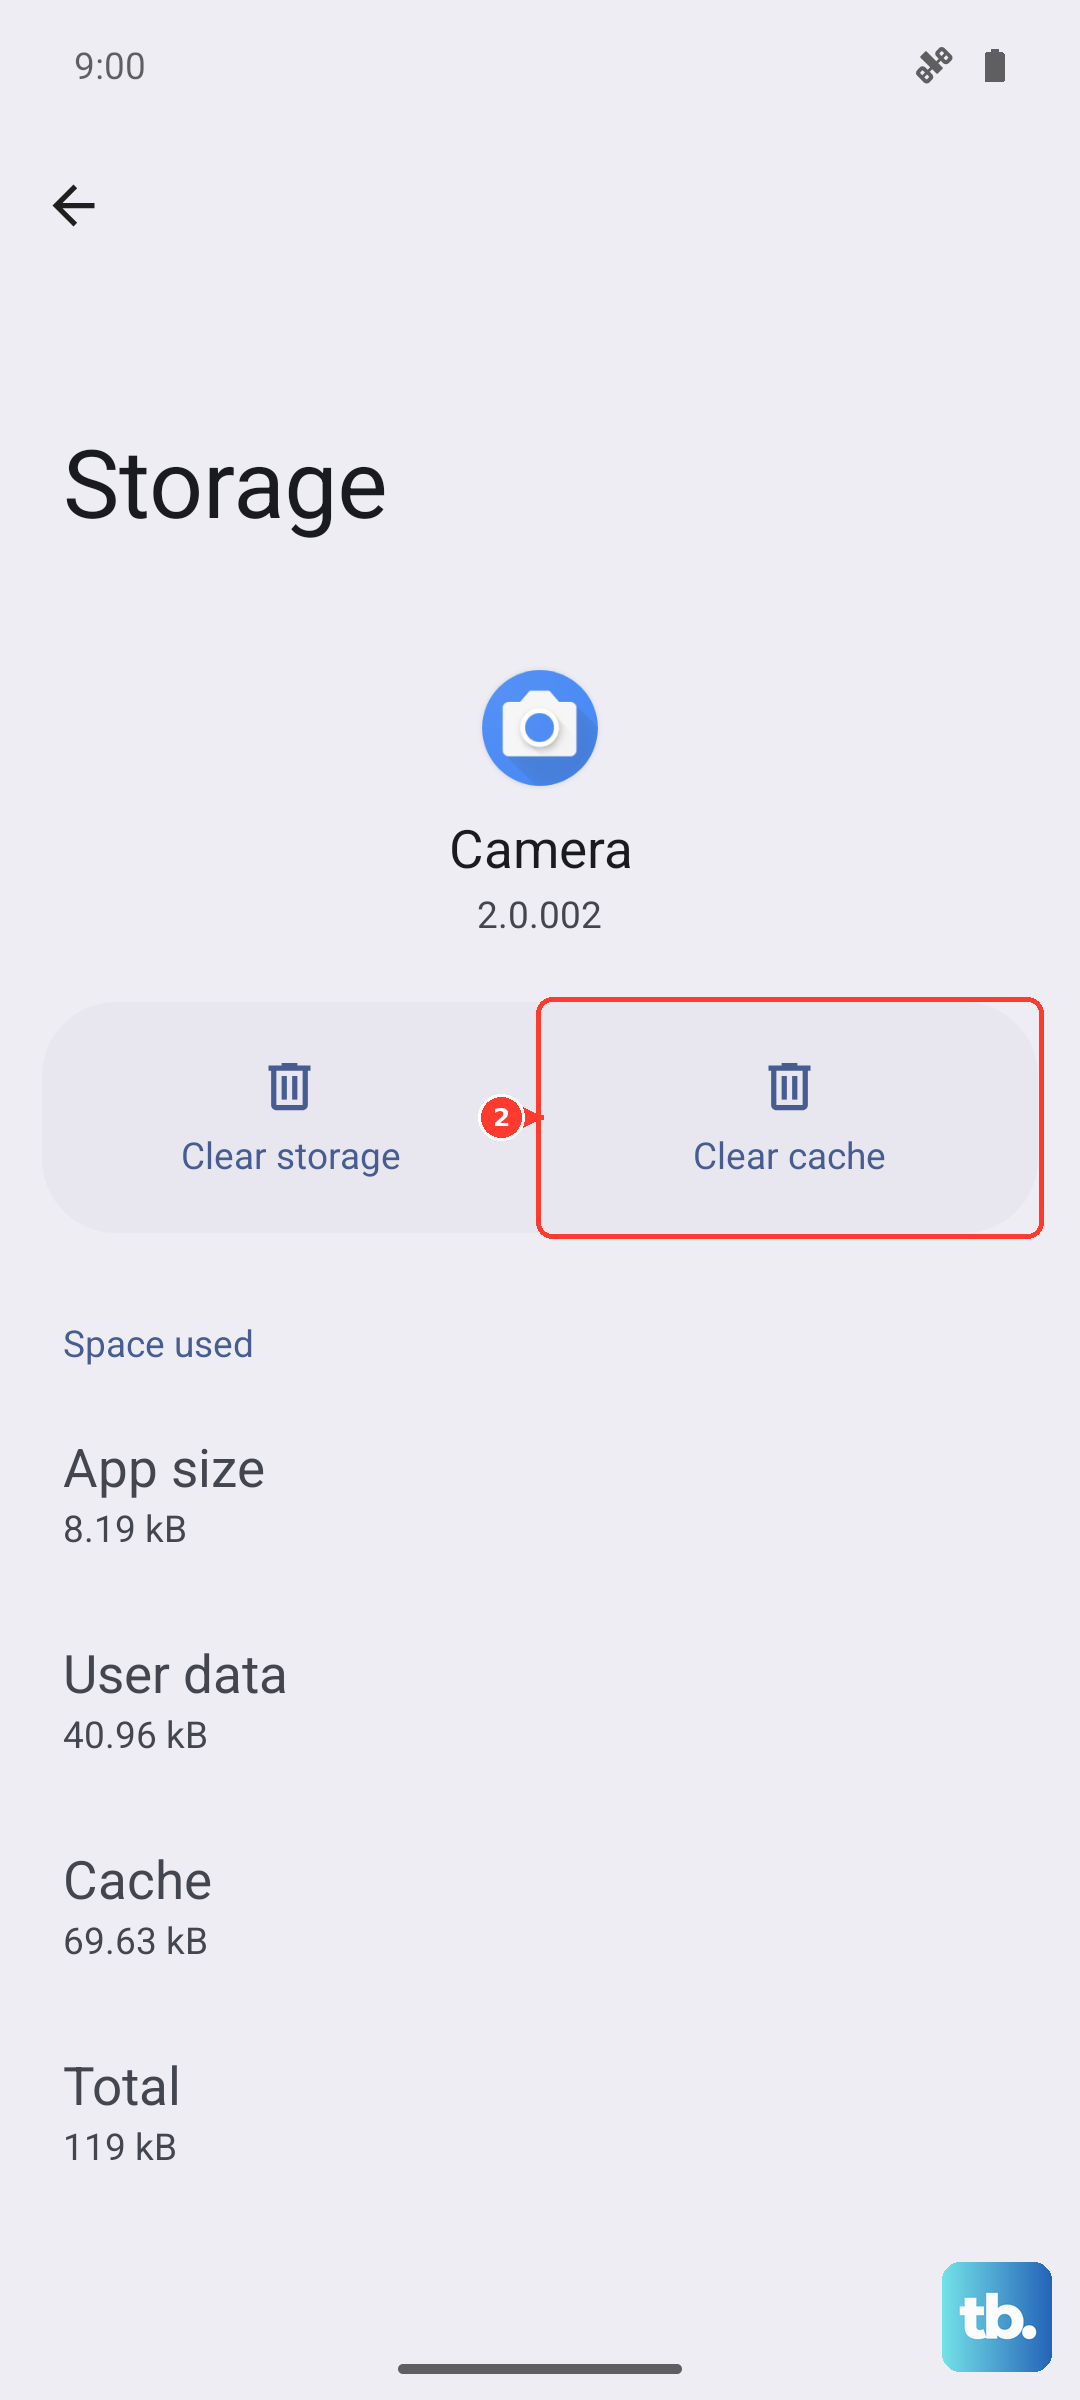
Over time, cached data can become corrupted. Go to Settings > Apps, find your email app, and tap on it. Select Storage & cache.
Tap Clear cache. This removes temporary files. Avoid Clear storage or clearing app data unless the other fixes fail, because that resets the app and Gmail warns it can erase local drafts, signature, ringtone, and other settings.
Reset Your Network Settings
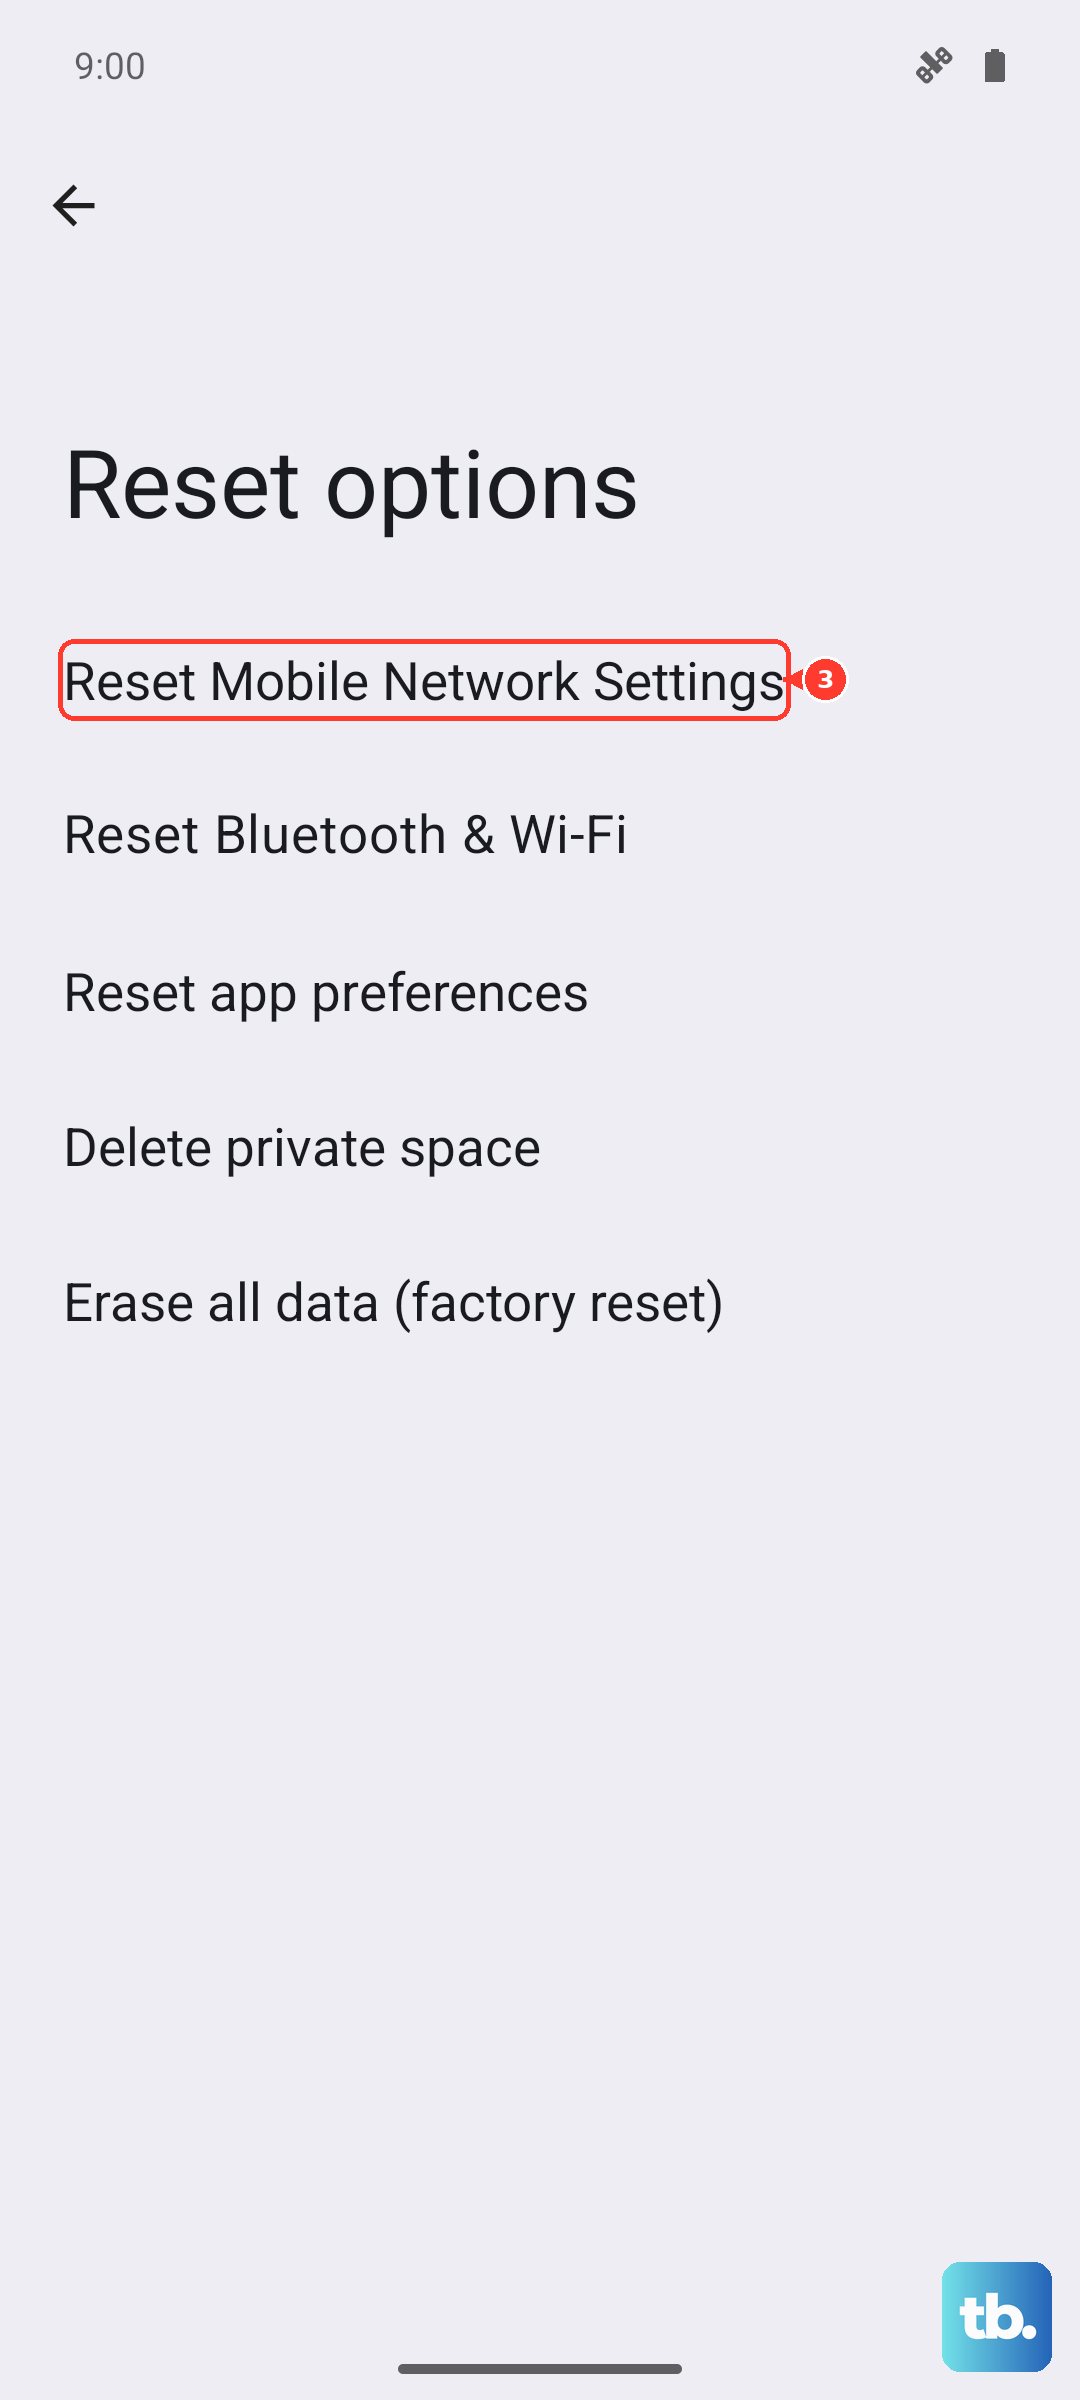
If you've tried everything else and still have connection issues, resetting network settings can help. This will erase all Wi-Fi passwords, Bluetooth pairings, and mobile network settings, so be prepared to re-enter them.
Go to Settings > System > Reset options. Depending on the software build, reset the mobile connection with Reset Mobile Network Settings and Wi-Fi/Bluetooth with Reset Bluetooth & Wi-Fi, or use the combined Reset Wi-Fi, mobile & Bluetooth option if that is what your phone shows. After the reset, reconnect to Wi-Fi and try your email again.