
When your Lenovo Yoga 7 14 won't connect to WiFi, it's incredibly frustrating. You might see the network but get a "Can't connect" message, have no internet despite being connected, or the WiFi icon might just disappear entirely. These solutions work through all those scenarios.
I'd start with the quickest fix first. Click the WiFi icon in your taskbar and toggle the WiFi switch off. Wait a solid 10 seconds, then turn it back on. This simple action refreshes your laptop's wireless adapter and can clear up a lot of temporary glitches.
Run the Windows Network Troubleshooter
Windows has a built-in tool that can automatically find and fix common problems. Right-click the WiFi icon in the bottom-right corner of your screen and select Troubleshoot network problems. Let it run through its checks and apply any recommended fixes it finds.
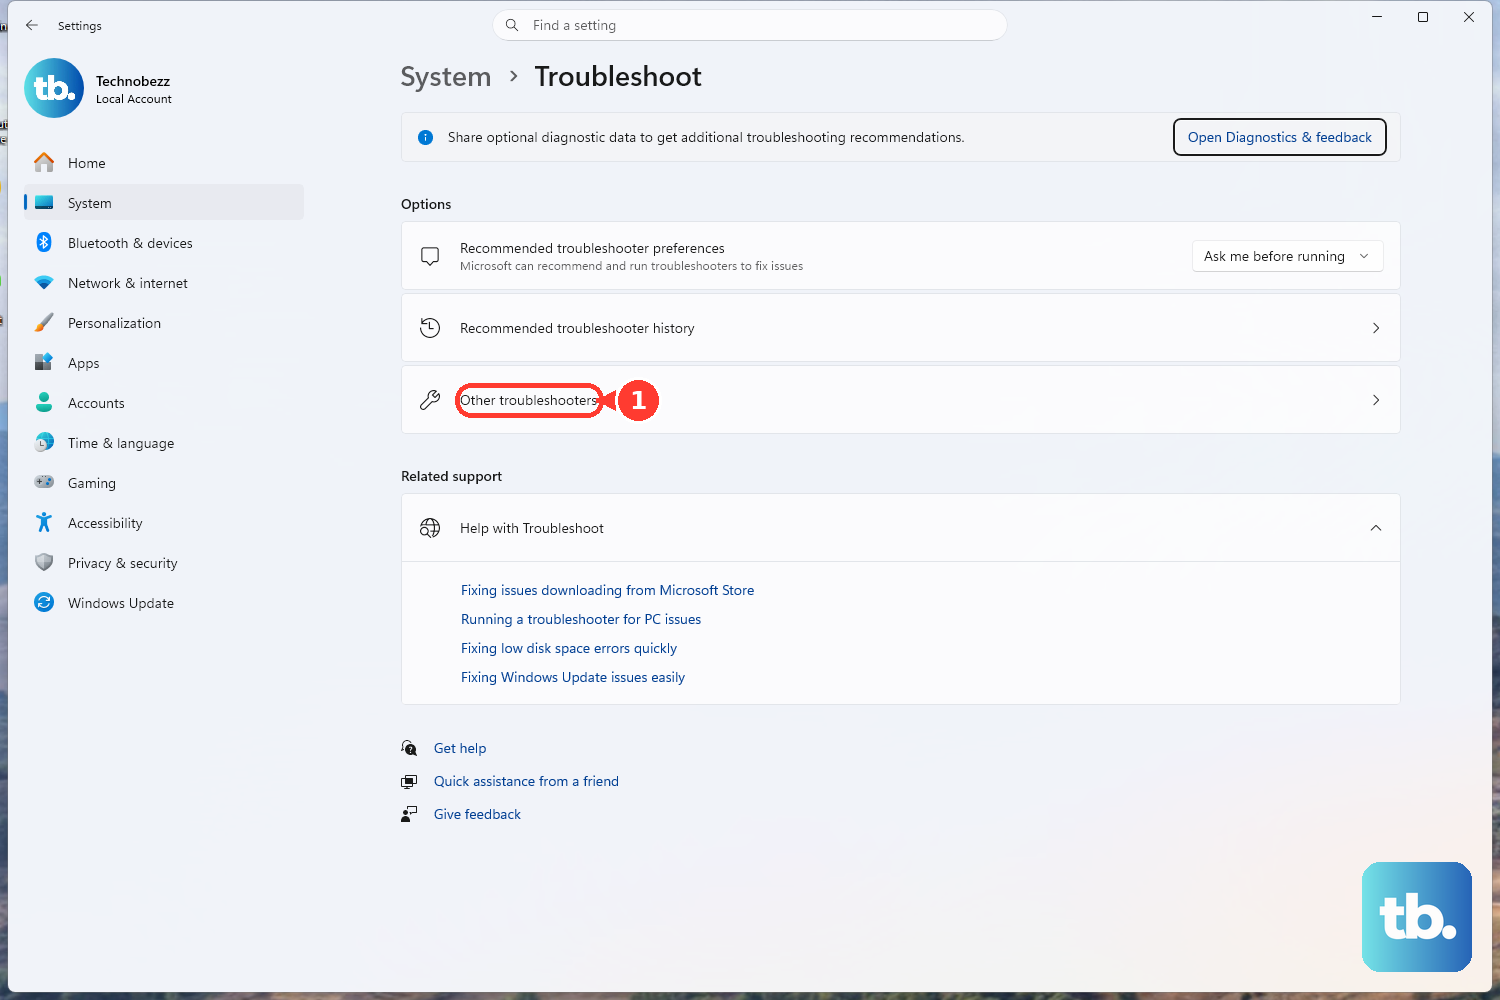
On Windows 11, you can also access it through Settings > System > Troubleshoot > Other troubleshooters. Find the "Network and Internet" troubleshooter and run it from there. It's a good first step that doesn't require any technical knowledge.
Forget and Reconnect to Your Network
Sometimes the saved connection profile for your WiFi gets corrupted. To fix this, you need to remove it and set it up again. Go to Settings > Network & internet > Wi-Fi and click on Manage known networks.
Find your home or office network in the list and click the Forget button next to it. Don't worry, this just deletes the login info from your laptop. Afterward, click the WiFi icon in the taskbar, select your network from the list again, and re-enter the password to reconnect.
Update Your WiFi Driver Through Lenovo Vantage
Outdated or buggy drivers are a very common cause of WiFi problems. For your Yoga 7 14, the easiest way to handle this is with Lenovo Vantage. Open the Vantage app, and it should check for updates automatically under the "Device" or "System Update" section.
Let it install any available driver updates, especially for the network adapter. I've seen cases where a Windows Update version of a driver conflicts with the one from Lenovo, particularly on AMD models. Using Vantage ensures you get the version tested for your specific hardware.
Restart Your Laptop
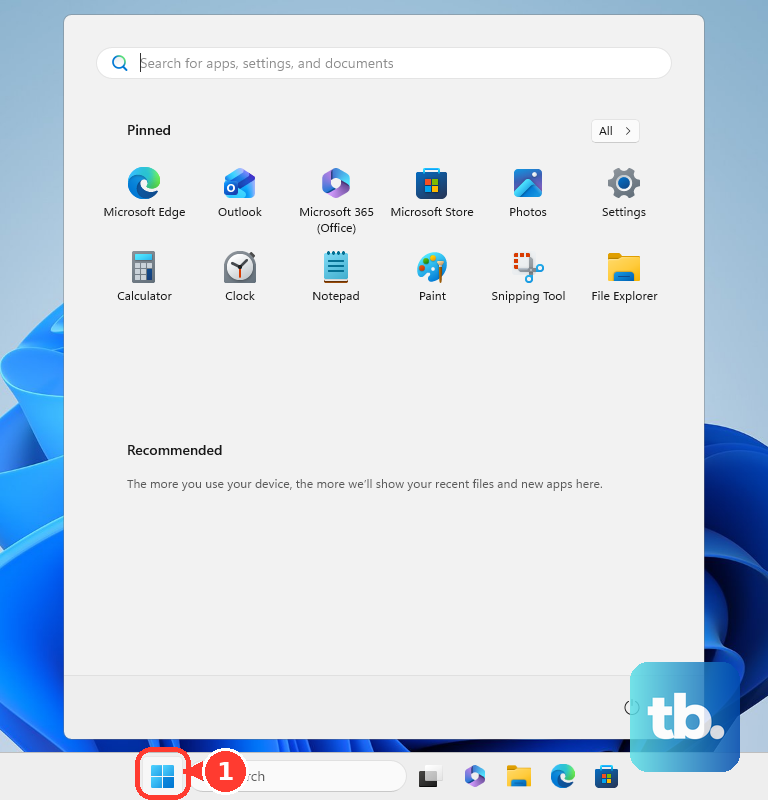
If you haven't done a full shutdown and power-up in a while, now's the time. Click Start > Power > Restart. A proper restart clears out the network stack in memory and reloads all the drivers from scratch, which can resolve issues that simple toggling won't fix.
Disable and Re-enable the Network Adapter
This is like a targeted restart just for your WiFi hardware. Press the Windows key + X and select Device Manager. Expand the "Network adapters" section, right-click on your wireless adapter (it might be called something like "Qualcomm" or "Realtek"), and select Disable device.
Wait about 10 seconds, then right-click on it again and choose Enable device. This forces the adapter to reinitialize completely. Check your taskbar to see if the WiFi icon returns and if you can now see available networks.
Reset Your Network Settings
This is a more comprehensive step that will reset all networking components to their default state. Go to Settings > Network & internet > Advanced network settings. At the bottom, you'll find an option for Network reset.
Click on Reset now and confirm. Your laptop will restart. Be aware that this will remove all your saved WiFi networks and Bluetooth pairings, so you'll need to reconnect to your WiFi and re-pair any devices afterward.
Flush DNS and Reset Network Stack via Command Prompt
If you're connected to WiFi but have no internet, corrupted network cache might be the culprit. Search for "Command Prompt" in the Start menu, right-click it, and select Run as administrator. Type or paste the following commands one at a time, pressing Enter after each.
Run these commands: ipconfig /flushdns, then netsh winsock reset, and finally netsh int ip reset. After running all three, close the Command Prompt and restart your Yoga 7 14. This clears old DNS data and resets core network protocols.
Check for Windows Updates
Microsoft occasionally releases updates that fix specific networking bugs. Go to Settings > Windows Update and click Check for updates. Install any available feature or quality updates. After the updates install and your laptop restarts, try connecting to WiFi again.
Use the Novo Button for Recovery Options
If you're facing persistent issues, your Yoga 7 14 has a dedicated Novo button for system recovery. Make sure the laptop is completely powered off. You'll find a small pinhole button, usually on the left side or next to the power port.
Use a paperclip to gently press the Novo button. This will boot you into a menu where you can choose "System Recovery" or access the BIOS. From here, you could try a system restore to a point before the WiFi issues started, which can undo problematic updates or settings changes.
Check Your Router and Other Devices
It's always worth confirming the problem is with the laptop and not the network itself. Try connecting another device, like your phone, to the same WiFi network. If that device also fails, the issue is with your router or internet service.
Restart your router and modem by unplugging them from power for 30 seconds. Plug them back in and wait for all the lights to stabilize. You can also try connecting your Yoga to a different network, like a mobile phone hotspot, to definitively test its WiFi hardware.