When your Lenovo Yoga 7 14's webcam shows a black screen, isn't detected by apps, or gives an error, it can stop video calls and meetings in their tracks. The good news is, it's usually a software or setting that needs a quick adjustment.
Start with a free camera test to rule out a hardware fault. If a live preview appears there but not in your app, the camera is fine and the app is the problem.
Check the Physical Privacy Shutter
First, look at the top bezel of your screen where the camera is located. The Yoga 7 14 has a built-in privacy shutter you can slide to cover the lens. Make sure it's fully open, as even a partially closed shutter can block the camera's view completely.
Close Other Apps Using the Camera
Only one application can access the camera at a time. If you have Zoom, Microsoft Teams, or even the Camera app running in the background, other programs won't be able to see the webcam. I'd close everything from the taskbar, then open Task Manager (Ctrl+Shift+Esc) to ensure no video apps are still running.
Test with the Windows Camera App
Open the built-in Camera app from your Start menu. This is a great way to see if the hardware itself is working. If the camera works perfectly here but fails in another app like Chrome or Discord, then the problem is specific to that app's settings, not your laptop.
Check Windows Privacy Settings
Windows has a system-wide privacy toggle for the camera. Go to Settings > Privacy & security > Camera. Ensure Camera access
Update Drivers via Lenovo Vantage
Your Yoga 7 14 comes with Lenovo Vantage, which is the best tool for managing drivers. Open Vantage, go to the Device section, and click Check for updates. It will scan for all necessary driver updates, including camera and chipset drivers. This is often more reliable than Windows Update for Lenovo hardware.
Reinstall the Camera Driver Manually
If an update doesn't help, you can reinstall the driver from scratch. Press the Windows key + X and select Device Manager. Expand Cameras, right-click on Integrated Camera, and select Uninstall device. Check the box that says "Attempt to remove the driver for this device" if it appears, then restart your laptop. Windows will automatically reinstall a fresh driver on startup.
Run the Hardware Troubleshooter
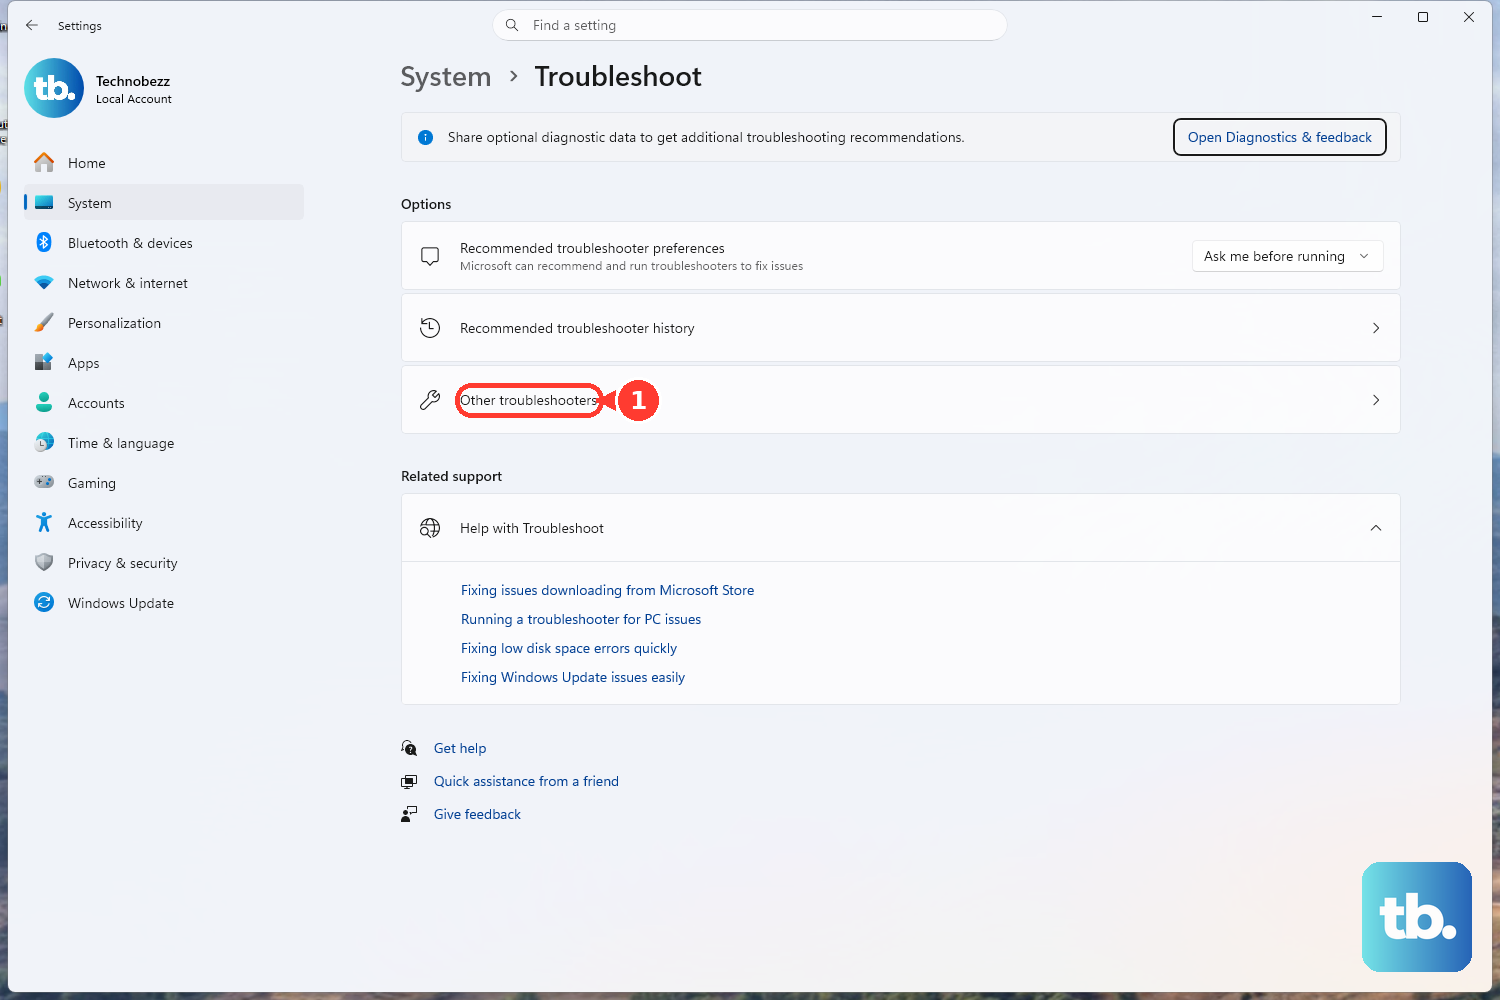
Windows includes a built-in tool for hardware issues. Go to Settings > System > Troubleshoot > Other troubleshooters. Find and run the Camera troubleshooter. It can automatically detect and fix common permission and driver state problems.
Check for Conflicting AMD Driver Updates
This is a known quirk for some Yoga 7 14 models with AMD processors. Sometimes, a driver update from Windows Update can conflict with the version provided by Lenovo Vantage. If your camera stopped working after a recent update, open Lenovo Vantage and re-run the driver update check. Let Vantage install the correct, tested version for your system.
Perform a System Restart
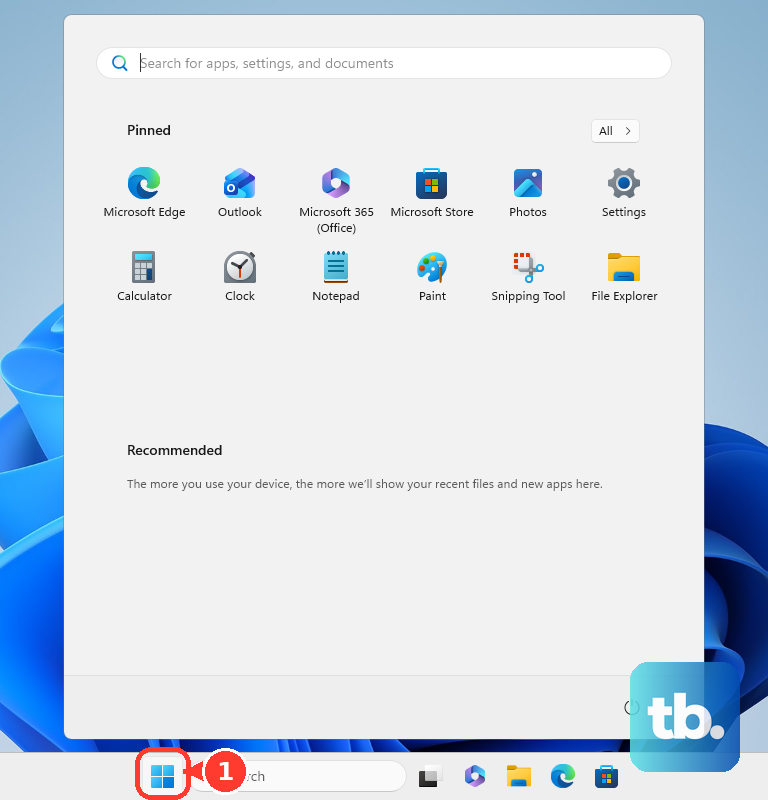
This is the classic fix for a reason. A full restart clears out any processes that might be holding onto the camera incorrectly. It's different from just shutting down and turning it back on. Click the Start menu, select the power icon, and choose Restart. This gives the system a clean slate.