
When your iPhone 17e suddenly stops sending or receiving emails, it can leave you feeling cut off. This is a brand new device running iOS 26, and while it's packed with features like the C1X cellular modem, early software bugs can sometimes affect core apps like Mail. The fixes are usually pretty simple, and you can often get things working again in just a few minutes.
Before you try anything complicated, run through this quick checklist. Make sure you have a solid internet connection, either over Wi-Fi or cellular. Double-check that your email service itself isn't down by trying to log in on a computer. And confirm you're using the right password, especially if you recently changed it.
Restart the Mail App and Your iPhone
Start with the simplest software reset. Swipe up from the bottom of your screen (or press the bar at the very bottom) and hold to enter the app switcher. Find the Mail app preview and swipe it all the way up to close it. Wait a moment, then tap the Mail icon to reopen it.
If that doesn't help, a full restart of your iPhone 17e can clear out temporary glitches. Press and quickly release the Volume Up button, then quickly press and release the Volume Down button. Finally, press and hold the Side button until you see the Apple logo appear, then let go.
Check Your Network Connection
Email needs a live data connection to work. Sometimes the issue is with your current network. Swipe down from the top-right corner to open Control Center and tap the airplane icon to turn on Airplane Mode. Wait about 15 seconds, then tap it again to turn it off. This resets all your cellular and Wi-Fi radios at once.
You can also try forcing a switch between network types. Go to Settings > Wi-Fi and turn it off, then check if mail works on your cellular data. Conversely, if you're on cellular, try connecting to a known good Wi-Fi network. With the new C1X modem, switching networks should be seamless, but it's a good test.
Verify Your Mail Fetch and Push Settings
How your iPhone checks for new mail is controlled in one central spot. Open Settings > Apps > Mail > Accounts. Tap on the account giving you trouble, then select Fetch New Data.
Make sure Push is turned on if your email provider supports it (iCloud and most modern services do). If Push is off or unavailable, your phone will "Fetch" mail on a schedule. Set the fetch setting to Automatically for the most frequent checks. Remember, with your iPhone 17e, fetching in the background works best when the device is connected to power and Wi-Fi.
Ensure Mail Can Use Cellular Data
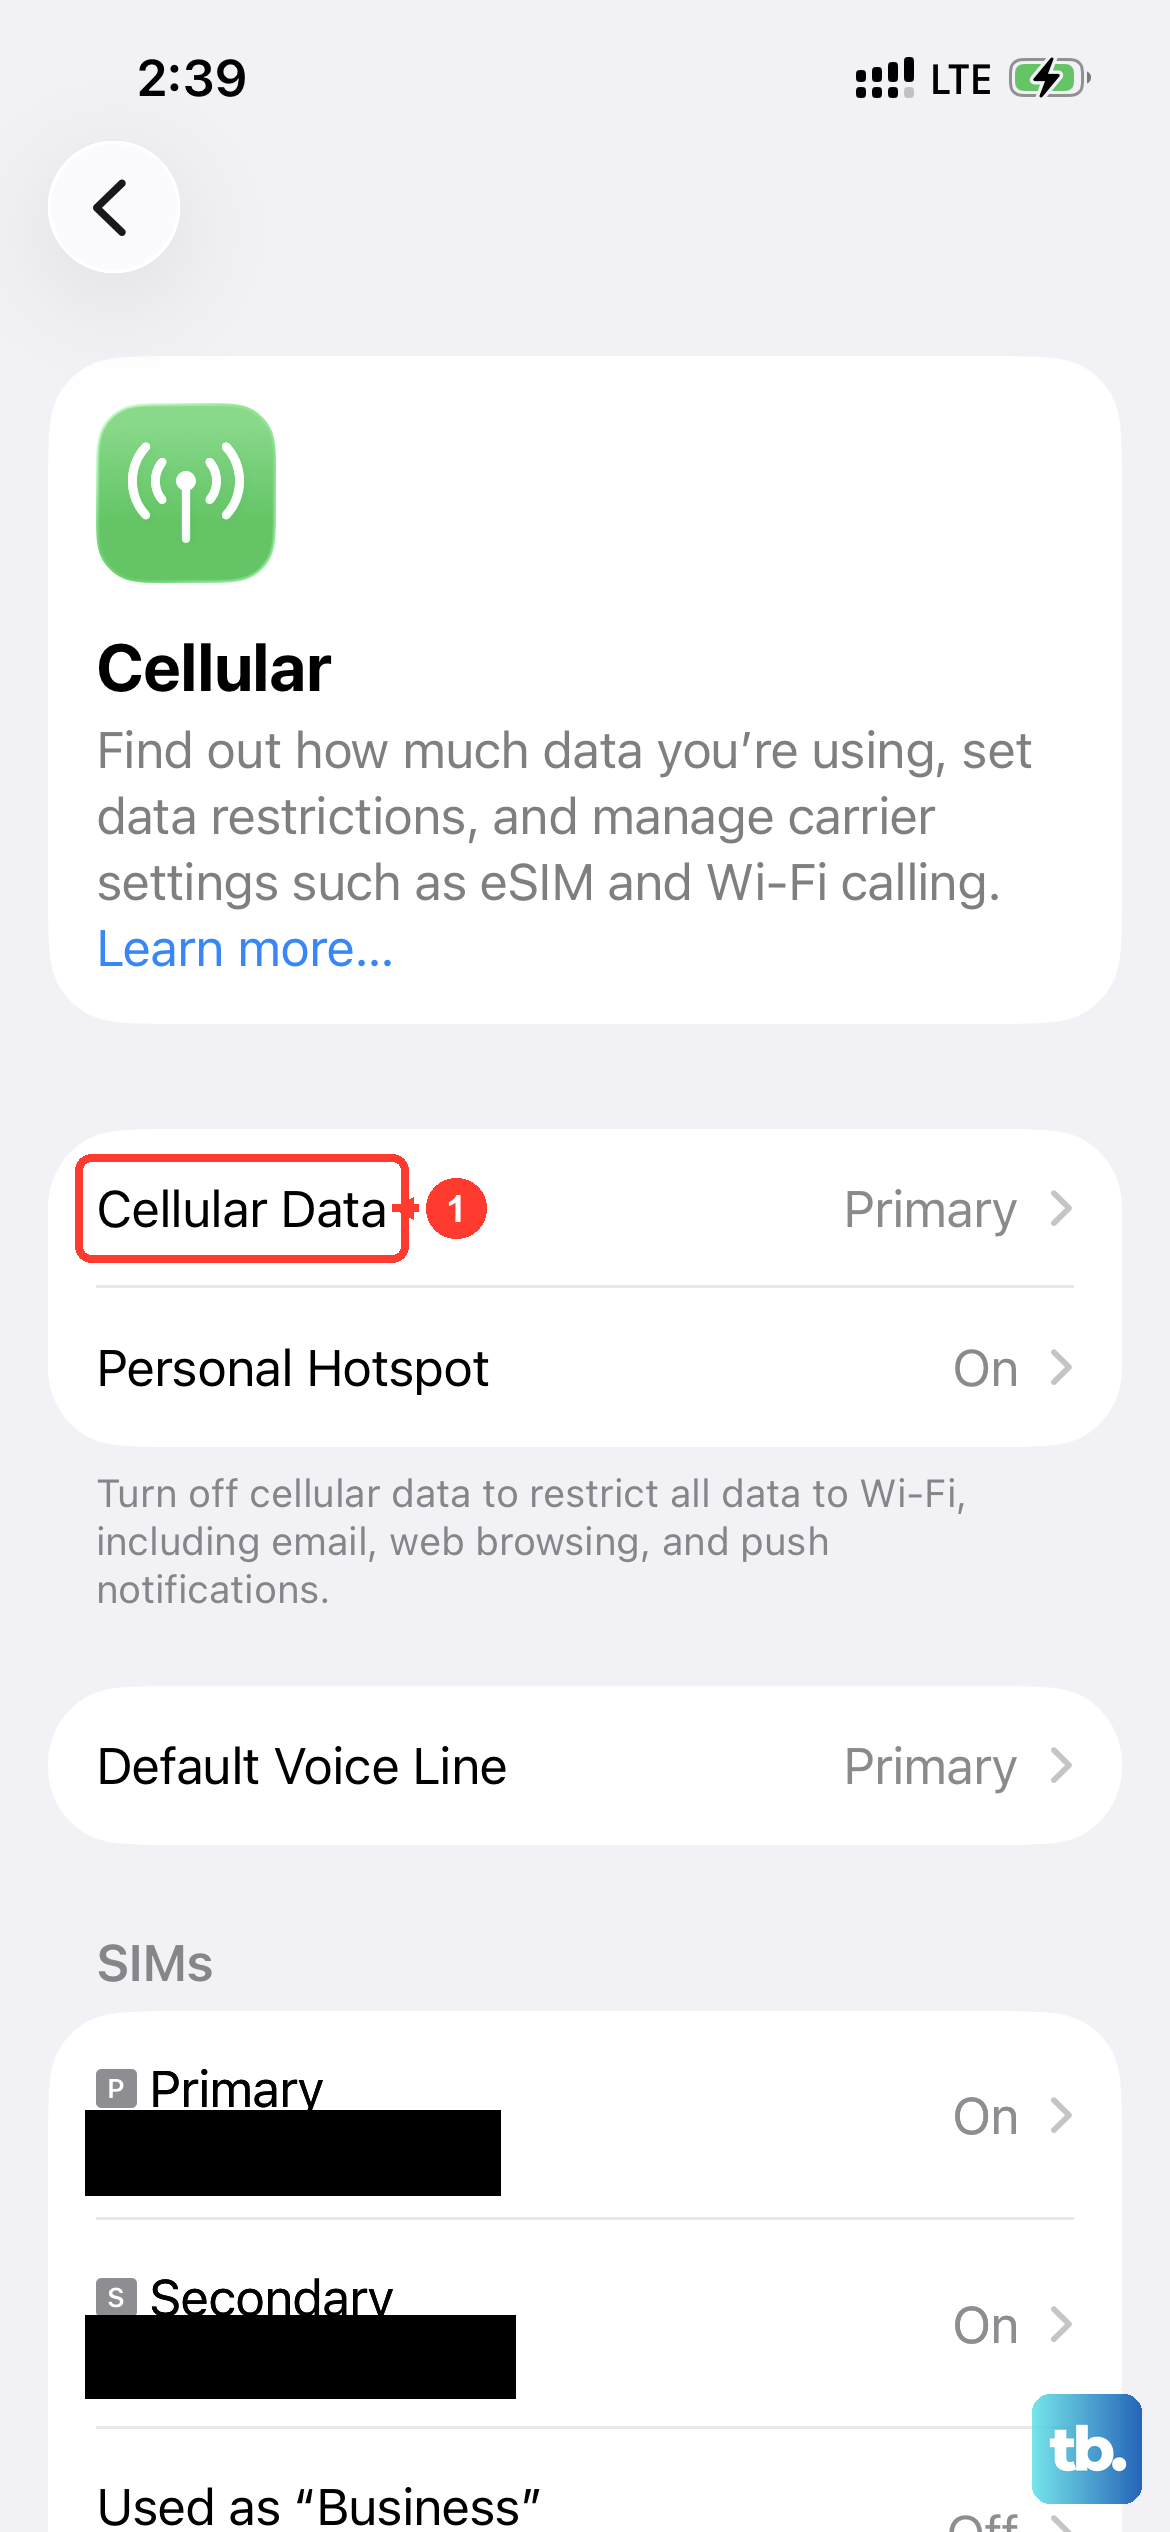
If you're trying to send or receive mail away from Wi-Fi, you need to make sure the app has permission to use your cellular plan. Go to Settings > Cellular (or Mobile Data). Scroll down through the list of apps until you find Mail. Make sure the toggle switch right next to it is green and turned on.
While you're here, it's also a good idea to check that Background App Refresh is enabled for Mail. Go to Settings > General > Background App Refresh. Ensure the setting at the top is set to Wi-Fi & Cellular Data, and that the toggle for Mail is on. This lets the app check for new messages even when you're not actively using it.
Re-enter Your Email Account Password
Passwords expire, get changed, or sometimes the stored login token just becomes corrupted. The system might not always prompt you. Go to Settings > Apps > Mail > Accounts. Tap on your email account, then tap on your email address listed at the top. You'll see a field for your password.
Re-enter your current password here and tap Done or Next in the top right. If you're not sure of the password, try logging into your email account's website on a computer to verify it. For work or school accounts, you may need to check with your IT admin for the correct settings.
Check for iOS and App Updates
Since the iPhone 17e is a new model on iOS 26, Apple is likely releasing updates to squash early bugs. A software update could contain a direct fix for mail issues. Go to Settings > General > Software Update. If an update is available, tap Download and Install. I'd recommend doing this while your phone is connected to Wi-Fi and a charger.
If you're using a third-party app like Gmail or Outlook from the App Store, make sure that app is updated too. Open the App Store, tap your profile icon in the top right, and scroll down to see any pending updates.
Delete and Re-add the Problem Email Account
This is a more thorough step that rebuilds your account connection from scratch. First, go to Settings > Apps > Mail > Accounts. Tap the account you want to remove, then tap Delete Account at the bottom. Confirm the deletion. Don't worry, this removes the account settings but not the emails from the server.
Now, tap Add Account and select your email provider (like iCloud, Google, Microsoft Exchange, etc.). Follow the prompts to log in again with your email address and password. This fresh setup often clears up any corrupted configuration data that was causing the send/receive failure.
Review Your Notification Settings
Sometimes the emails are actually arriving, but you're not being alerted. Go to Settings > Notifications > Mail. Tap on the specific account you're concerned about. Make sure Allow Notifications is turned on at the top.
Scroll down and check your alert style. You can set it to appear as a temporary banner at the top of the screen or a more persistent alert. Also, ensure that Sounds and Badges are enabled if you want those visual and audio cues.
Disable VPN or iCloud Private Relay
Security services that reroute your internet traffic can occasionally interfere with email protocols. If you're using a VPN, you can temporarily turn it off by going to Settings and tapping the connected status next to VPN at the top, then toggling it off.
Also, check iCloud Private Relay if you're an iCloud+ subscriber. Go to Settings > [Your Name] > iCloud > Private Relay and try turning it off to see if your mail starts flowing. You can turn it back on after testing.
Set Date and Time Automatically
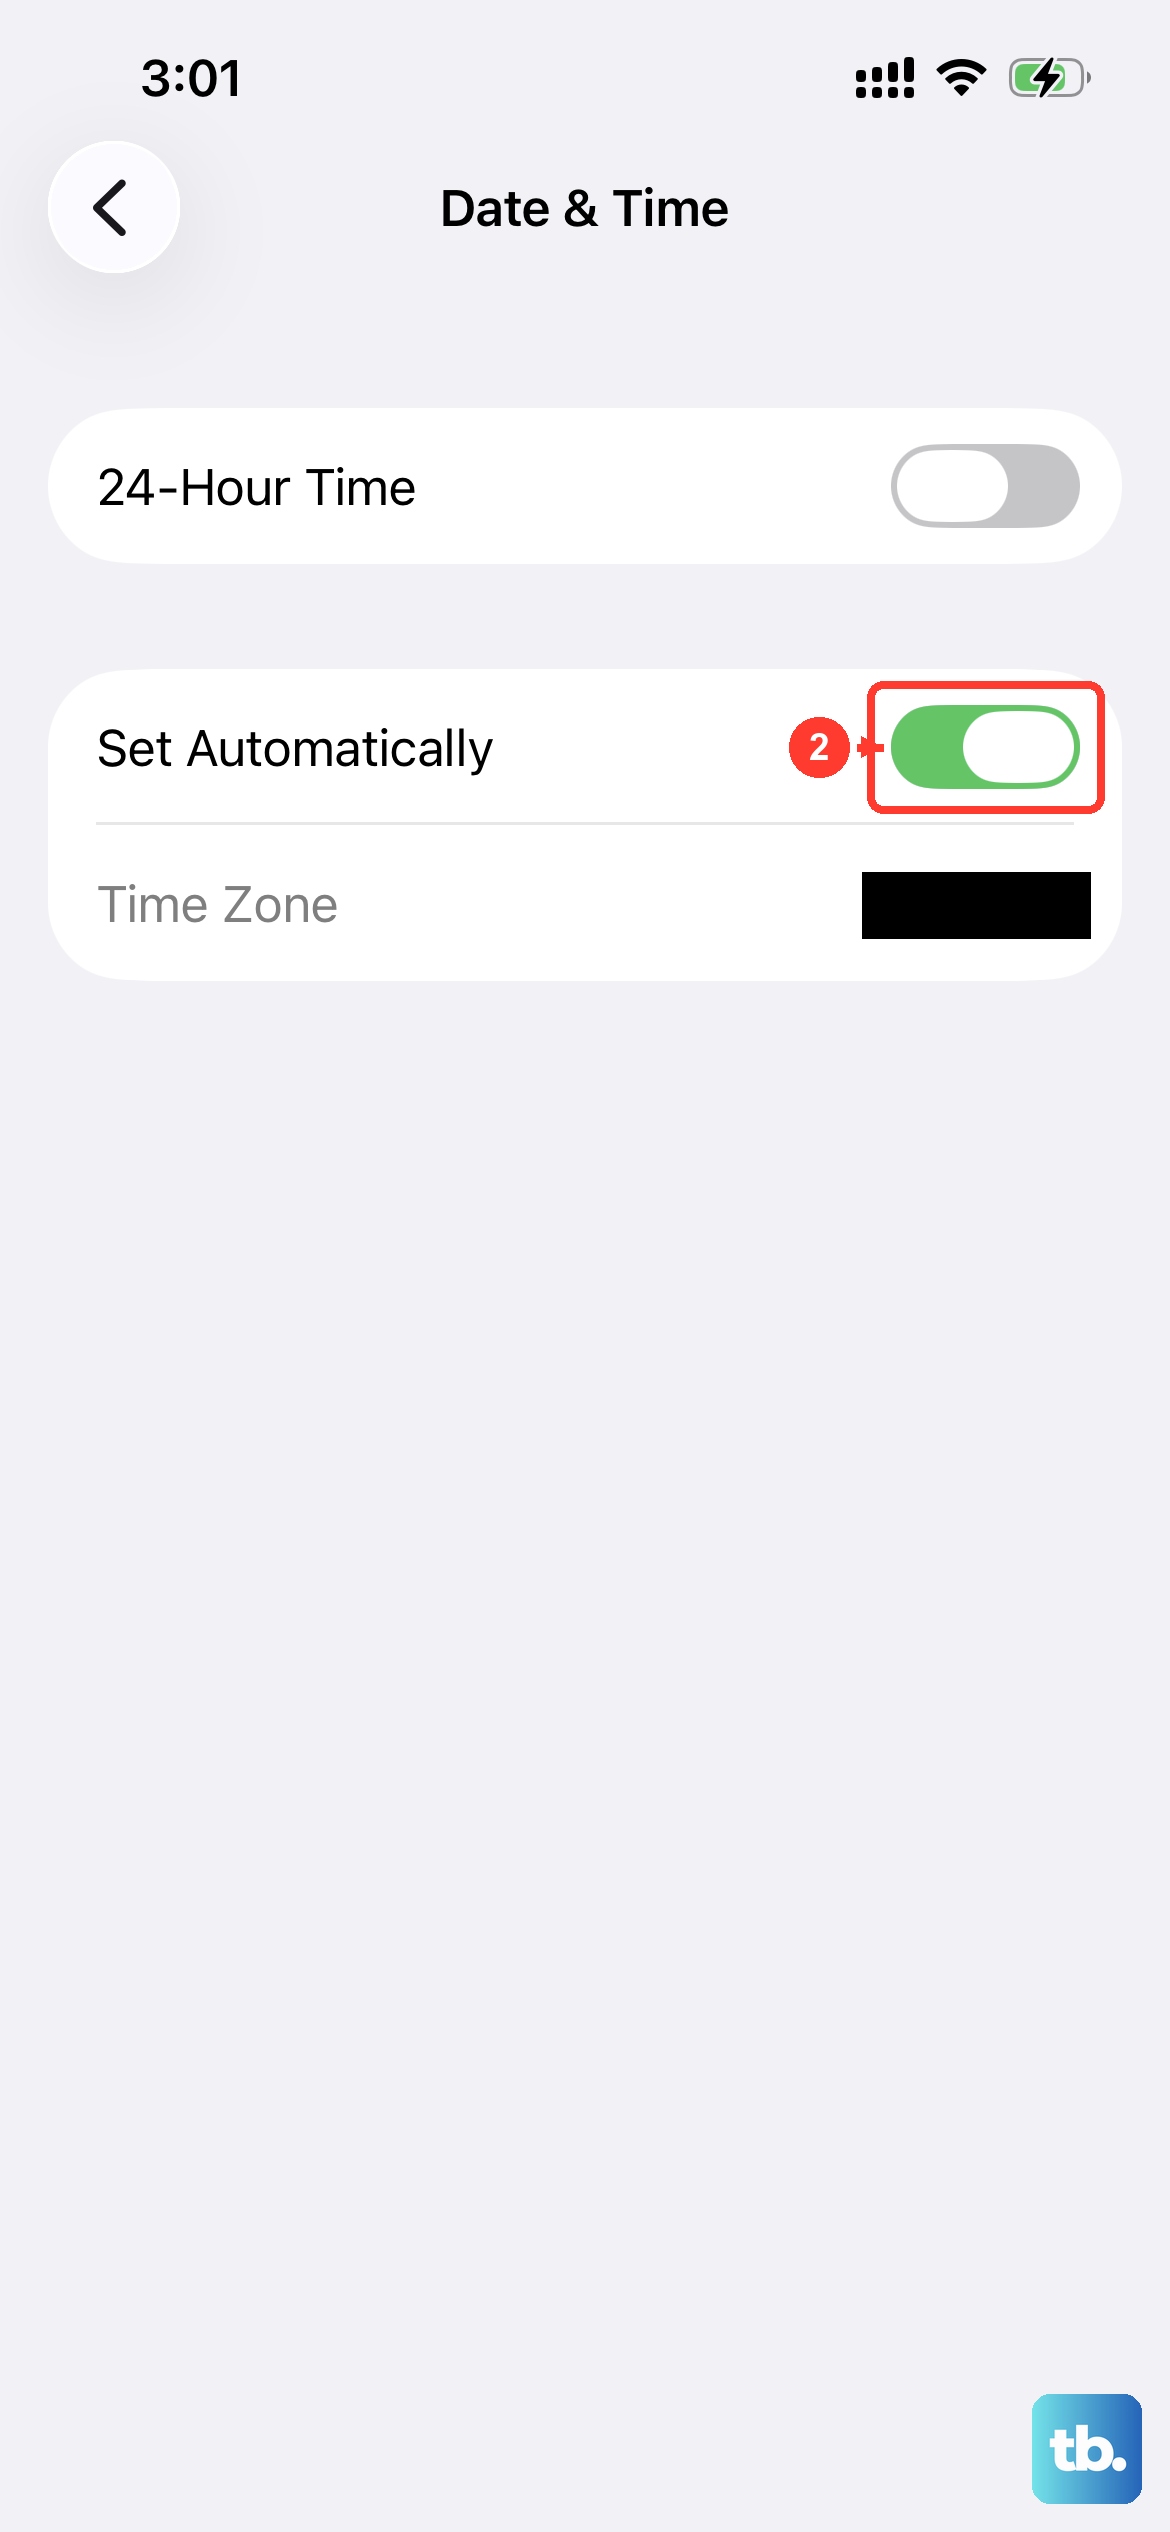
Incorrect time settings can break secure connections to email servers. This is an easy one to overlook. Go to Settings > General > Date & Time. Make sure the switch for Set Automatically is turned on. This allows your iPhone 17e to get the correct time from the network.
Reset All Network Settings
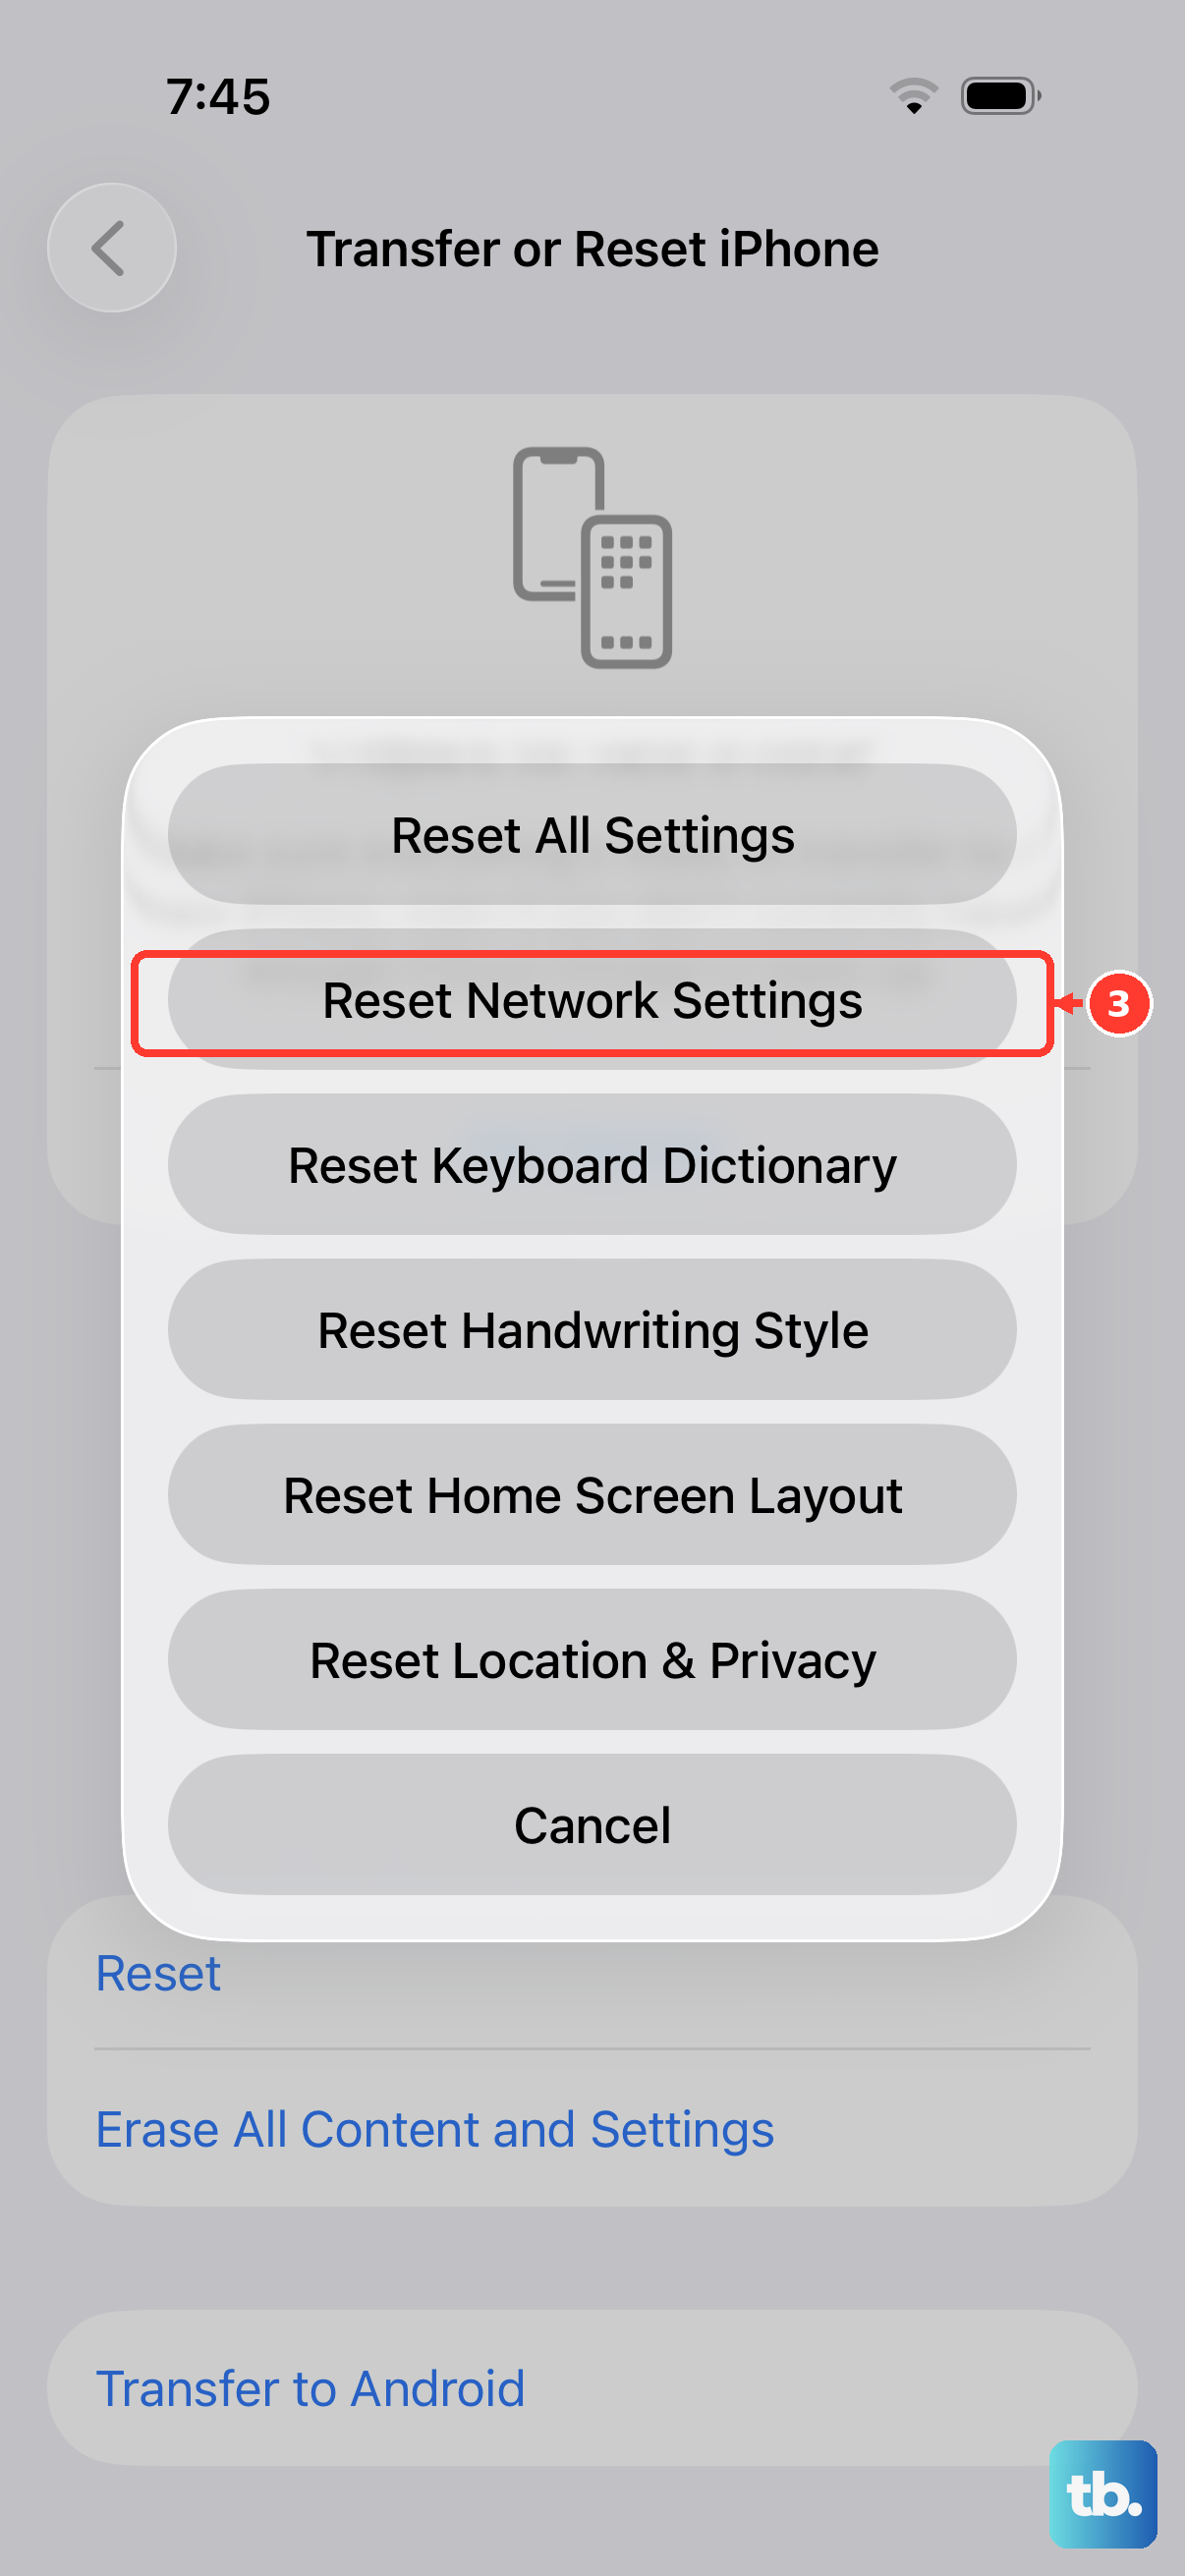
This step clears all your Wi-Fi networks, passwords, cellular settings, and VPN configurations. It's a bigger reset but can solve stubborn connection-related mail problems. Go to Settings > General > Transfer or Reset iPhone > Reset.
Tap Reset Network Settings. You'll need to enter your passcode and confirm. Your iPhone will restart. Afterward, you'll have to rejoin your Wi-Fi networks and re-enter their passwords, but it often resolves deep-seated network glitches affecting Mail.
Check for Mail-Specific Settings and Storage
If you can't send mail, check your outbox. Open the Mail app and tap Mailboxes in the top left. Look for an Outbox folder. If emails are stuck there, you likely have a connection issue. Try moving to a better network and they may send.
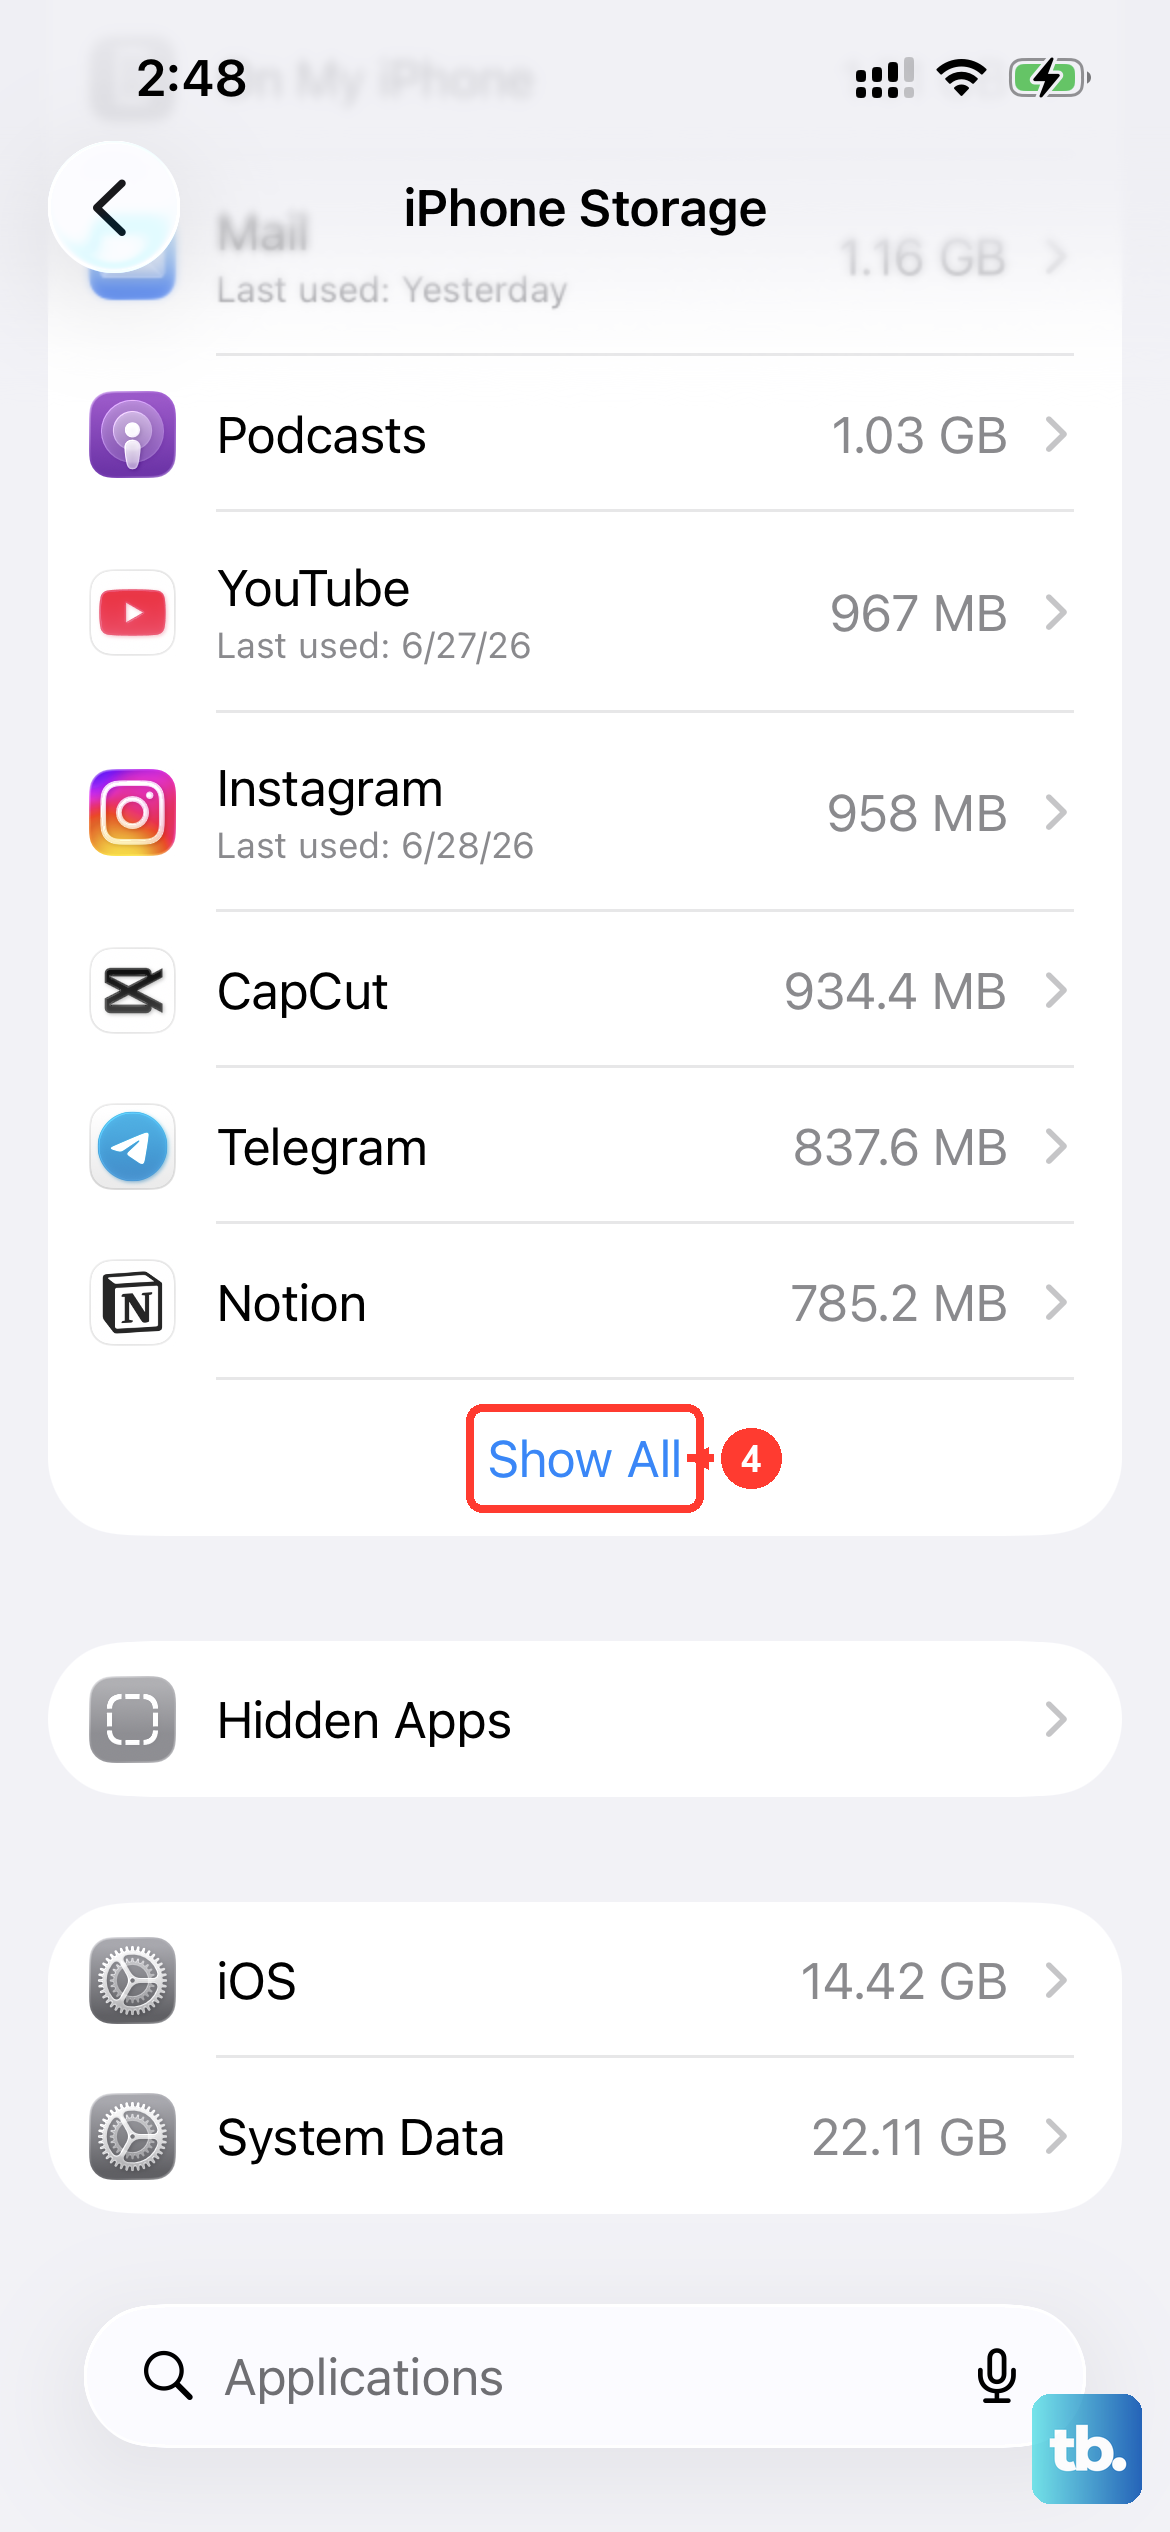
Also, ensure your iPhone isn't completely out of storage. Go to Settings > General > iPhone Storage. If you're critically low on space, the system can struggle to perform basic tasks. Freeing up a few gigabytes can sometimes get things moving again.