You tap the Mail app on your iPad (10th generation), pull down to refresh, and nothing arrives. Maybe a message you wrote refuses to leave, the inbox stays stubbornly empty, or the alerts that used to buzz have gone quiet. Email trouble on the built-in Mail app is almost always fixable in a few minutes once you work through the checks in the right order.
The iPad (10th generation) runs iPadOS with Apple's built-in Mail app and supports iCloud, Google, Microsoft Exchange, Yahoo and other accounts. Because this model has Touch ID in the top button and no Home button, the restart and force-restart steps below use the top-button method. Start with the simplest, safest checks and only move on to a reset if the earlier fixes do not help.
Rule out the connection and account basics first
Before changing any settings, confirm the problem is not your network or your email provider. These two checks resolve a surprising number of "Mail is broken" situations.
1. Confirm your internet and check for a provider outage
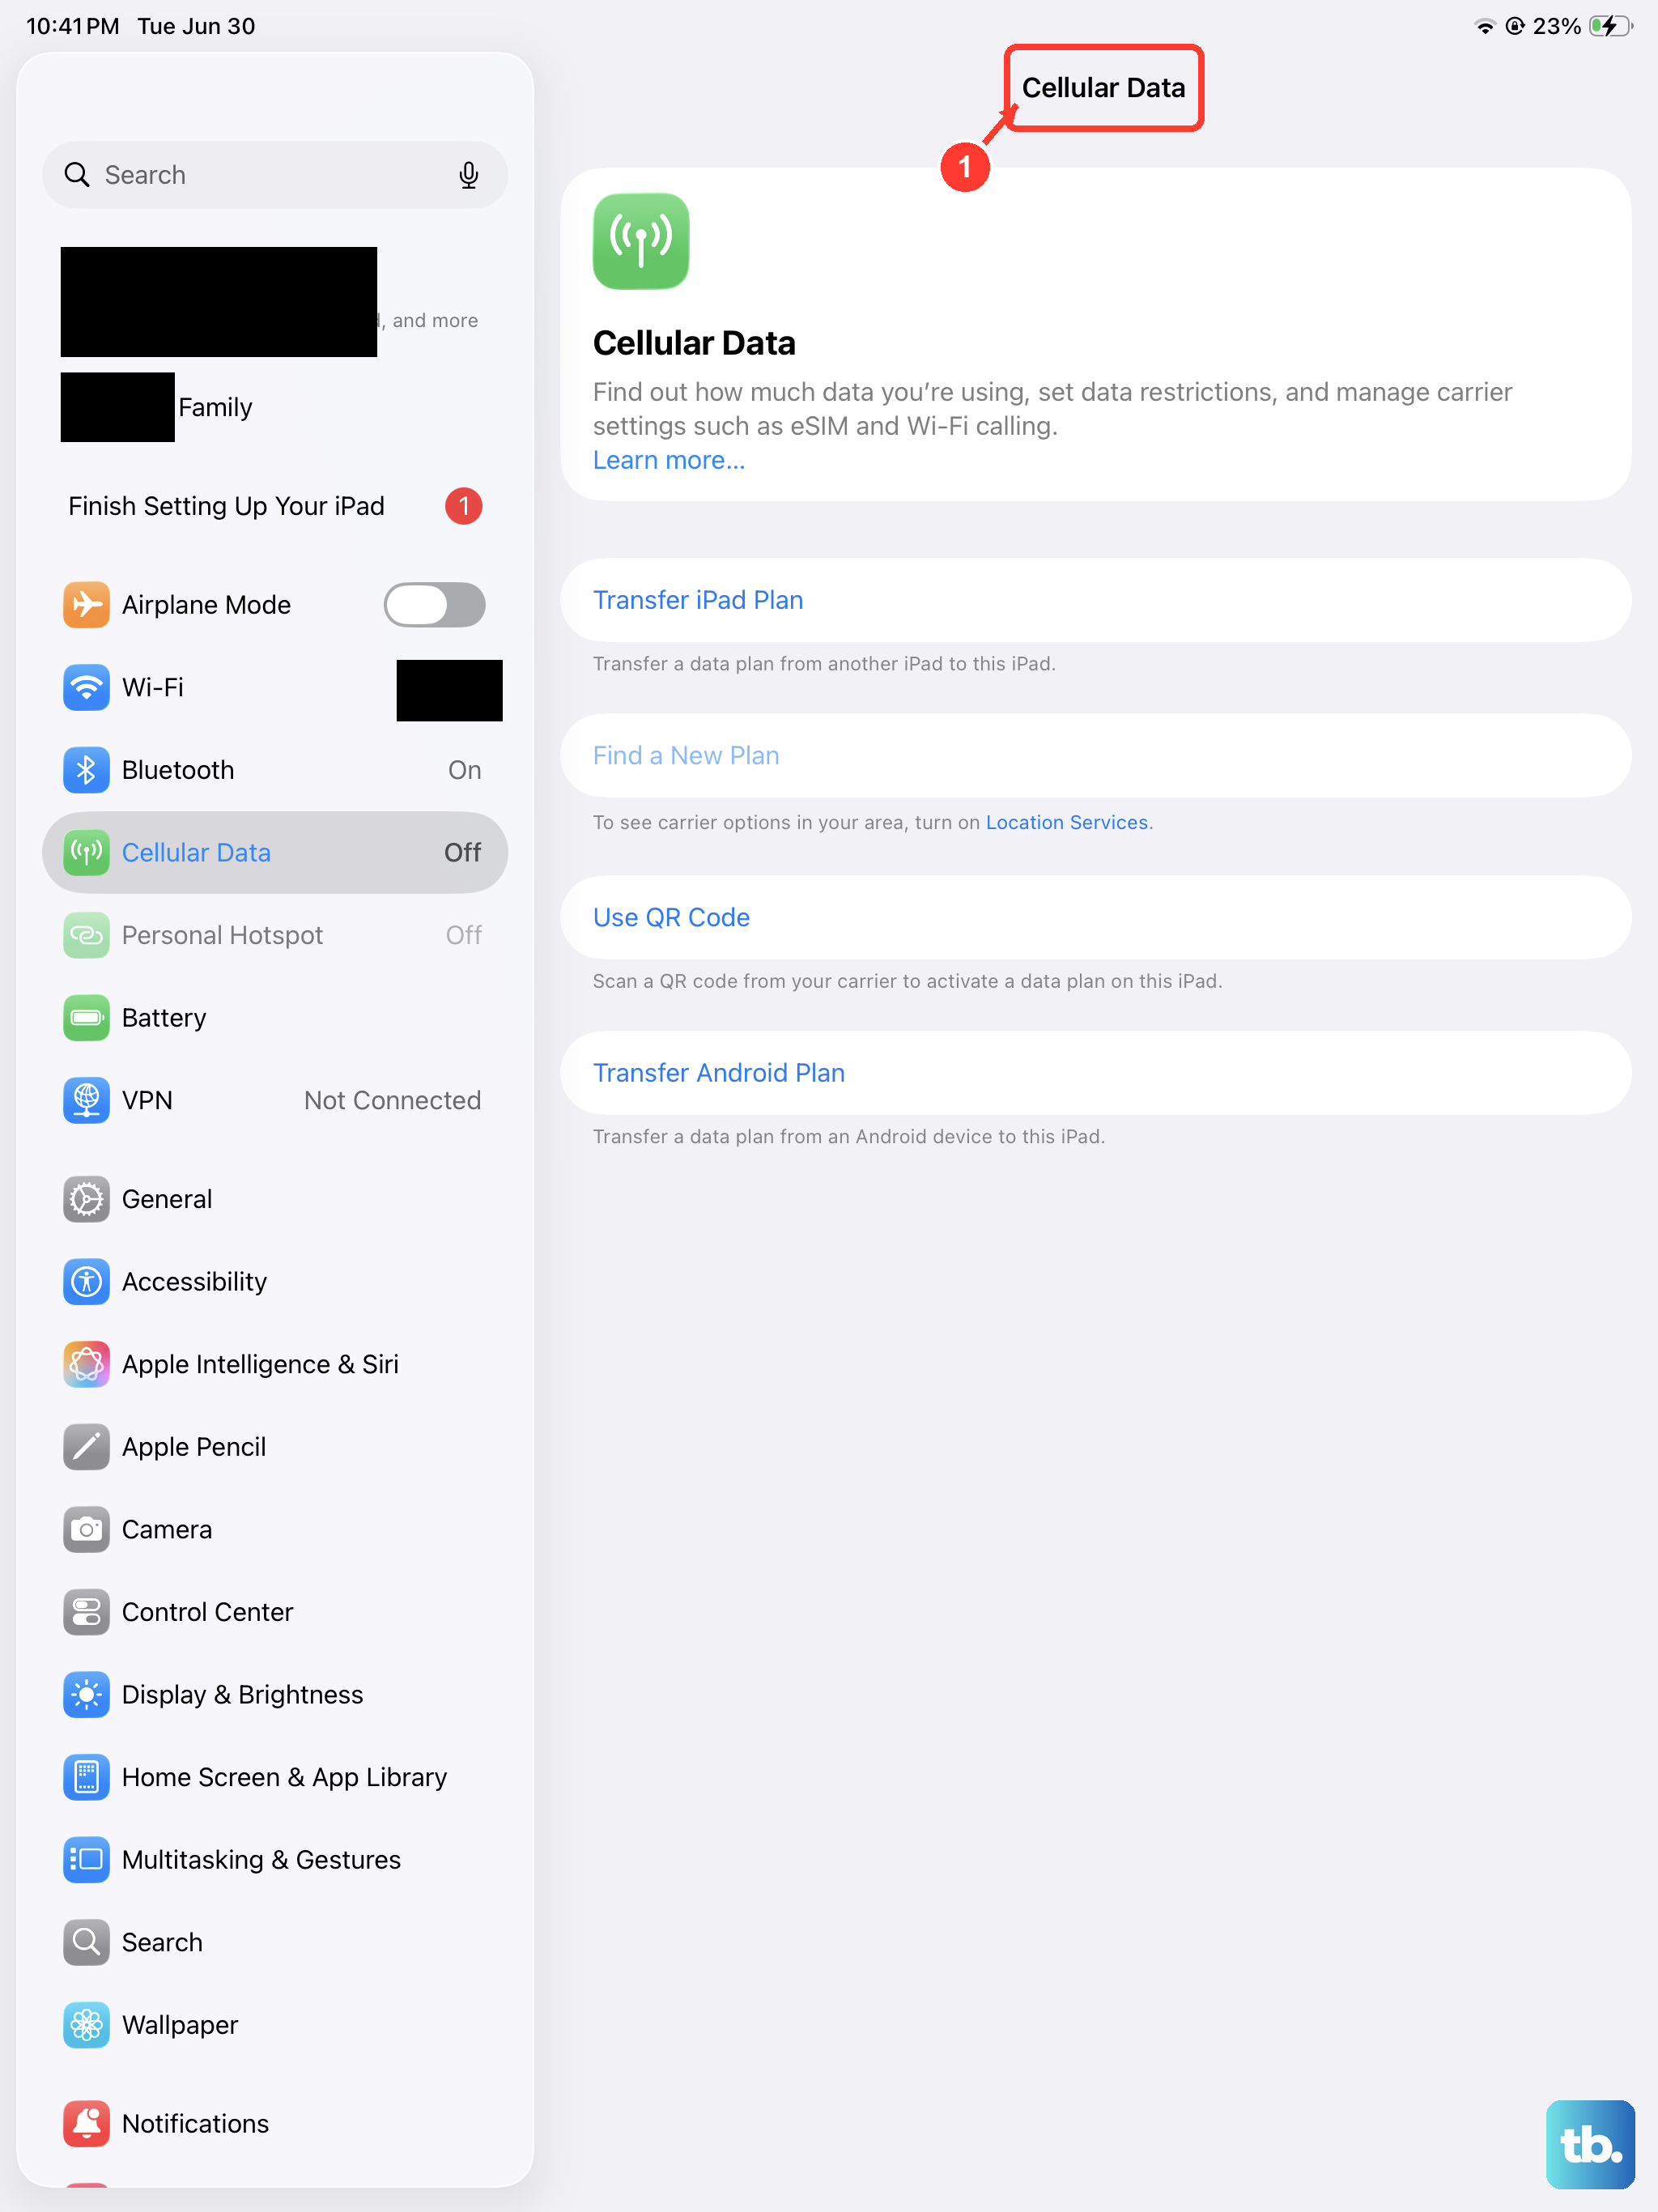
Apple's first step for both sending and receiving problems is to make sure that your device is connected to the internet. Open a web page in Safari to confirm Wi-Fi works, and on Wi-Fi + Cellular models confirm your cellular data is active too. Then check with your email service provider to find out if there is a service outage, since an outage on their end will block mail no matter what you do on the iPad.
2. Verify your email address and password
If the Mail app asks you to enter a password for your email account, make sure that your password is correct. To check your email address and password, sign in to your email provider's website from any browser. If you still get a username or password error, contact the email provider or system administrator, because the credentials stored on the iPad may be out of date.
When a message will not leave your iPad
Sending failures have their own short checklist. Work through both of these before assuming the account itself is broken.
3. Look for Undo Send
If you just hit send, look for the Undo Send button in your Inbox or list of mailboxes. If Undo Send is available, the message has not actually been sent yet, which tells you the issue is happening at the moment of sending rather than with the account. Let it finish sending, or tap Undo Send to pull the message back and try again.
4. Check the Outbox for stuck mail
A message that failed to send sits in the Outbox.
To find it, in Mail, go to your list of mailboxes.
Tap Outbox. If you don't see an Outbox, then your email was sent.
Tap an email in the Outbox.
Make sure that the recipient's email address is correct.
Tap Send.
Fix how your iPad fetches and announces new mail
If mail is not arriving or you are not being alerted, the cause is often a setting rather than a fault. Two separate areas control this.
5. Set how often Mail fetches new data
If new messages are slow to appear or never refresh on their own, adjust the fetch schedule.
Go to Settings, then tap Apps.
Choose Mail, then tap Mail Accounts.
Tap Fetch New Data.
Choose a setting, like Automatically or Manually, or choose a schedule for how often the Mail app fetches data.
6. Check your Mail notification settings
If mail arrives but you never get an alert, the notification settings may be turned down. Go to Settings, then tap Notifications. Tap Mail, then adjust your Alerts, Sounds, and Badges so new messages announce themselves the way you want.
Restart the iPad to clear Mail glitches
A temporary software hiccup can stop Mail from loading or sending. Restarting clears it without touching your data.
7. Turn the iPad off and back on
For an iPad with no Home button, press and hold either volume button and the top button until the power off slider appears. Drag the slider, then wait 30 seconds for your device to turn off. To turn it back on, press and hold the top button until you see the Apple logo.
8. Force restart the iPad
If Mail or the whole iPad is frozen and will not respond, force restart it. The iPad (10th generation) has Touch ID in the top button, so use this sequence:
- 1.Press and quickly release the volume button nearest to the top button.
- 2.Press and quickly release the volume button farthest from the top button.
- 3.Press and hold the top button.
- 4.When the Apple logo appears, release the top button.
Update the software and re-check provider security
An outdated system or a provider security requirement can quietly block email. Handle both before you start deleting accounts.
9. Update iPadOS to the latest version
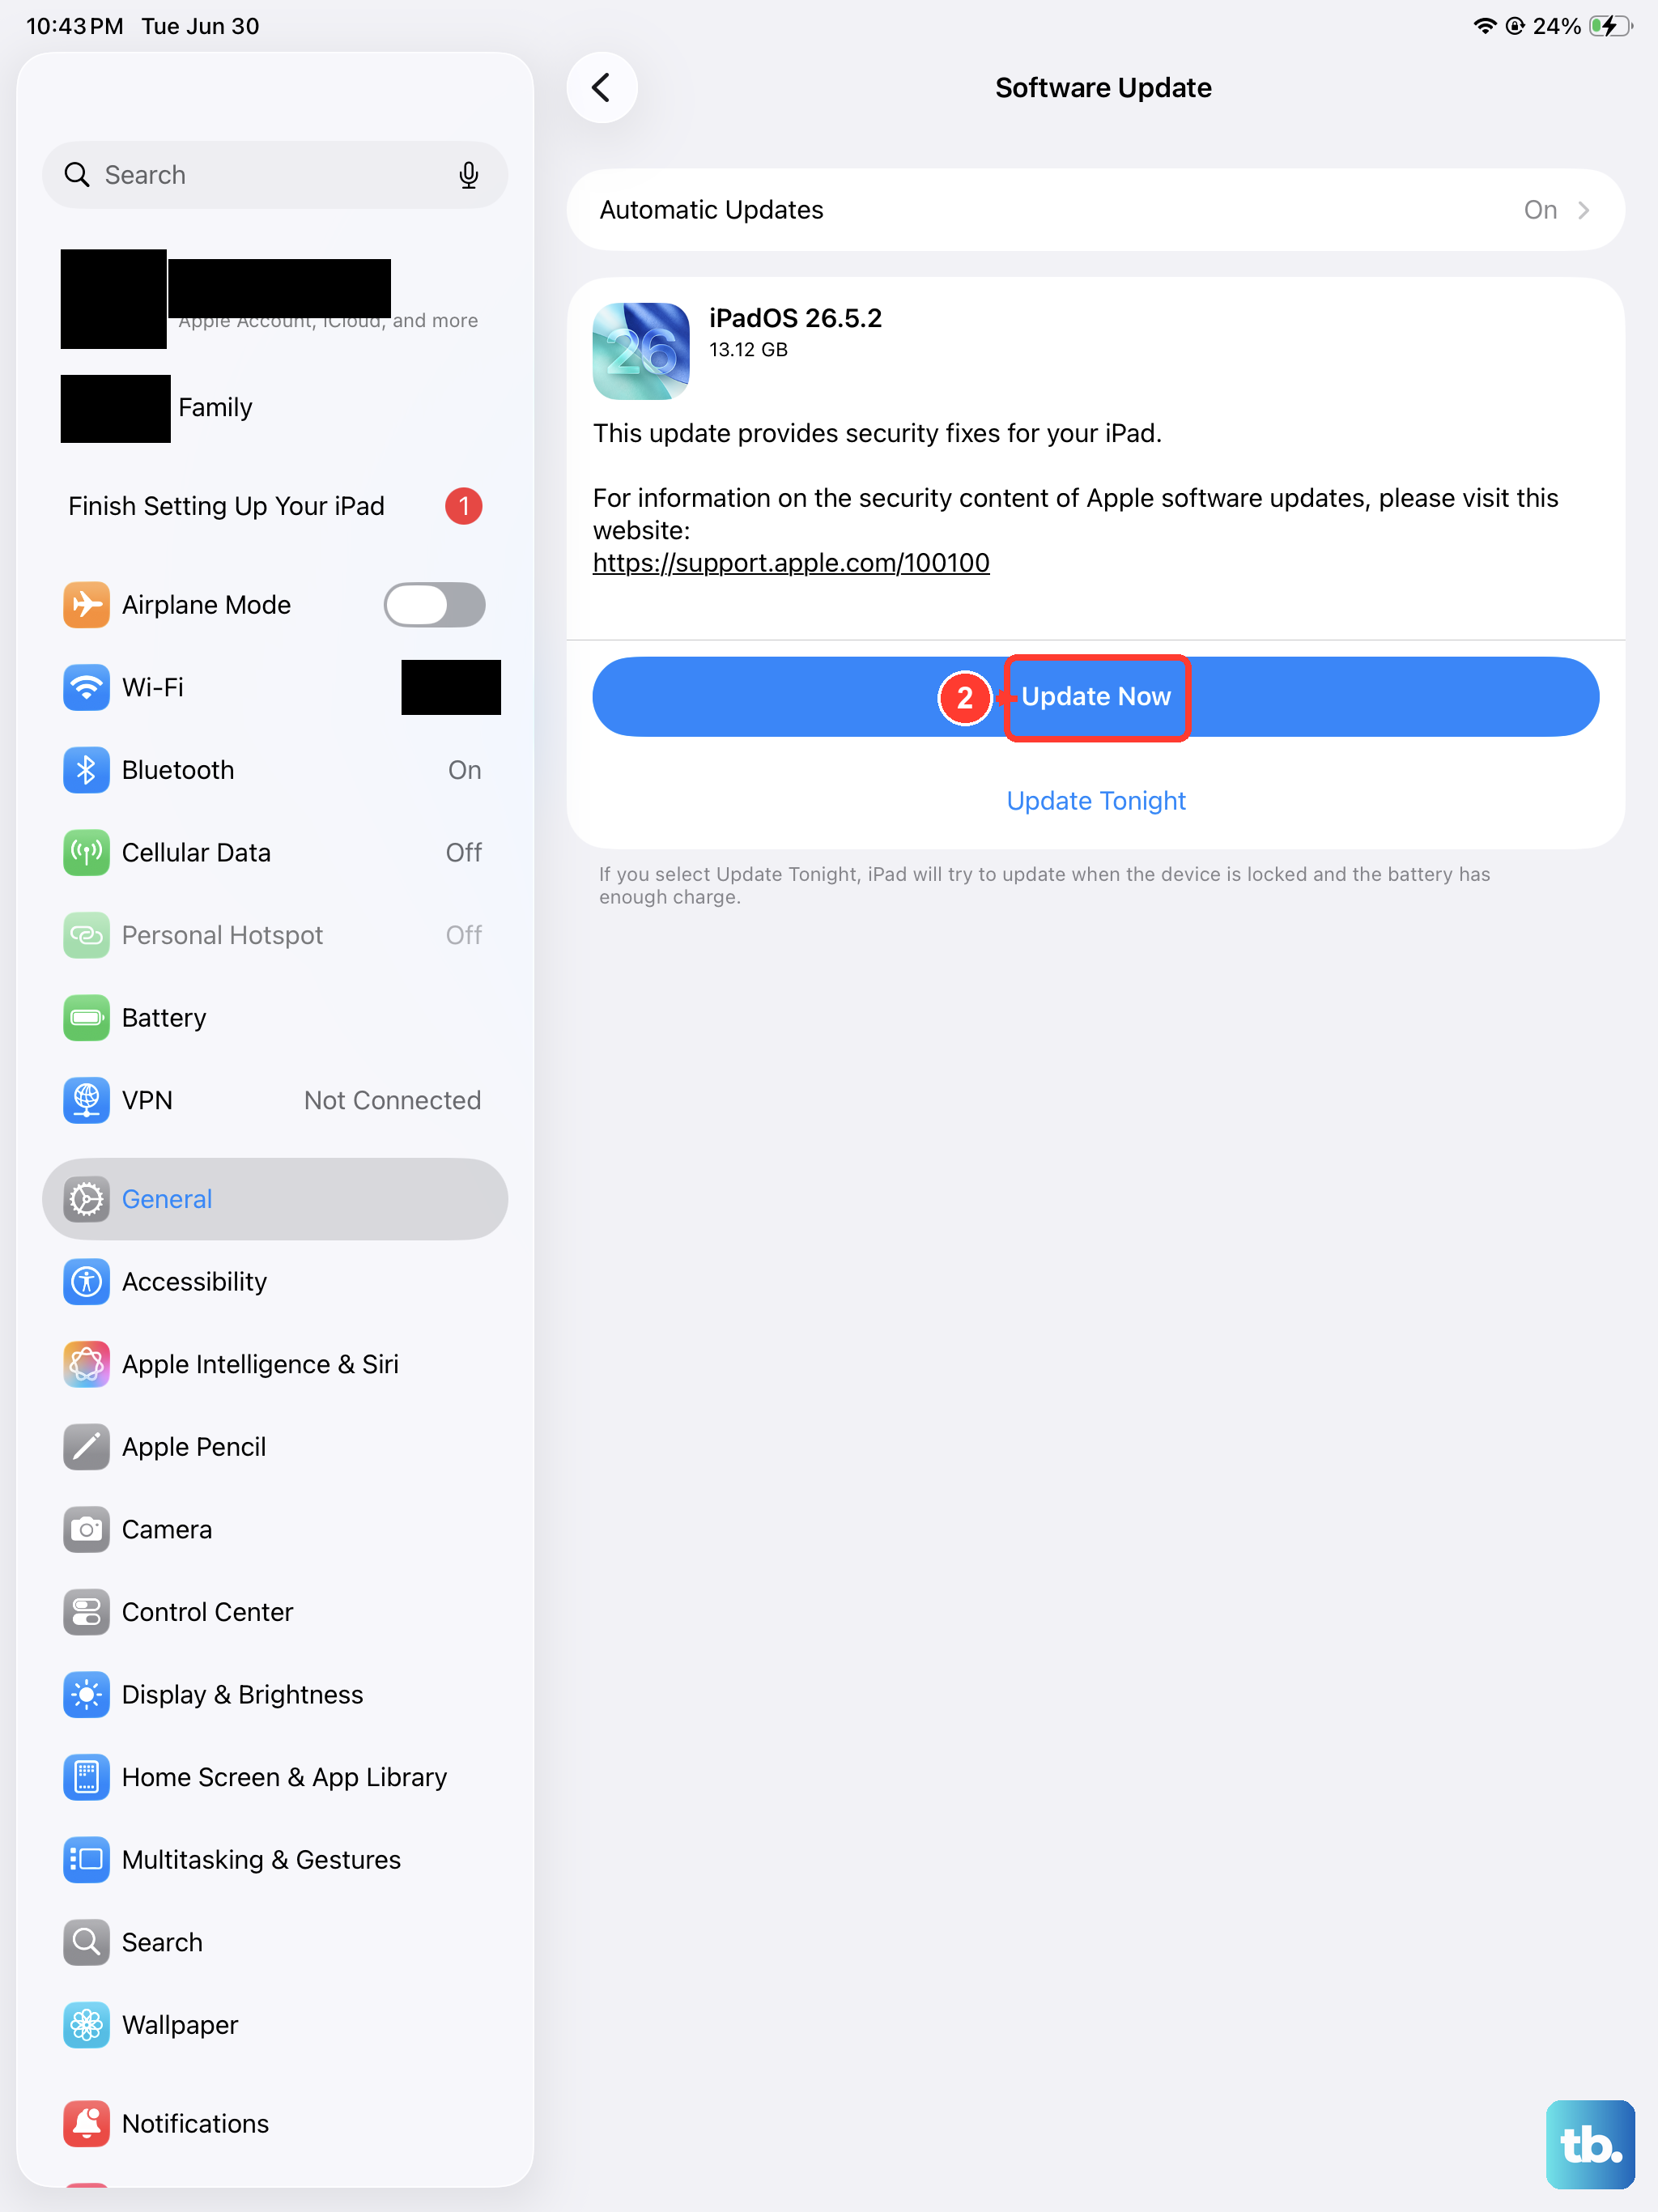
Back up your iPad first, plug it into power, and connect to Wi-Fi. Then go to Settings, tap General, and tap Software Update. If an update is available, tap Download and Install, then follow the onscreen instructions.
10. Check provider security settings such as two-step verification
Ask your email provider or system administrator if you turned on any security features or restrictions, like two-step verification, for your email account. You might need a special password (often called an app password) or may need to request authorization from your email provider to send and receive email on your device. Confirm your account settings match what the provider expects.
Rebuild the account and reset the network
If the account still misbehaves, refresh how it is stored on the iPad and clear out any tangled network settings.
11. Remove the email account and add it again
First make sure your email is saved somewhere other than the device by signing in on a computer, so nothing is lost when you remove the account.
On your device, go to Settings, then tap Apps.
Choose Mail, then tap Mail Accounts.
Tap the email account that you want to remove, then tap Delete Account.
Now add it back. Go to Settings > Apps > Mail > Mail Accounts > Add Account, enter your email address, tap Next, and enter your email account information. iCloud, Google, Microsoft Exchange and Yahoo set up automatically.
12. Reset Network Settings
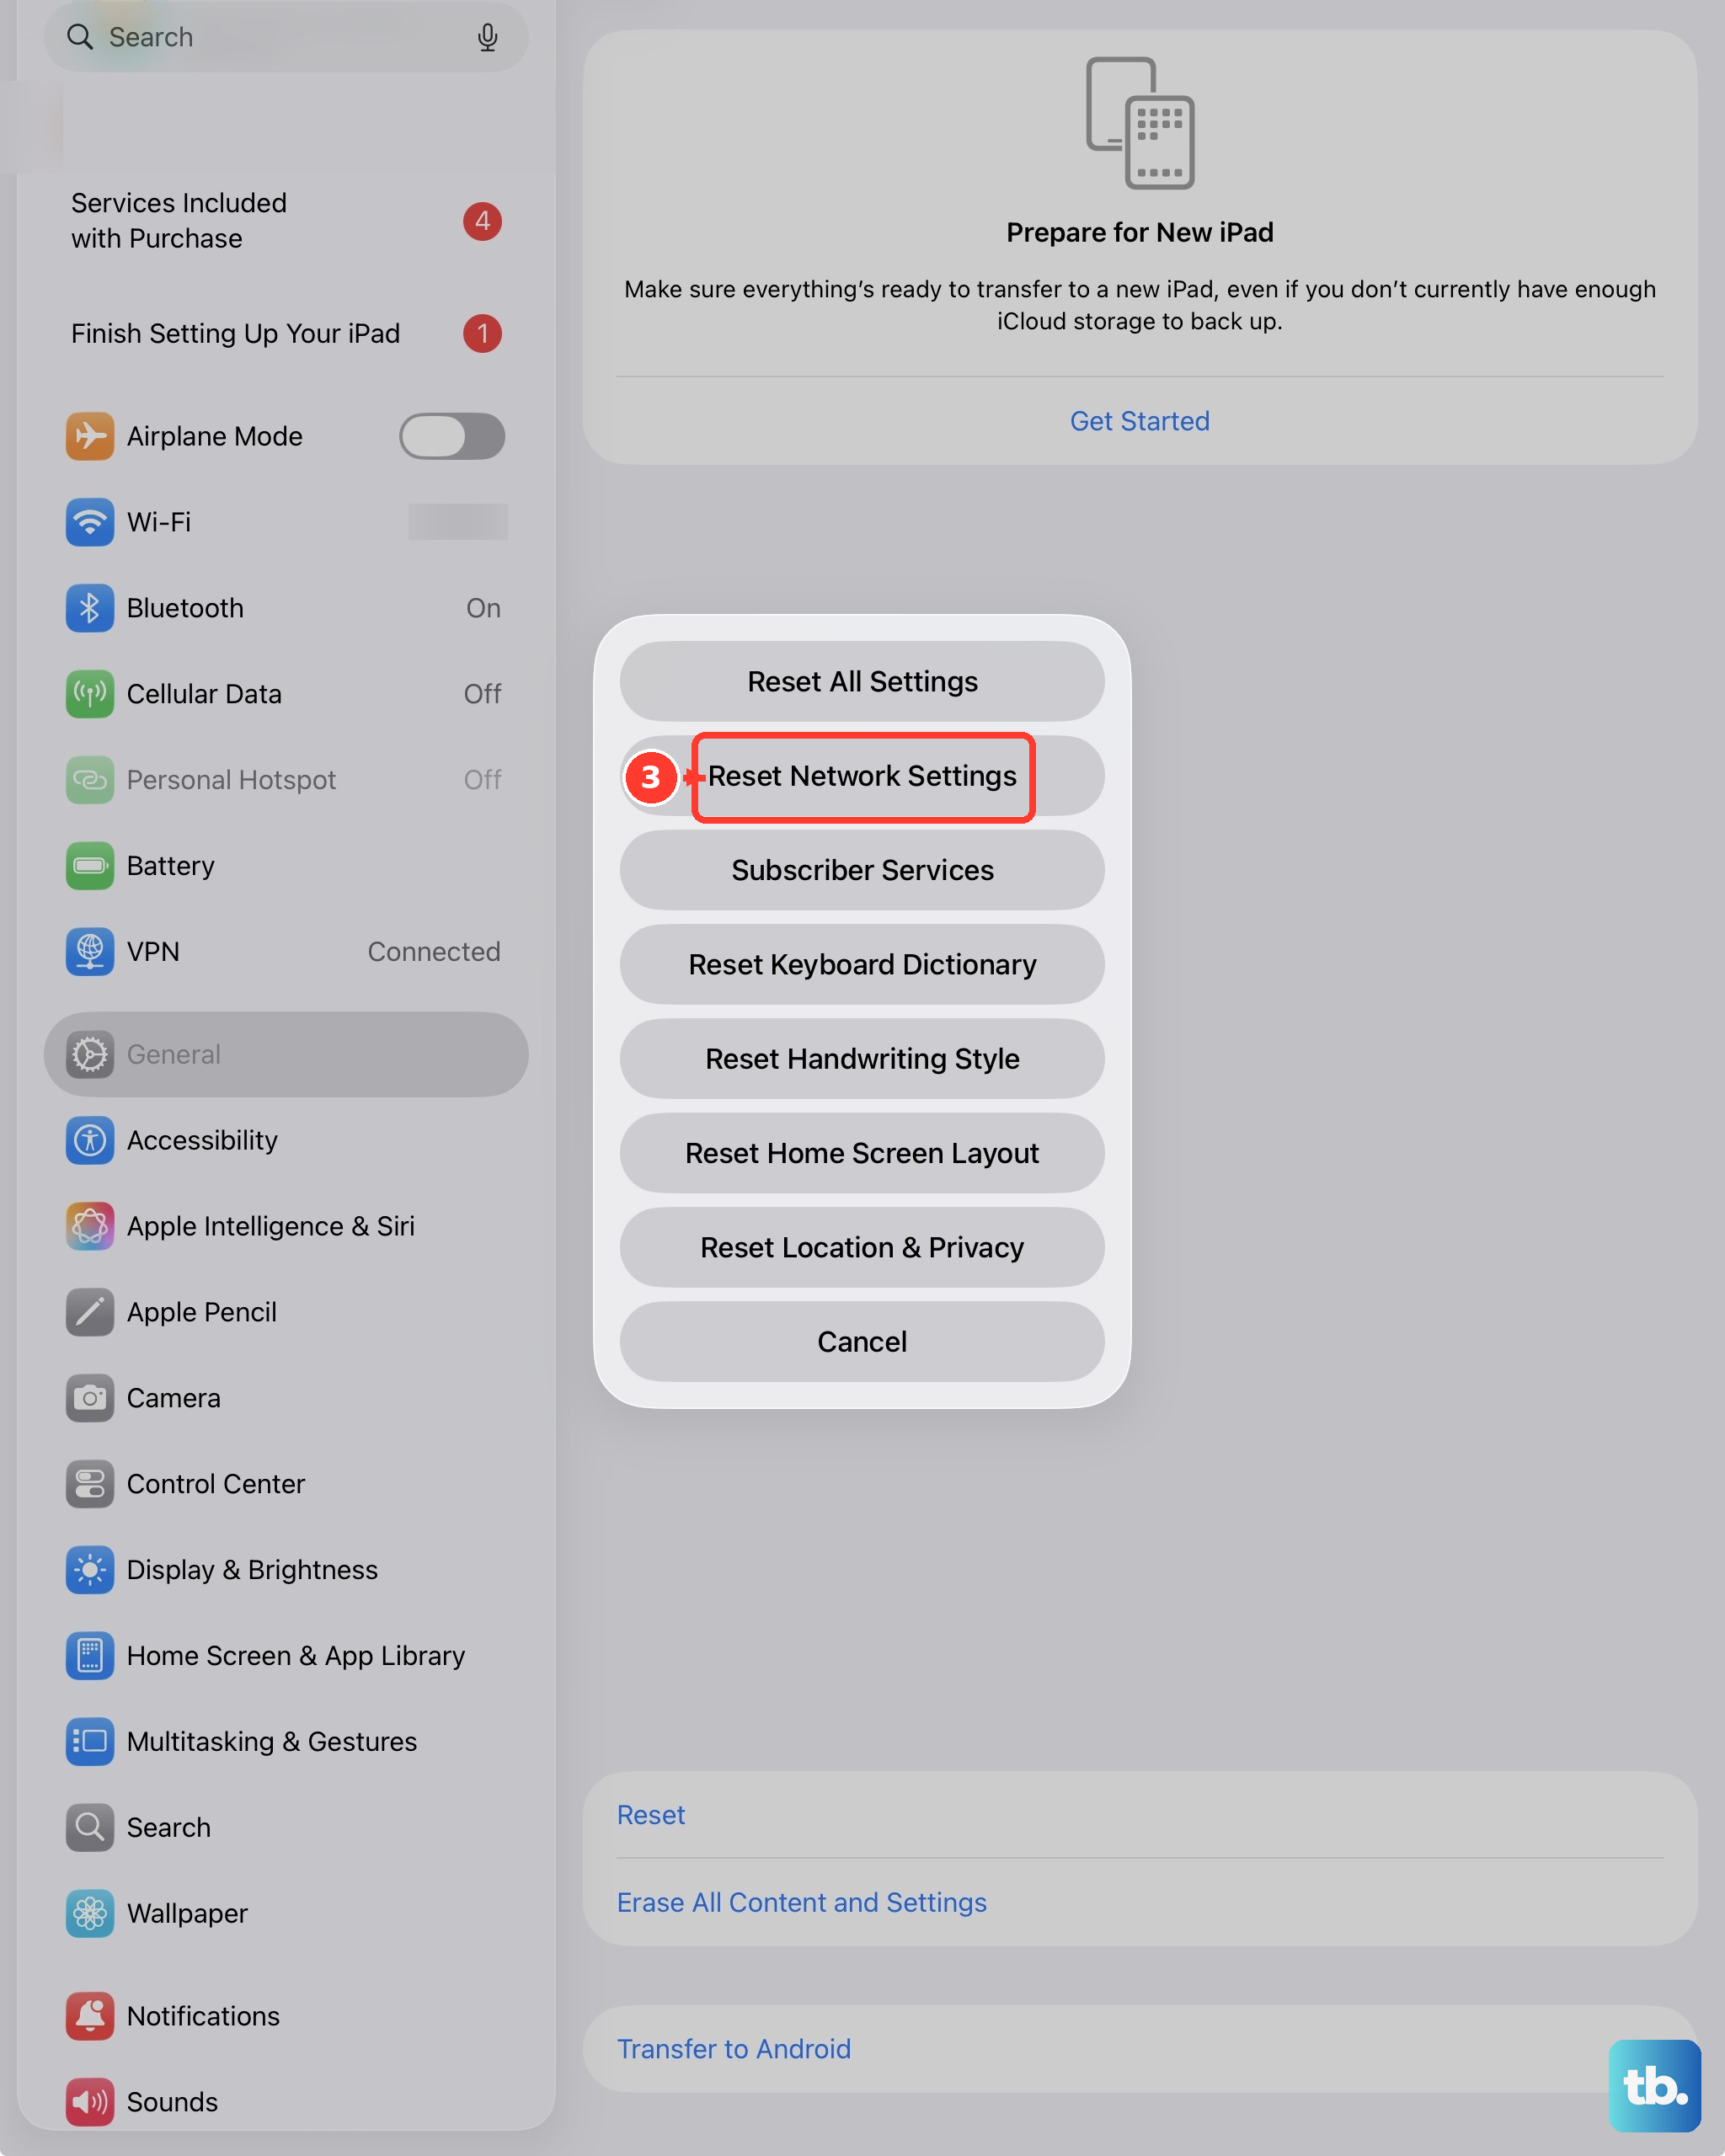
If a connection problem is blocking Mail, reset just the network settings. Go to the Settings app on your iPad, tap General, tap Transfer or Reset iPad, then tap Reset and choose Reset Network Settings. All network settings are removed. No content or media are deleted, but you will need to rejoin your Wi-Fi networks afterward.
Last-resort recovery and getting help
If nothing above works, these final two options reset the device fully or hand the problem to someone who can dig deeper.
13. Erase All Content and Settings as a last resort
Back up your iPad first, because this wipes the device. When you erase your iPad, it is restored to factory settings, removing your personal information, content, and settings.
Go to the Settings app on your iPad.
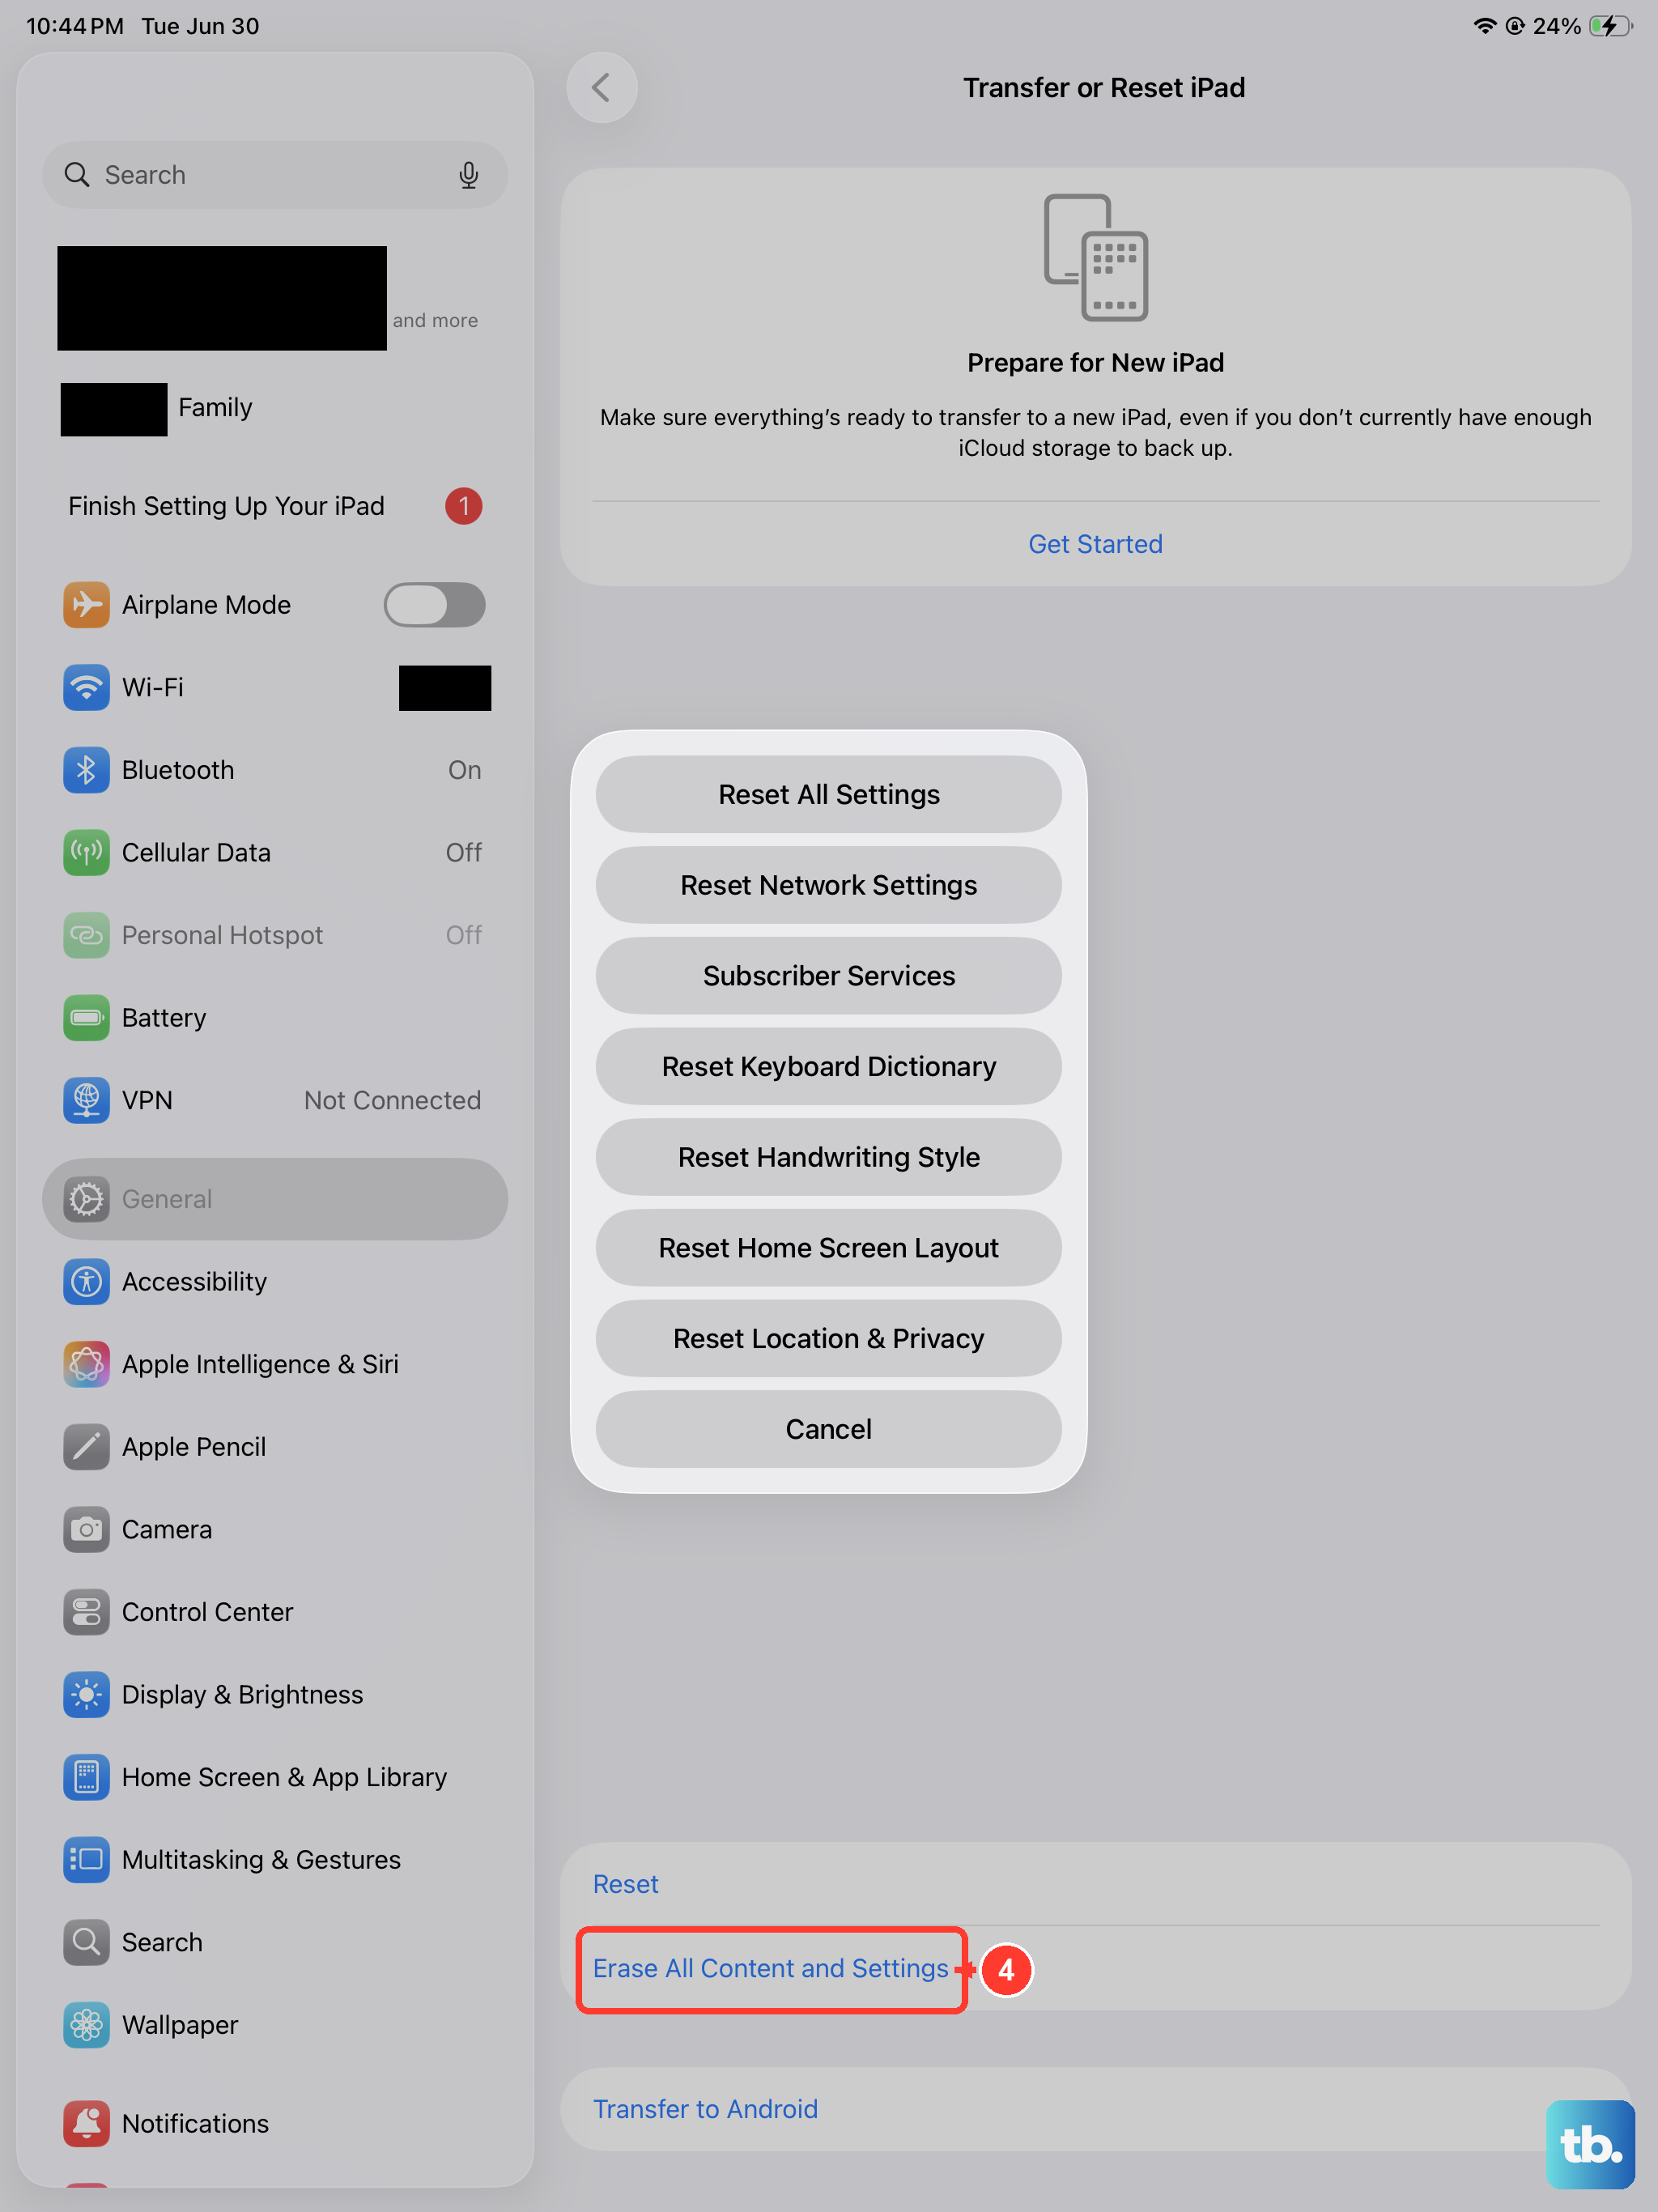
Tap General, then tap Transfer or Reset iPad.
Tap Erase All Content and Settings.
If asked, enter your iPad passcode or Apple Account password.
Tap Continue to confirm.
After the iPad restarts, set it up again and add your email account back, then confirm that messages send and arrive normally.
14. Contact your email provider or Apple Support
If these steps do not work, contact your email service provider for more information, since the issue may live on their servers or with your account permissions. For device-side help, contact Apple Support directly through Apple's official support channels. Between your provider and Apple, you can cover both ends of the connection that delivers your mail.
Frequently Asked Questions
Why does my iPad (10th generation) receive email but not send it?
Sending problems usually point to a stuck message or a provider security setting. Check the Outbox and resend the message, and confirm whether your provider needs a special password or two-step verification authorization to send mail from your device.
Does the iPad (10th generation) have a Home button for the restart steps?
No. This model has Touch ID built into the top button, so use the top-button turn-off and force-restart sequences shown above rather than any Home button method.
Will Reset Network Settings delete my emails or photos?
No. Reset Network Settings removes saved Wi-Fi networks and other network settings, but it does not delete your content or media. You will need to rejoin your Wi-Fi networks after the reset.
Which email accounts can I add to the Mail app?
You can add iCloud, Google, Microsoft Exchange, Yahoo and other accounts. iCloud, Google, Microsoft Exchange and Yahoo set up automatically when you add them under Settings > Apps > Mail > Mail Accounts > Add Account.
What should I do before erasing my iPad?
Back up your iPad first and make sure your email is saved somewhere other than the device. Erasing restores the iPad to factory settings and removes your personal information, content, and settings, so a backup protects your data.