There are plenty of things you can do using Windows 10. The app library is filled with numerous super useful applications, and you can always download some more from the Microsoft Store App. There are pre-installed or built-in apps, but they might not be useful to you. With such apps on your device, you would certainly start thinking that they are consuming a lot of space, and if you are not using these, you should get rid of them. Though they may not be that hefty, you can still utilize that space by uninstalling Windows 10 built-in apps that are useless to you.
Uninstall Windows 10 Built-in Apps:
Windows 10 genuinely does not allow its users to uninstall built-in apps. But there are some technical methods that you can opt for and remove the apps. Before you uninstall a built-in app, do mind its consequences as they may not be considered before they are removed, but later they may cause an inconvenience. Removing the clock and the alarms will surely disable all digital support, like reminders and events. Remember that some system apps, such as Cortana, Edge, and Contact Support, cannot be uninstalled.
Moving forward with the uninstall process, ensure that you have administrative rights and that no other apps or programs are running besides Windows PowerShell. Once everything is confirmed and ready, click on the search field next to the Start menu icon on the system tray and type Windows PowerShell in the search field. Windows PowerShell will appear with its description as a Desktop App. Click on it, and a dialog box for User Account Control will open, asking permission to make changes to the device. Click “Yes” to grant permission and to move further.
The Windows PowerShell will appear as the Command Prompt with a blue background.
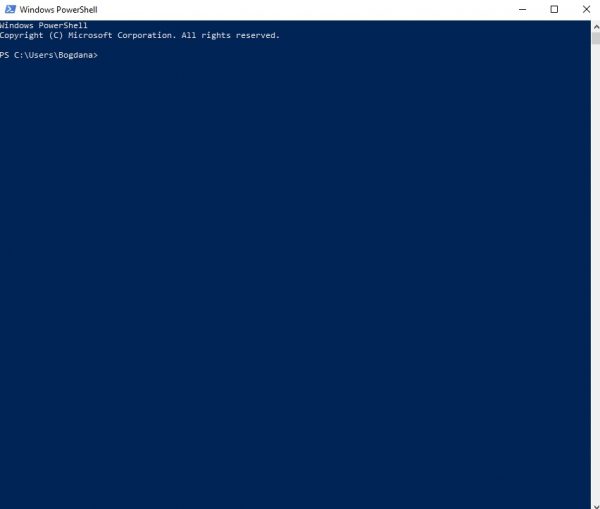
If you have used the versions before Windows XP, you may know what the DOS Editor looked like. The PowerShell screen looks a lot like that. On the screen, you will see the cursor blinking in front of the script “PS C:\windows\system32>”.
You must type in the removal command, “Get-AppxPackage *full Package Name of the App* | Remove-AppxPackage.”
The syntax we have written above mentions a value between the wildcards (*). The app name you need to enter is not the one you see on the start menu or under the Microsoft Store app. Instead, a specific value is assigned to each built-in app that you would need to get before uninstalling a particular app. To do that, type the following syntax in the power shell:
Get-AppxPackage | Select Name, PackageFullName
It will bring a long list into the display, showing the name of the app and its package name. Copy the package's full name from the app you wish to delete by selecting it and pressing the Enter key. Let’s suppose the Voice Recorder is the app you want to remove. The full package name you extracted would look like “windows sound recorder”. Add that value to the removal command and hit enter to execute it:
Get-AppxPackage *windowssoundrecorder* | Remove-AppxPackage
Similarly, if any other app is removed, its value will be entered between the wildcards. If you execute the command and return an error, you will have to restart the device and repeat the process. You can only remove the app from your current user profile using this command. For all users, you will have to use:
Get-App Package -all users *Full Package Name of the App* | Remove-AppxPackage
Also Read


Recent
Ottocast Car TV Mate Max Review – A Versatile In-Car Entertainment Adapter
iPhone Battery Dying In Minutes? 23 Real Fixes That Work
Ottocast Play2Video Pro Ups the Game in Affordable Car Entertainment
Ottocast OttoAibox P3 Powers a Smarter Driving Experience
How to Disable WebRTC in Your Browser Settings
Guides

Lenovo Debuts Solar-Charging Laptop That Turns 20 Minutes of Sunlight Into Hour of Video

Why Do Smartphones Get Slower Over Time?

Decoding Tech Jargon: The A to Z Cheat Sheet (Free Downloadable PDF)

How to Clear an App's Cache on Your Samsung Device

Why Are My iPhone Messages Green Instead of Blue?

Everything Google Knows About You (And How to Stop It)
