Setting up Chromecast with your Windows 10 PC lets you stream videos, photos, and even your entire desktop to your TV. While Google officially recommends using a mobile device for initial setup, you can still get Chromecast working with your PC using the Chrome browser.
What You Need to Get Started
Before you begin, make sure you have these essentials:
- A Google Chromecast device
- A Windows 10 PC
- Google Chrome web browser installed
- Your Chromecast and PC connected to the same Wi-Fi network
- An HDMI port on your TV
Setting Up Chromecast with Your PC
Step 1: Connect Chromecast to Your TV
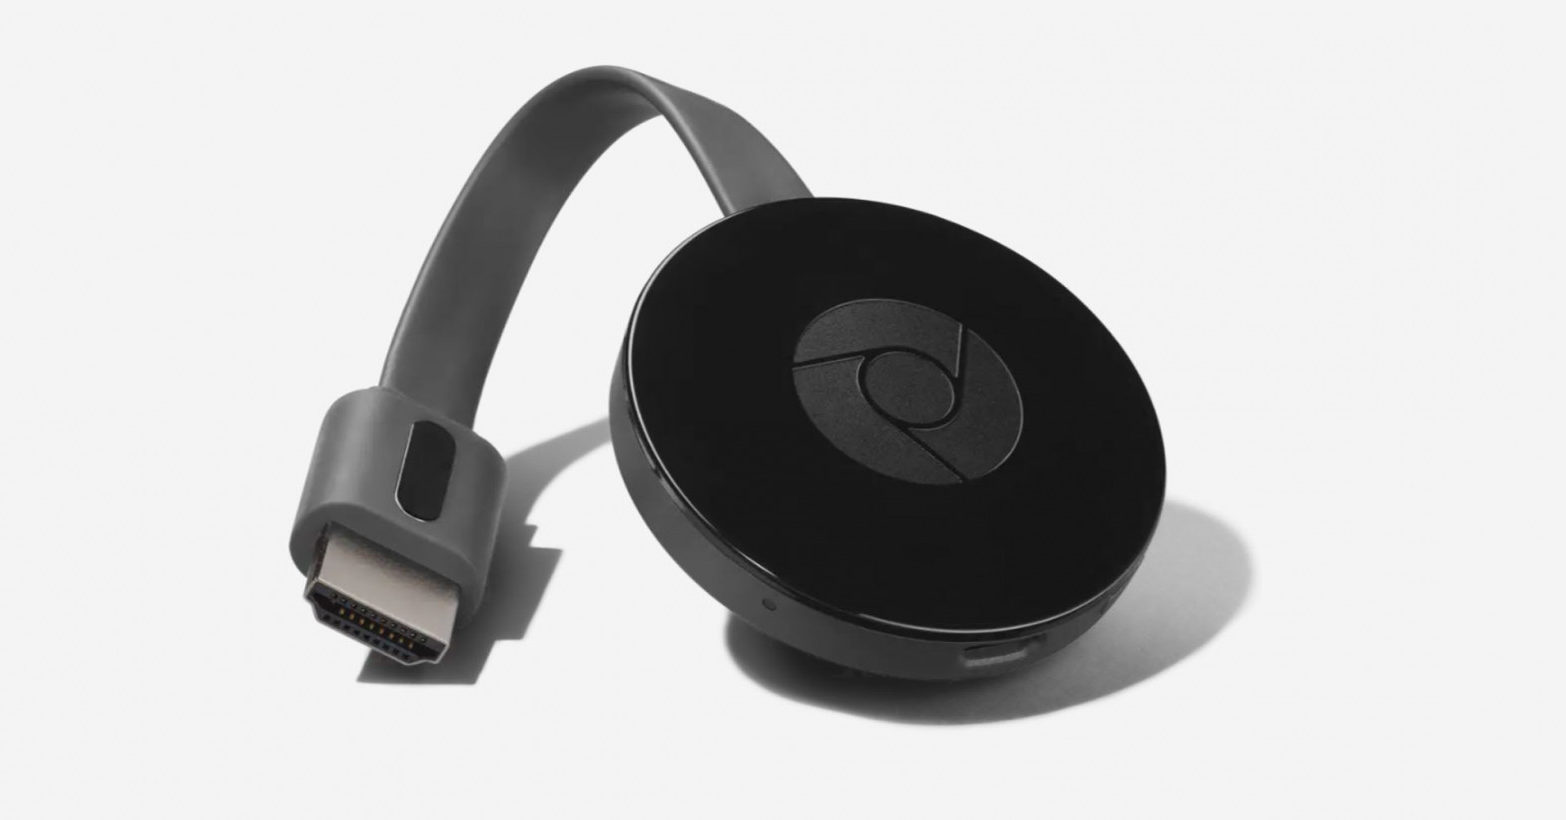
- 1.Plug your Chromecast into an available HDMI port on your TV
- 2.Connect the USB power cable to your Chromecast and plug it into a power outlet
- 3.Use your TV remote to switch to the correct HDMI input where your Chromecast is connected
Step 2: Set Up Chromecast Using Chrome Browser
- 1.Open Google Chrome on your Windows 10 PC
- 2.Go to
chromecast.com/setupin the address bar - 3.Click "Set Up Your Chromecast" and agree to the privacy policy
- 4.Chrome will search for available Chromecast devices on your network
Step 3: Connect to Chromecast Network
- 1.When Chrome finds your device, click "Set Me Up"
- 2.Go to your system tray and click the Wi-Fi icon
- 3.Select the Chromecast Wi-Fi network that appears (it will have "Chromecast" in the name)
- 4.Click "Next" to confirm the connection
Step 4: Verify and Complete Setup
- 1.Compare the code shown on your PC screen with the code displayed on your TV
- 2.If they match, click "Next" to continue
- 3.Enter your regular Wi-Fi network name and password when prompted
- 4.Click "Connect" to finalize the setup
Once you see the "Ready to Cast!" screen, your Chromecast is successfully connected and ready to use with your PC.
How to Cast from Your PC
Now that Chromecast is set up, you can start casting content:
Cast Your Entire Desktop

- 1.Open Chrome browser
- 2.Click the three-dot menu in the top-right corner
- 3.Select "Save and share" then "Cast"
- 4.Click "Source" and choose "Cast screen"
- 5.Select your Chromecast device from the list
Your entire Windows desktop will now appear on your TV, perfect for presentations or showing desktop applications.
Cast Specific Browser Tabs
- 1.Open the website you want to cast in Chrome
- 2.Click the Cast icon (screen with waves) in the top-right corner
- 3.Choose your Chromecast device
- 4.Select "Cast tab" to stream just that webpage
This method works great for streaming videos, showing websites, or displaying online content.
Troubleshooting Common Issues
If you encounter problems during setup, try these solutions:
Chromecast Not Found
- Ensure both your PC and Chromecast are on the same Wi-Fi network
- Check if your router has both 2.4GHz and 5GHz bands - try switching between them
- Restart your Chromecast by unplugging it for 30 seconds then reconnecting
- Temporarily disable your firewall to see if it's blocking the connection
Connection Problems
- Make sure your Wi-Fi signal is strong enough
- Verify that your Chromecast is properly powered
- Check that your TV is set to the correct HDMI input
- Try using a different HDMI port on your TV
Casting Issues
- Update your Chrome browser to the latest version
- Clear your browser cache and cookies
- Restart both your PC and Chromecast
- Ensure no other devices are actively casting to the same Chromecast
Tips for Better Performance
- For video streaming, casting specific tabs often provides smoother playback than casting your entire desktop
- Close unnecessary applications on your PC to improve casting performance
- Use a wired Ethernet connection for your PC if possible for more stable streaming
- Keep your Chrome browser updated for the best compatibility
With Chromecast properly set up on your Windows 10 PC, you can enjoy streaming your favorite content, sharing presentations, or mirroring your desktop to the big screen with just a few clicks.