When Ethernet stops working in Windows 10, the adapter can get stuck even when the cable and router are fine. A quick reset can bring the wired connection back without changing your whole network setup.
Start with the lightest reset, then move through the stronger Windows tools only if the connection still fails. The steps below use current Windows 10-era controls, even though Windows 10 support ended on October 14, 2025.
Restart the Ethernet adapter first
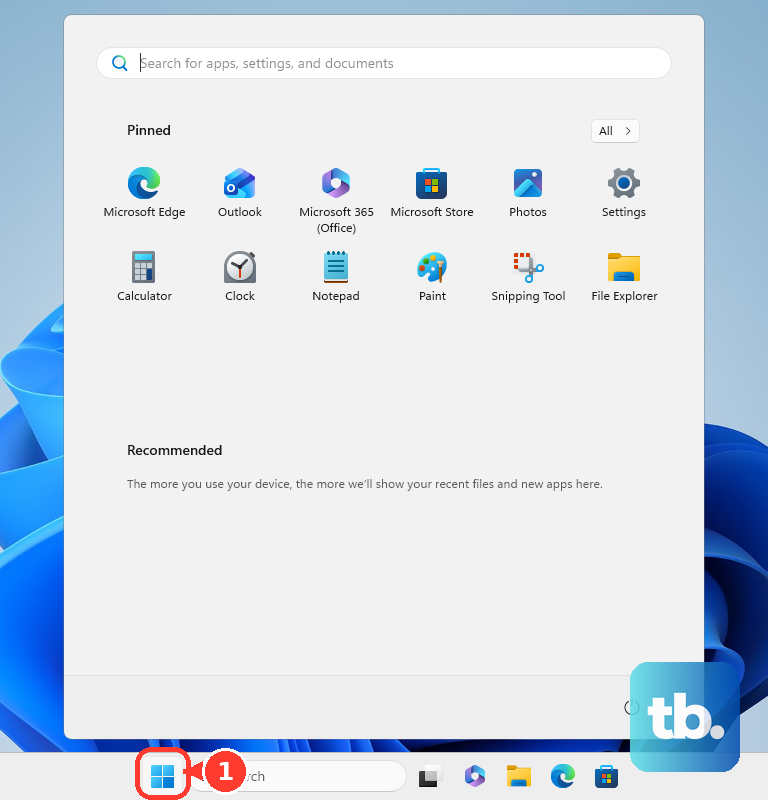
Open Start, then go to Settings, Network & Internet, and Status. Select Change adapter options to open the classic Network Connections window.
Right-click Ethernet and choose Disable. Your wired connection will drop for a moment.
Right-click Ethernet again and choose Enable. Give Windows a few seconds to reconnect.
You can reach the same window with Windows key + R, typing ncpa.cpl, pressing Enter, then disabling and enabling Ethernet.
Run the Windows network troubleshooter
The troubleshooter is the next move because it can repair adapter or configuration issues automatically. Open Start, go to Settings, Network & Internet, and Status, then select Network troubleshooter.
In the Troubleshoot Problems window, follow the on-screen instructions. Let it finish before changing anything else.
If the troubleshooter does not restore the connection, work through the driver fixes and command-line resets below. Save Network reset for last, because Microsoft documents it as the final step to try.
Reinstall the Ethernet adapter driver
Use this when Windows sees the adapter but Ethernet still behaves badly after the normal reset options.
- 1.Before uninstalling anything, download the latest network adapter driver from your PC manufacturer's website for your exact PC model and save it locally or to a USB drive.
- 2.Select Search on the taskbar, type Device Manager, then open Device Manager.
- 3.Expand Network adapters, right-click or press and hold the Ethernet network adapter, then select Uninstall device.
- 4.Select Attempt to remove the driver for this device, then choose Uninstall.
- 5.Open Start, select Power, then choose Restart.
Update or roll back the adapter driver
A driver reset is not always the right fix. If the problem started after a driver change, rolling back is the better move; if the driver is outdated, updating it is the better move.
To update it, right-click Start, open Device Manager, expand Network adapters, right-click the Ethernet adapter, choose Update driver, then select Search automatically for updated driver software. If Windows offers Search for updated drivers on Windows update, use it.
To roll it back, right-click the Ethernet adapter in Device Manager, open Properties, select Driver, choose Roll Back Driver, pick a reason, and select Yes. Restart if Windows asks you to.
If updating or rolling back the driver does not fix Ethernet, reset the network stack from Command Prompt.
Reset TCP IP Winsock DHCP and DNS
Open Start, type cmd, right-click Command Prompt, and choose Run as administrator. These commands need administrator permissions.
Run netsh int ip reset c:\resetlog.txt, then press Enter. You can also use netsh int ip reset resetlog.txt. Restart the computer after running this command to complete the TCP/IP reset.
Run netsh winsock reset, then press Enter. Restart Windows if instructed.
For a DHCP and DNS refresh, run ipconfig /release, then ipconfig /renew, then ipconfig /flushdns. If you target the Ethernet adapter by name and it contains spaces, keep the quotes, as in ipconfig /renew "Ethernet".
Restart Ethernet from PowerShell
Use PowerShell when you want a direct adapter restart by name.
- 1.Open Start, type PowerShell, right-click Windows PowerShell, and choose Run as administrator.
- 2.Run Get-NetAdapter to identify the adapter name.
- 3.Run Restart-NetAdapter -Name "Ethernet", replacing Ethernet with the exact adapter name shown by Get-NetAdapter.
- 4.For a manual disable and enable cycle, run Disable-NetAdapter -Name "Ethernet", confirm if prompted, then run Enable-NetAdapter -Name "Ethernet".
- 5.If recurring disconnects happen around sleep or power saving, run Disable-NetAdapterPowerManagement -Name "Ethernet 1" for the affected adapter name.
Use advanced admin resets
These methods apply when you are comfortable working with device instance IDs or command-line interface names. They are more precise, but they are easier to use incorrectly than Settings or Device Manager.
In an elevated Command Prompt, run netsh interface show interface to find the exact interface name.
Run netsh interface set interface name="Ethernet" admin=DISABLED, then run netsh interface set interface name="Ethernet" admin=ENABLED, replacing Ethernet with the exact interface name shown by netsh interface show interface.
On Windows 10 version 2004 and later, PnPUtil can restart the Ethernet device. Run pnputil /enum-devices /class Net to find the Ethernet adapter instance ID, then run pnputil /restart-device "<instance ID>".
PnPUtil can also disable, enable, remove, and rescan network devices, but use it carefully because disabling the wrong network device can cut connectivity.
Use Network reset as the last step
Network reset is the step Microsoft tells you to try last, after the adapter restart, the troubleshooter, the driver fixes, and the command-line resets. It removes every network adapter you have installed along with their settings, and after the PC restarts Windows reinstalls those adapters with default settings.
Because of that, you may need to reinstall and set up other networking software afterward, such as VPN client software or Hyper-V virtual switches, and Windows may set each of your known networks to the public network profile.
Open Start and select Settings.
Choose Network & Internet.
Select Status.
Choose Network reset.
Select Reset now, then choose Yes.
Wait for the PC to restart, then check whether Ethernet is working.
Skip older reset advice
Some older fixes apply to older Windows tools, not normal Windows 10 consumer troubleshooting. DevCon is still available through the Windows Driver Kit tooling, but Microsoft points new device-management work to PnPUtil instead.
Skip the Windows XP-era Repair option under Network Connections. For Windows 10, use Network troubleshooter, Network reset, Network Connections disable and enable, Device Manager, Command Prompt, PowerShell, or PnPUtil.
If none of these methods brings Ethernet back, use the latest network adapter driver from your PC manufacturer and then repeat the Device Manager reinstall.
Frequently Asked Questions
Does Network reset delete my files?
No. The Windows 10 Network reset path resets networking from Settings and restarts the PC.
Which reset should I try first?
Start by disabling and enabling the Ethernet adapter. Then run the Network troubleshooter. If that does not fix it, move on to the driver and command-line fixes, and use Network reset last.
Do I need administrator permissions?
Yes for several deeper fixes, including Command Prompt netsh commands, PowerShell adapter commands, and rolling back a driver.
Can I reset only Ethernet instead of all networking?
Yes. Use Network Connections, Device Manager, PowerShell Restart-NetAdapter, netsh interface commands, or PnPUtil with the Ethernet adapter name or instance ID.