Want to add an emoji on your Mac, but don't know where the picker is? Your Mac has one built in, ready to open with a keyboard shortcut or an app's menu. Start with the shortcut below, then make your favorite emoji easier to reach.
Open the emoji picker with your keyboard
The picker needs an editable text field that accepts emoji before it can insert your choice.
Click the spot in your message or document where you want the emoji.
Press Control + Command + Space to open Character Viewer, the Mac's built-in emoji and symbol picker.
Click an emoji to insert it. In the expanded viewer, double-click the emoji instead.
Try other quick ways to reach emoji
On a keyboard with an Fn or Globe key, press Fn + E or Globe + E while you're in a text field. That opens the picker too. If you've just typed a word with matching emoji, you'll see suggestions instead.
Prefer the mouse? Choose Edit > Emoji & Symbols in an app that offers that command.
On macOS 27, pressing Fn twice also opens Character Viewer, depending on your keyboard configuration. If your customized double-press shortcut starts Dictation, use Control + Command + Space instead.
Make one Fn or Globe press open emoji
Want the picker a single keypress away? Set this up on a compatible keyboard with an Fn or Globe key.
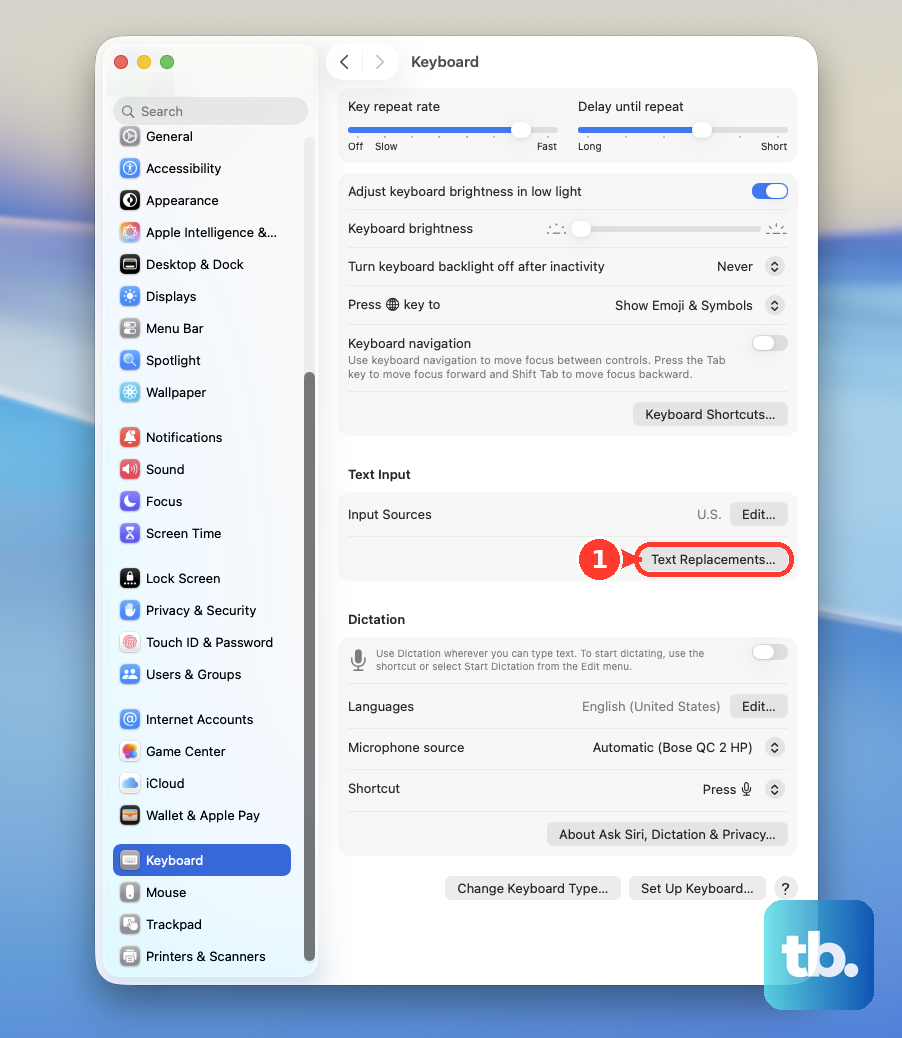
Open Apple menu > System Settings > Keyboard.
Set Press fn key to or Press Globe key to to Show Emoji & Symbols. The Globe appears as an icon in the setting.
Press that key once while you're writing to get emoji suggestions for what you've typed, or to open the picker.
To stop the single key from opening emoji, change the same setting to Do Nothing.
Find the right emoji and choose a skin tone
Search and variations save you from browsing every category for the right emoji.
Press Control + Command + Space in your text field to open Character Viewer.
Enter a search term to find an emoji, or browse the categories.
Click and hold an emoji that supports variations to see its available skin tones or other choices.
Select the variation you want.
For a suggested replacement, type a word such as “heart” in your text field.
Press Fn + E or Globe + E to bring up suggestions based on that text.
Press Return to accept a suggestion, or click the arrow button for additional choices.
Keep your favorites close
Click the upper-right expand button in Character Viewer to open its expanded view.
Select an emoji you use often.
Click Add to Favorites.
Open Favorites when you want to reuse it.
To adjust the viewer, open the Action pop-up menu.
Choose Customize List.
Select the categories you want to display.
Click Done.
Tip: The Action pop-up menu also offers Small, Medium, and Large display sizes, plus Clear Frequently Used Characters to clear the recent-use list.
Turn a short phrase into an emoji automatically
Text replacements work in supporting apps and synchronize across your Mac, iPhone, and iPad when each uses the same Apple Account with iCloud Drive enabled.
- 1.Open Apple menu > System Settings > Keyboard > Text Replacements, then click Add (+).
- 2.Enter your trigger text in Replace, such as “myheart”.
- 3.Enter the emoji in With, using Character Viewer to insert it.
- 4.Click Add, then Done.
- 5.In a supporting app, choose Edit > Substitutions > Text Replacement to enable replacements. A checkmark means they're on.
- 6.For text you've already written, open Edit > Substitutions > Show Substitutions. Select Text Replacement, then click Replace in Selection or Replace All.
Use the emoji buttons in Messages and Mail
Messages and Mail have their own emoji buttons. Use these when you're composing a message and prefer clicking to remembering a shortcut.
In a Messages conversation, click the Emoji button beside the message field.
Select an emoji.
Press Return when you're ready to send the message.
To react to an existing message instead, Control-click or click and hold that message.
Choose a suggested Tapback, or click the Emoji button to choose another emoji.
In a Mail message-composition window, click the Emoji and Symbols toolbar button.
Select the emoji you want to add to your email.
Check where you're typing and update missing emoji
If the picker opens but an emoji won't insert, check that the destination is an editable text field that accepts emoji. For a copy-and-paste alternative, select an existing emoji character in a message or document and press Command + C. Click the destination field and press Command + V.
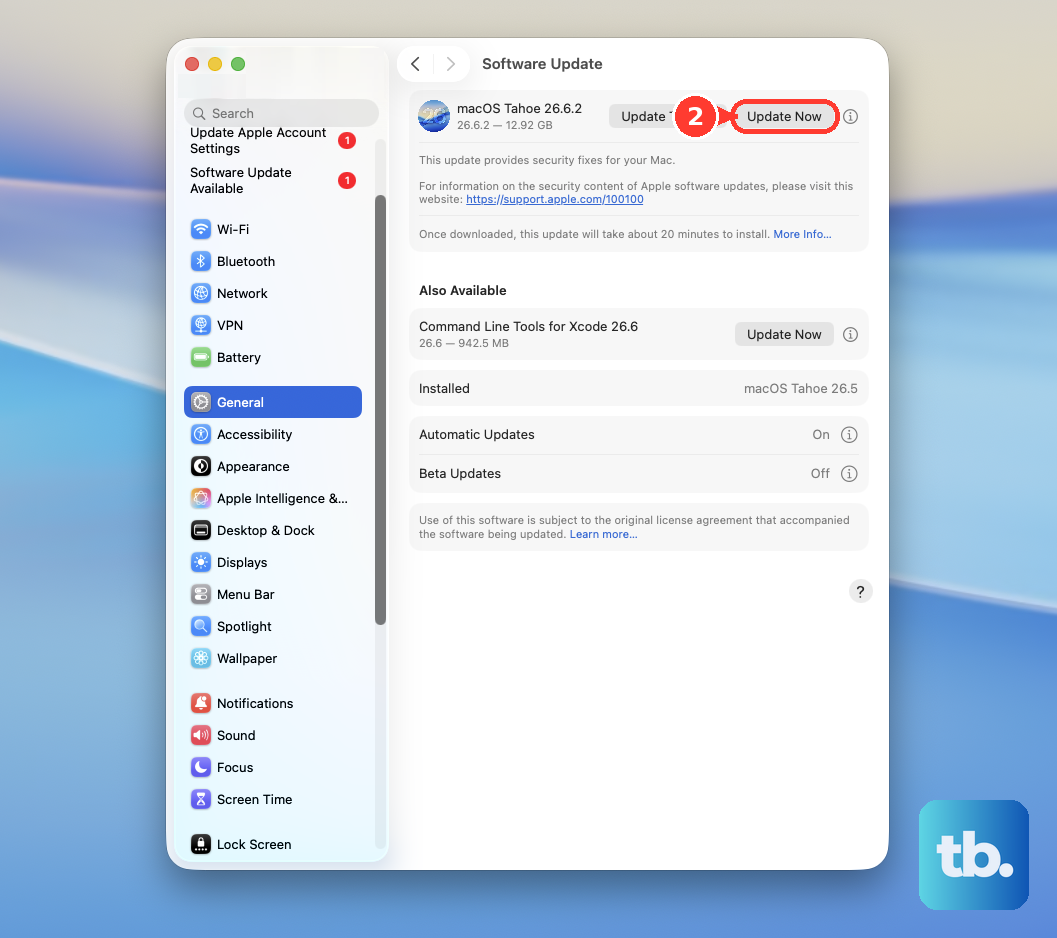
For newer system emoji, open Apple menu > System Settings > General > Software Update. Install the update or upgrade offered for your Mac. Updating an app alone does not update the system's emoji font.
Built-in emoji don't require a separate emoji keyboard, an Apple Account, or Apple Intelligence. Genmoji have separate Apple Intelligence requirements, so their availability doesn't determine whether you can use ordinary emoji.
To remove an emoji from editable text, select it and press Delete. To undo an insertion immediately afterward, press Command + Z; undo behavior depends on the app.
Frequently Asked Questions
Can I open emoji from the Mac menu bar?
Yes. Open System Settings > Keyboard > Text Input > Edit. Enable Show Input menu in menu bar. Open the Input menu and choose Show Emoji & Symbols. This also opens the viewer from the desktop.
Does typing an emoji name between colons work everywhere on a Mac?
Colon-based emoji entry depends on the app. Slack supports colon-delimited emoji codes. Google Docs offers colon-based suggestions: type a colon followed by a search term, such as “:cat”, then press Enter. Control that feature through Tools > Preferences > Insert emojis using the colon character.
Can I copy an emoji from my iPhone and paste it on my Mac?
Yes, with Universal Clipboard-compatible devices. Keep them nearby and signed in to the same Apple Account. Enable Handoff, Wi-Fi, and Bluetooth on both devices. Copy the emoji on your iPhone, then press Command + V in your Mac's text field.
Are emoji, Memoji, and Genmoji the same thing?
Ordinary emoji are Unicode characters you insert into text. Memoji are personalized stickers. Genmoji are created with Apple Intelligence and require a compatible Mac, a supported language and region, and an app that accepts them.