Having the Android SDK or ADB installed on a Windows computer is required for several purposes such as unlocking the boot loader in the android device, installing or updating the custom ROM, developing new apps by the developer, rooting and for improving the performance of the android device, etc. So, there are countless reasons why people want to install Android SDK or ADB in their system. This kit can be installed on all platforms; however, here we are describing the Android SDK/ ADB download process only on Windows. The process is same for every version of Windows.
Here are some basic requirements for android SDK/ ADB download on Windows, have a look at the requirements and install them on the computer before going ahead with the Android ADB installation process.
- The system should have JDK (Java development kit) installed in it for android SDK download. Details on what all things to be downloaded in the computer in order to install android SDK/ADB is available at this link.
- If, the purpose of this android SDK/ADB install is the development of new apps, Eclipse IDE and some android ADT plug-ins are vital to download in the system. ADT plug-ins are available here. Once the Eclipse installation process is completed, run it, after which you are required to follow the path Window > Android SDK > AVD Manager for staying updated in all platforms. However, if the purpose of Android ADB installation is not development, the step of installing Eclipse IDE can be skipped.
Now, the Android SDK/ ADB installation process on windows is explained with the step by step process.
If you want to know the installation process of android 5.0 lollipops on LG G3, click here.
Android SDK/ADB installation process on windows
Image source – www.teamandroid.com
- The users are first required to download the android SDK/ADB package on the desktop, and the file should be extracted in the root of the C drive. The path will look like C:\ android-sdk-windows.
- Once extracted, go to the C drive to open the android SDK manager. You might get several options there. Click on the option ‘Android SDK Platform-tools, revision 6’ to start the Android SDK/ ADB install procedure. Furthermore, some other options along with this can be chosen.
- Next, follow the path ‘Available Packages > Third party Add-ons > Google Inc. add-ons and install ‘Google USB Driver package, revision 4?’ in the system. The android SDK manager can be closed now.
- Once the installation process is done, go to the system properties in your computer by going to start and control panel. From system properties, follow the path ‘Advance System settings > Environmental Variables’.
- The next step is to set the variables for which the option ‘Path’ should be found. Just scroll down and the ‘Path’ option will be visible. Click on the same.
- You need to type or copy paste ‘;C:\android-sdk-windows\platform-tools;C:\android-sdk-windows\tools’ in the value field. Click ‘OK’ to complete the process.
- Now, the USB debugging option should be enabled in the android device by going to Settings > Application > Development. Once done, connect the android device with the computer using a USB cable and install the required drivers in the handset.
- The command prompt in the computer should be opened by going to Start > Run > cmd and write ‘ADB devices’ in the new opened window. You will find the android device in the result list, which says you are done with the android ADB installation process on Windows.
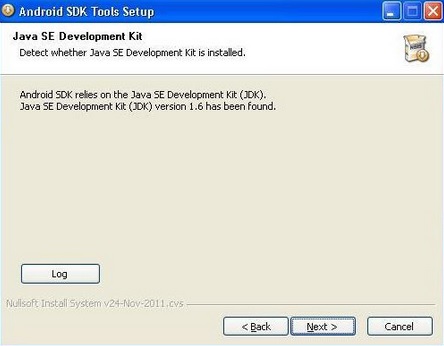
Image source – neuroph.sourceforge.net
Read also- How to unlock bootloader on Nexus device
But, in case the result is not appropriate, it means something went wrong in the installation process. To resolve the problem you can follow the below given tricks.
- Go to the Device Manager again from My Computer. Right click on the ADB and follow the path ‘Update Driver Software > Browse > Let me pick.
- Now click on ‘Have disk’ followed by ‘Browse’.
- The path ‘C:\android-sdk-windows\extras\Google\usb_driver should be followed and select android_winusb.inf’. Next, click on the option Android ADB interface. If any warning is displayed on the screen, just ignore that. The installation process is done.
- Again, the Command prompt is to be re-opened by heading to Start > Run > cmd and type ‘ADB devices’, the same way as before. Your device must be displayed in the given list this time.
So, whatever is the requirement, either rooting the device, improving the performance or developing new apps, everything could be done by installing the Android SDK/ADB on windows easily by following the above steps.
Also Read


Recent
Ottocast Car TV Mate Max Review – A Versatile In-Car Entertainment Adapter
iPhone Battery Dying In Minutes? 23 Real Fixes That Work
Ottocast Play2Video Pro Ups the Game in Affordable Car Entertainment
Ottocast OttoAibox P3 Powers a Smarter Driving Experience
How to Disable WebRTC in Your Browser Settings
Guides

Lenovo Debuts Solar-Charging Laptop That Turns 20 Minutes of Sunlight Into Hour of Video

Why Do Smartphones Get Slower Over Time?

Decoding Tech Jargon: The A to Z Cheat Sheet (Free Downloadable PDF)

How to Clear an App's Cache on Your Samsung Device

Why Are My iPhone Messages Green Instead of Blue?

Everything Google Knows About You (And How to Stop It)
