Formatting a hard drive creates a fresh filesystem, but it also destroys access to the files already on it. The steps below cover external and secondary drives on Windows, Mac, and Ubuntu, plus the separate options for erasing your computer. Back up anything you want to keep before starting. Check the physical disk and partition carefully before confirming any format.
Format an external drive in Windows 11
File Explorer handles formatting for an accessible external hard-drive volume. Open File Explorer.
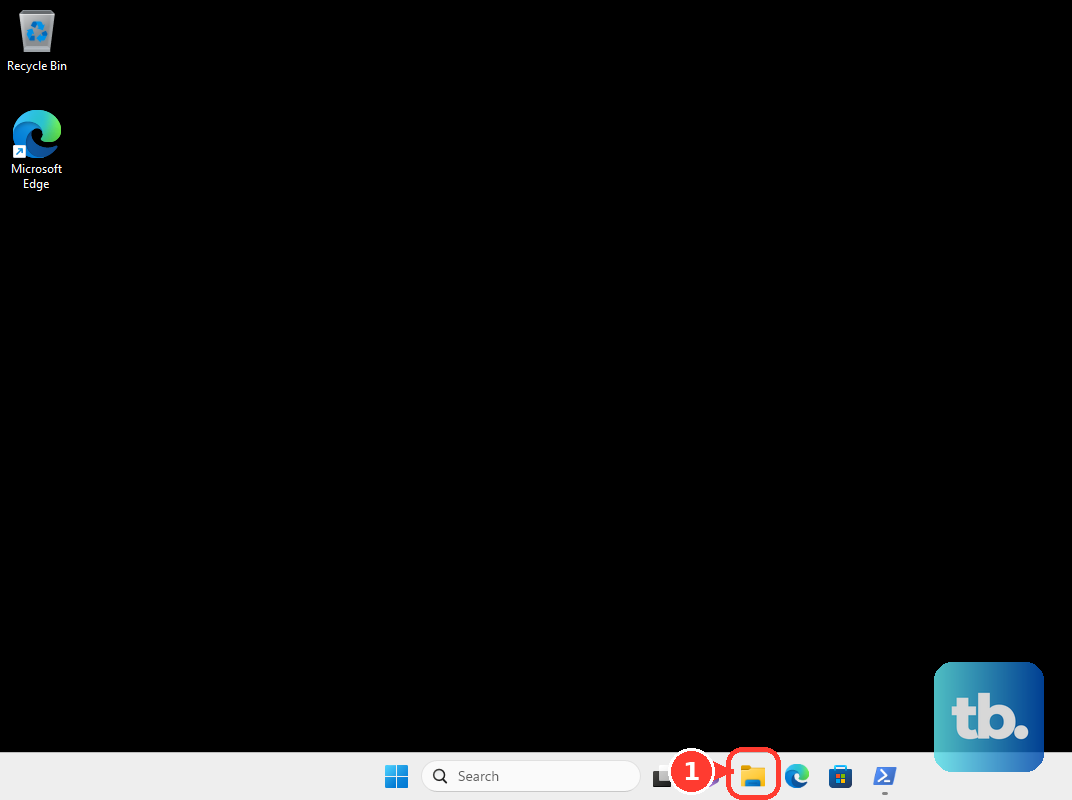
Select This PC. Identify the volume you intend to format, checking it against the drive whose files you backed up. Right-click that drive and select Format.
Choose the filesystem from File system. Leave Allocation unit size at its default unless your intended use specifically requires another size. Enter a name in Volume label.
Select Quick format for a quick format, or clear it for a full format. The next section explains the data-recovery limitation. Click Start.
Confirm with OK. This method cannot format the volume Windows is currently running from.
Choose between a quick and full format
The Quick format checkbox controls which operation Windows performs. Leave it selected for a quick format, or clear it for a full format.
A quick format leaves recoverable data behind. It is not secure sanitization, so it does not provide sufficient protection when handing a drive containing personal files to someone else.
If File Explorer cannot complete the format, try the existing-volume procedure in Disk Management below. You need administrator access, and the target partition cannot be in use.
Erase a hard drive on a Mac
Use Disk Utility to erase and reformat an entire external or other non-startup storage device.
- 1.Open Disk Utility from Applications > Utilities.
- 2.Choose View > Show All Devices.
- 3.Select the physical drive at the top of its hierarchy. Check the target carefully: this procedure erases the entire selected device.
- 4.Click Erase. Enter a name, choose the filesystem under Format, and set Scheme to GUID Partition Map where appropriate for the device.
- 5.Click Erase to confirm, then click Done when the operation finishes.
Create a usable volume on a new Windows disk
A new disk with only unallocated space has no usable filesystem yet. Right-click Start and select Disk Management. Identify the new disk before making changes.
If the disk is uninitialized, right-click it and choose Initialize Disk. Some USB disks can’t be initialized; they only need formatting and a drive letter.
In the Initialize Disk dialog, select GPT or MBR according to the disk’s intended use, then select OK. Initialization alone does not create a usable filesystem.
Right-click the disk’s unallocated space and choose New Simple Volume. Set the volume size in the wizard. Assign a drive letter.
Choose the filesystem. Select Finish to create the formatted volume.
Use Disk Management for an existing Windows volume
Disk Management formats an existing secondary or external volume with administrator access. Right-click Start and select Disk Management. Identify the exact volume you want to format, checking both the partition and the physical disk. Separate partitions on the same disk are separate targets.
Right-click the target volume and choose Format. Choose the filesystem under File system. Set the formatting options in the Format dialog.
Click OK to accept those settings. Click OK again to confirm. Disk Management cannot format a partition currently in use, including the running Windows partition.
Prepare a removable drive in Ubuntu
Open Disks from Activities. Select the target disk. Open the menu beneath Volumes. Choose Format Partition….
Choose the filesystem using Type. Enter a name for the volume. Click Next.
Check that you selected the intended partition on the intended disk. Confirm with Format. Keep your backup until you have finished preparing the drive.
Reset the computer or erase its startup disk
The drive running your operating system needs a separate workflow. Windows cannot format its running system volume, and erasing a Mac startup disk requires macOS Recovery or another startup disk.
For a Windows 11 computer you are preparing for another owner, open Settings > System > Recovery > Reset PC > Remove everything. Choose Cloud download or Local reinstall, enable Clean data, and complete the reset prompts. This reinstalls Windows and does not offer arbitrary filesystem selection.
On a Mac with Apple silicon or a T2 chip running macOS Ventura 13 or later, open Apple menu > System Settings > General > Transfer or Reset > Erase All Content and Settings. Authenticate and complete the assistant, including its final erasure confirmation. This removes your content while retaining the installed operating system.
For startup-disk formatting, follow Microsoft’s clean-installation procedure, which uses Windows installation media to create and format the installation partitions. On a Mac, use Disk Utility in macOS Recovery, following Apple’s instructions for Apple silicon or Intel. Reinstall macOS afterward to make the Mac bootable again.
Frequently Asked Questions
Can I open Disk Management without the Start menu?
Yes. Press Windows+R, enter diskmgmt.msc, and press Enter. This opens the same Disk Management tool.
Do I have to delete a partition before formatting it?
No. Formatting an existing available volume does not require deleting its partition first. Delete Volume removes the selected partition; creating and formatting a replacement is a separate operation.
Why doesn’t my Mac show Security Options when erasing a drive?
Apple provides Security Options only for some hard drives and storage connections. The overwrite option is unavailable for SSDs, and availability on other devices depends on the drive and connection.
Can I format an external hard drive with an iPad?
Yes, on a USB-C iPad. Connect the drive. Open Files and reveal its sidebar. Touch and hold the drive under Locations, then select Erase. Choose APFS, ExFAT, or MS-DOS (FAT). Tap Erase again. This formats the external drive; the iPad’s internal storage is unaffected.