The “Windows cannot access” message leaves your shared folder or mapped drive out of reach. Start with the host connection and folder address, then tackle rejected passwords, missing devices, or access denied errors. These steps focus on Windows 11, with a Windows 10 discovery option where applicable.
Check the host and open the share directly
Power on the computer or network-attached storage device (NAS) hosting your files.
For a local share, connect the host and your Windows PC to the same local network.
Enter \\server\share in the File Explorer address bar. Replace server with the computer or NAS name and share with the shared-folder name.
If the folder opens, your files are accessible. Use the mapping steps below to give that folder a drive letter.
If it still fails, reconnect with the correct account and password next. If your network connection is also failing elsewhere, jump to the connection repairs below.
Replace a saved password Windows keeps rejecting
A saved password that no longer matches the host account blocks access to the share.
Search Windows for Credential Manager.
Open Windows Credentials.
Delete the saved entry for the affected computer or NAS. Leave entries for other devices alone.
Reconnect to \\server\share in File Explorer using a valid account and password belonging to that host.
If you do not have an account, ask the device owner to create one with access to the folder.
For guest-access errors, use an authenticated account. Turning off password-protected sharing does not override modern Windows restrictions on guest connections, signing, or encryption.
Map the correct shared folder
Once the direct folder path works, give it a drive letter in Windows 11.
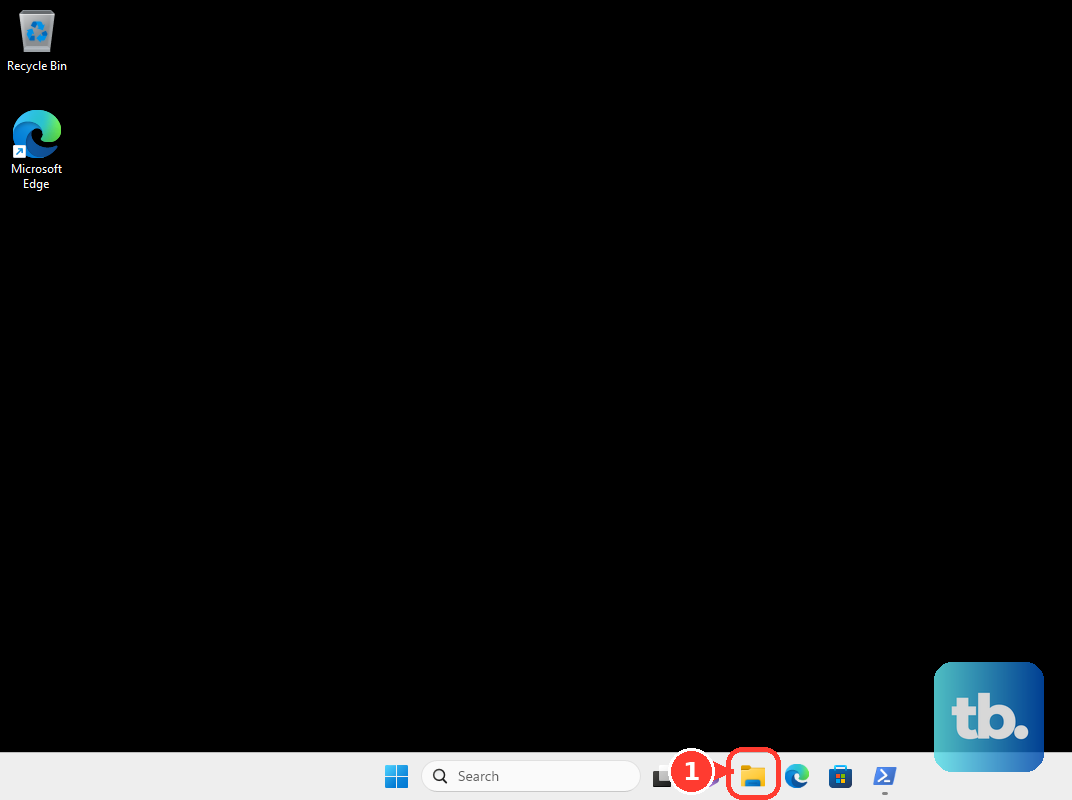
- 1.Press Windows+E to open File Explorer, then select This PC.
- 2.Open More and select Map network drive. Alternatively, right-click This PC and select Map network drive.
- 3.Choose a letter under Drive.
- 4.Enter the full
\\server\sharepath in Folder, using the actual host and shared-folder names. - 5.Select Reconnect at sign-in to restore the mapping when you sign in, then select Finish.
Restore devices missing from Network
A missing device in Network is a discovery problem to investigate, especially when its direct folder path still opens.
On a trusted home network in Windows 11, open Settings > Network & internet > Wi-Fi > your connected network. For a wired connection, open Ethernet instead.
Under Network profile type, select Private network.
Search within Settings for Manage advanced sharing settings.
Under Private networks, enable Network discovery.
Enable File and printer sharing in the same section.
Windows 10 also has a File Explorer route that works in Windows 11. Open File Explorer > Network.
Select the Network discovery is turned off banner.
Select Turn on network discovery and file sharing.
If discovery still fails, press Windows+R and run services.msc.
Open Properties for Function Discovery Provider Host.
Select Start if the service is stopped.
Set Startup type to Automatic. Microsoft’s Windows file-sharing help lists Automatic for this service, while its SMB1 compatibility article lists Automatic (Delayed Start) for both Function Discovery services. Either setting starts the service on its own after Windows loads.
Repeat that setup for Function Discovery Resource Publication.
If the device remains missing, open Properties for SSDP Discovery.
Select Start if it is stopped.
Set Startup type to Automatic.
Repeat that setup for UPnP Device Host.
If discovery still fails, use the direct share path to open your files. If that path also fails, check the host permissions next.
Give your account access on the host
This fixes access denied errors caused by Windows folder permissions or blocked sharing traffic.
On the Windows 11 host, right-click the shared folder and open Show more options > Give access to > Specific people.
Select the intended user.
Open the folder’s Properties > Sharing > Advanced Sharing > Permissions.
Give that account the share access it needs.
Open Properties > Security.
Check that the same account has the required filesystem access. Both sets of permissions must allow access.
Ask the host administrator to investigate any explicit denials.
Review the host’s sharing exceptions under Windows Security > Firewall & network protection > Allow an app through firewall.
Open the host’s active profile under Firewall & network protection.
Check whether Blocks all incoming connections, including those in the list of allowed apps is overriding the sharing exceptions.
Clear that block if it is preventing the intended sharing connection. Have the administrator make the change if the setting is managed.
Adjust NAS settings after a Windows upgrade
If a NAS share stopped opening after a Windows upgrade, check its account access and SMB settings. SMB is the protocol Windows uses for these shared folders.
On Synology DSM 7 or later, open Control Panel > File Services > SMB > SMB.
Select Enable SMB service.
Open Advanced Settings.
Set Maximum SMB protocol to SMB3.
Set Minimum SMB protocol to SMB2.
Starting with Windows 11 24H2, Windows requires SMB signing by default. Microsoft’s SMB signing reference says this applies to Pro, Enterprise, and Education but not Home, while its Windows 11 version 24H2 release notes list Home as well. Either way, a NAS that supports signing works with every edition. For Synology DSM 7.2 or later with a client that requires signing, set Server signing status in the SMB Advanced Settings to Client defined or Force.
Check Control Panel > Application Privileges to ensure your account can use SMB.
Skip the old advice to reinstall SMB1. Microsoft discourages it; use a host that supports SMB2 or SMB3 and authenticated accounts.
If access still fails on Synology, check Control Panel > Shared Folder to confirm the share exists and any encrypted share is mounted. For an older NAS or router share limited to SMB1 or guest access, ask its manufacturer for compatible firmware. Upgrade or replace it if it cannot provide supported secure access.
Repair a connection that also fails elsewhere
Use these Windows 11 repairs when the network connection itself is failing, with network reset last.
- 1.For Wi-Fi, open the taskbar Network/Sound/Battery controls, enable Wi-Fi, and reconnect. Open Settings > Network & Internet > Airplane mode and turn it off.
- 2.For Ethernet, reseat the cable at both ends and use a router LAN port. Try another cable, or test Wi-Fi to isolate a wired connection problem.
- 3.Disconnect your home router’s power for at least 30 seconds, then reconnect it and wait for startup. This interrupts other users. If restarting a separate modem too, power up the modem before the router.
- 4.Open Start > Settings > Windows Update > Check for updates. Install available updates, then select Start > Power > Restart.
- 5.If connectivity remains broken, open Settings > Network & internet > Advanced network settings > Network reset > Reset now > Yes. After the restart, reconfigure VPN software and restore the private network profile if needed.
Connect to a work drive through the required VPN
Use this route when your remote work share requires an organization VPN. On a managed PC, IT also controls account access and SMB security requirements.
Obtain the correct VPN profile from the network owner.
In Windows 11, open Settings > Network & internet > VPN.
Select the required connection.
Select Connect.
Enter the server path supplied by IT in the File Explorer address bar. Use the DNS name when Kerberos is required; connecting by IP address fails when authentication depends on blocked NTLM.
If access still fails, ask IT to check your account permissions, DNS and service principal names, and the server’s support for required SMB security settings.
Frequently Asked Questions
Can HomeGroup restore access to my shared folders?
No. Microsoft removed HomeGroup starting with Windows 10 version 1803. It is unavailable in current Windows 10 and Windows 11; use ordinary shared folders and drive mapping.
How do I add credentials for an older QNAP NAS?
For QTS 4.3.3 or 4.3.4 accessed from Windows 11 24H2, QNAP documents this workaround. Open Credential Manager > Windows Credentials > Add a Windows credential. Enter the NAS hostname or IP address, NAS username, and password. Save the credential, then reconnect in File Explorer.
Should I disable SMB signing to connect to an old NAS?
Microsoft discourages disabling SMB signing because it removes protection. Ask the NAS manufacturer for firmware that supports signed connections instead of weakening the Windows client’s requirements.
Should I reinstall Windows for a network drive error?
An operating system reinstall is not a first-line repair for network shares. For automated connection diagnostics, open Microsoft’s Wi-Fi troubleshooting page and select Run the troubleshooter in Get Help.