Your Windows 11 Wi-Fi can disappear in two ways: the Wi-Fi button is gone, or your network name is missing from the list. Start with the fast controls first, then move into adapter, driver, router, and reset fixes only if the option still will not return.
Most people do not need a complicated repair. These steps use the current Windows 11 paths for bringing back the Wi-Fi option and nearby networks.
Check the Wi-Fi and airplane mode controls first
Select the Network, Sound, or Battery icons on the right side of the taskbar, then make sure Wi-Fi is turned on. If the Wi-Fi quick setting is visible but off, turning it on can restore the network list immediately.
In the same panel, select Airplane mode and turn it off. Airplane mode turns off wireless communications by default, but Windows remembers whether Wi-Fi or Bluetooth was on the last time you used it, so Wi-Fi can stay on while Airplane mode is on. Either way, check the Wi-Fi toggle separately.
You can also open Start > Settings > Network & internet > Wi-Fi and turn Wi-Fi on from there. Then open Settings > Network & internet > Airplane mode and make sure Airplane mode is off.
On a laptop or tablet, check the keyboard and outer edge of the device for a wireless key or physical Wi-Fi switch. If your device has one, turn it on and look for the wireless indicator light.
Refresh the network list
When the Wi-Fi option is present but your home network is missing, refresh the available networks list before changing deeper settings.
Select the Network, Sound, or Battery icons on the taskbar. On the Wi-Fi quick setting, select Manage Wi-Fi connections, then select Refresh network list in the lower right.
If your network appears, choose it, select Connect, enter the password, and select Next. If this method fails, restart your modem and router next because the network may not be broadcasting.
Restart the router and check the network name
The most common cause when only one expected network is missing is that the router is unavailable or not broadcasting its network name.
Unplug the router power, then unplug the modem power. If the modem lights stay on, remove its backup battery.
Wait at least 30 seconds. Reconnect the modem first and wait for its lights to stop blinking, then reconnect the router and give it a few minutes to start.
Open the Wi-Fi list again and look for your network. If it still does not appear, check the router or router app and make sure the Wi-Fi router is set to broadcast the network name, also called the SSID.
If your router shows separate 2.4 GHz, 5 GHz, or 6 GHz network names, try the other network name for the same router. A PC can only connect to a band its Wi-Fi adapter supports.
Run Windows network troubleshooting
Open Get Help. Select the Search bar and enter connect to network and internet. Then select Run network diagnostics and complete the troubleshooting steps that Windows shows.
For the Settings route, open Start > Settings > System > Troubleshoot > Other troubleshooters, then find Network and Internet and select Run. That opens the same Get Help network diagnostics, because Microsoft redirected the legacy Network Adapter troubleshooter to Get Help.
Let Windows finish before starting another fix, because the troubleshooter can turn the adapter or service back on for you.
Turn the Wi-Fi adapter back on
If Windows 11 shows no Wi-Fi option at all, the Wi-Fi adapter may be disabled.
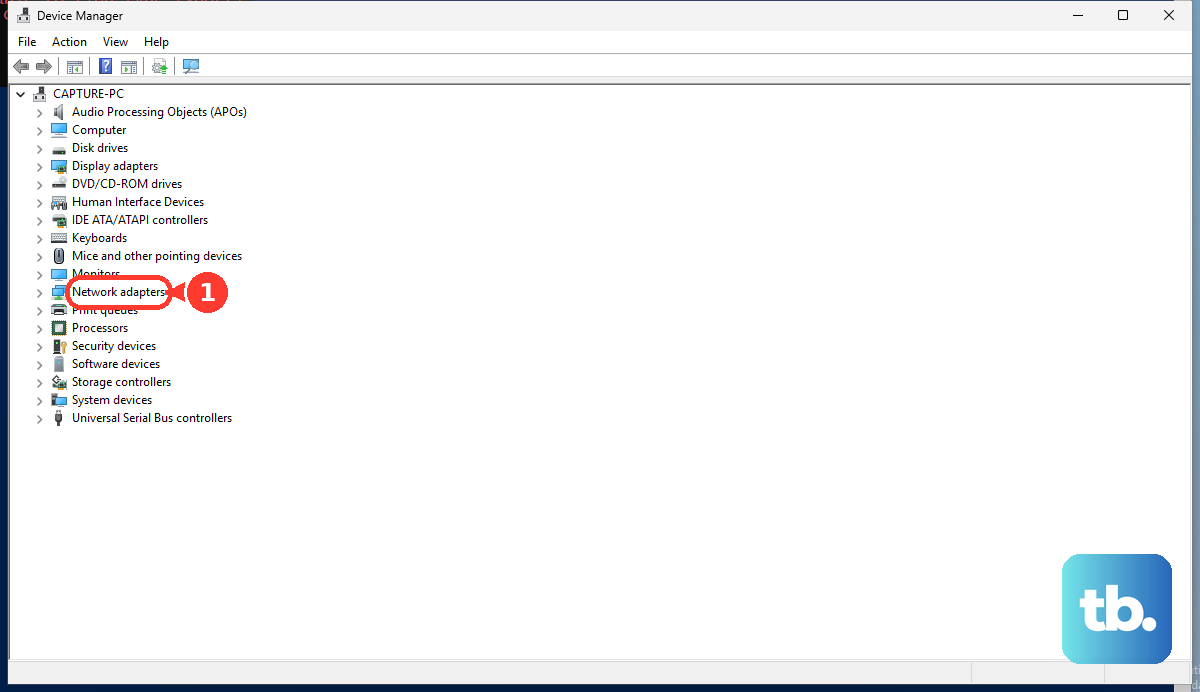
Open Device Manager and expand Network adapters. Right-click your Wi-Fi adapter and select Enable device.
If the adapter is already enabled, restart the WLAN service instead. Press Win + R, type services.msc, press Enter, find WLAN AutoConfig, right-click it, and select Restart.
If this method fails, move to driver repair because a missing or damaged Wi-Fi driver can keep Windows from showing the Wi-Fi option.
Update or reinstall the Wi-Fi driver
Use driver repair when the adapter appears in Device Manager but Wi-Fi still does not return.
- 1.Right-click Start, select Device Manager, expand Network adapters, right-click the Wi-Fi adapter, select Update driver, then select Search automatically for updated driver software.
- 2.Open Start > Settings > Windows Update > Advanced options > Optional updates, select any listed driver updates, then select Download and install.
- 3.If Wi-Fi disappeared after a driver update, right-click the adapter in Device Manager, select Properties > Driver > Roll Back Driver, choose a reason, select Yes, and restart if prompted.
- 4.To reinstall the adapter, expand Network adapters in Device Manager, right-click the network adapter, select Uninstall device, check Attempt to remove the driver for this device, select Uninstall, then restart from Start > Power > Restart.
- 5.For a manual driver, download the Wi-Fi driver from your PC maker or adapter maker, then use Device Manager > Network adapters > Update driver > Browse my computer for drivers > Browse... to select the driver folder.
Use your PC maker's driver tool
The most common cause after Windows update paths fail is that Windows does not have the exact Wi-Fi driver for your PC model.
For Dell PCs, open SupportAssist from Start, go to Home, select Update software, then use Start, View updates, and Install. You can also use Dell Drivers & Downloads with your Service Tag or exact model.
For HP PCs, open HP Support Assistant, select your computer, open Updates, and install available driver and software updates. HP Software and Drivers can also provide the wireless or network driver for the exact device.
For Lenovo PCs, open Lenovo Vantage or Lenovo System Update, check for system updates, and install available drivers, BIOS, and Lenovo application updates. Lenovo Support can also provide the exact wireless LAN or Wi-Fi driver for your model.
For Intel wireless adapters, use Intel's Wi-Fi driver page or Intel Driver & Support Assistant, then install the package that matches your adapter and Windows version.
Reset Windows networking as a last resort
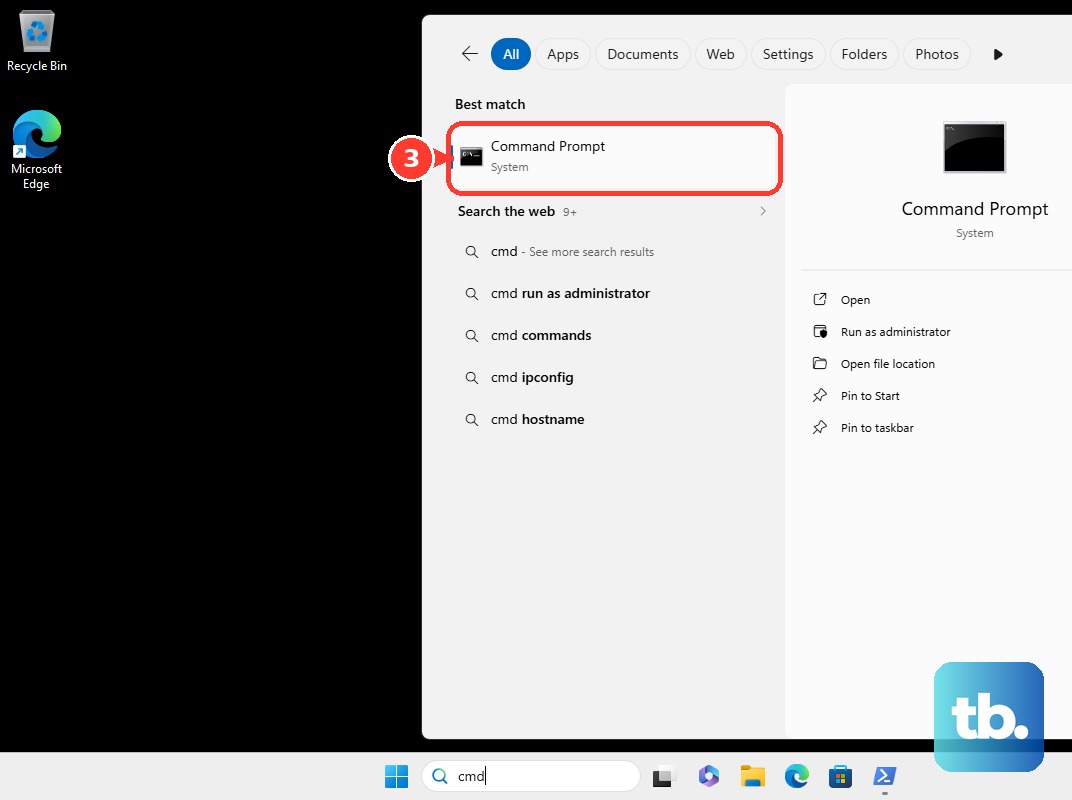
This fixes broken network settings after the simpler Wi-Fi, router, adapter, service, and driver steps have not restored the option. Open Start and enter settings.
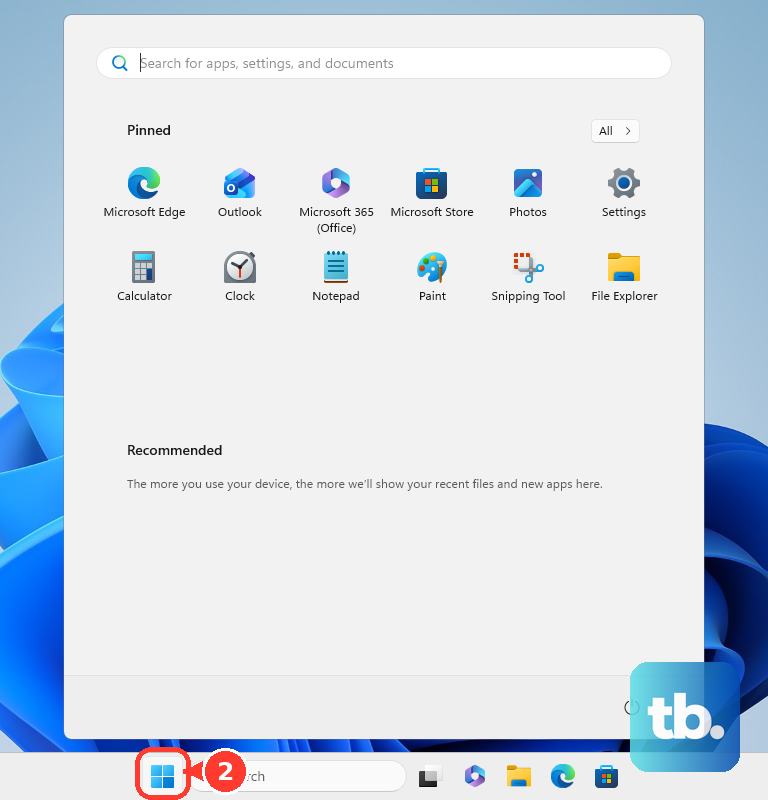
Select Settings, then go to Network & internet. Next, select Advanced network settings and Network reset.
Select Reset now, then select Yes. Wait for the PC to restart, because Windows removes and reinstalls network adapters and resets network settings during this process.
Handle managed PCs with hidden network controls
On a managed Windows 11 PC, the Wi-Fi hardware may be fine even when the taskbar network surface or Quick Settings is missing. Company or school policy can hide parts of the taskbar network interface or block device installation changes.
Use the normal consumer fixes above first if you are allowed to manage the device. If Quick Settings, the networking icon, or driver installation is controlled by your organization, contact your IT administrator and ask them to check the device policy for network controls and Wi-Fi adapter installation.
Older Windows 10 Wi-Fi Sense and paid Wi-Fi service policy tweaks are not current Windows 11 consumer fixes for a missing Wi-Fi option. Use Windows 11 network controls, driver repair, and Network reset instead.
Frequently Asked Questions
Why is the Wi-Fi option not showing in Windows 11?
The Wi-Fi control can disappear when Wi-Fi is turned off, Airplane mode is enabled, the adapter is disabled, WLAN AutoConfig needs a restart, or the Wi-Fi driver is missing or damaged.
What should I do if Wi-Fi is visible but my network name is missing?
Refresh the network list first, then restart the modem and router. If only your network is missing, make sure the router broadcasts its SSID and try another available band from the same router.
Will Network reset delete my Wi-Fi settings?
Network reset removes and reinstalls network adapters and resets network settings. Use it after the Wi-Fi toggle, router, adapter, service, and driver fixes do not restore the connection.
Can I fix Windows 11 Wi-Fi not showing during setup?
During Windows 11 setup, use another device to download the needed Wi-Fi adapter driver from the manufacturer. Copy the unzipped driver with the .inf file to the root of a USB drive, plug it into the setup device, and press Shift + F10 to open Command Prompt from setup. Then type diskpart and list volume to find the USB drive letter and exit, run pnputil /add-driver D:\*.inf with your own drive letter to install the driver, and run pnputil /scan-devices if the adapter still does not appear.