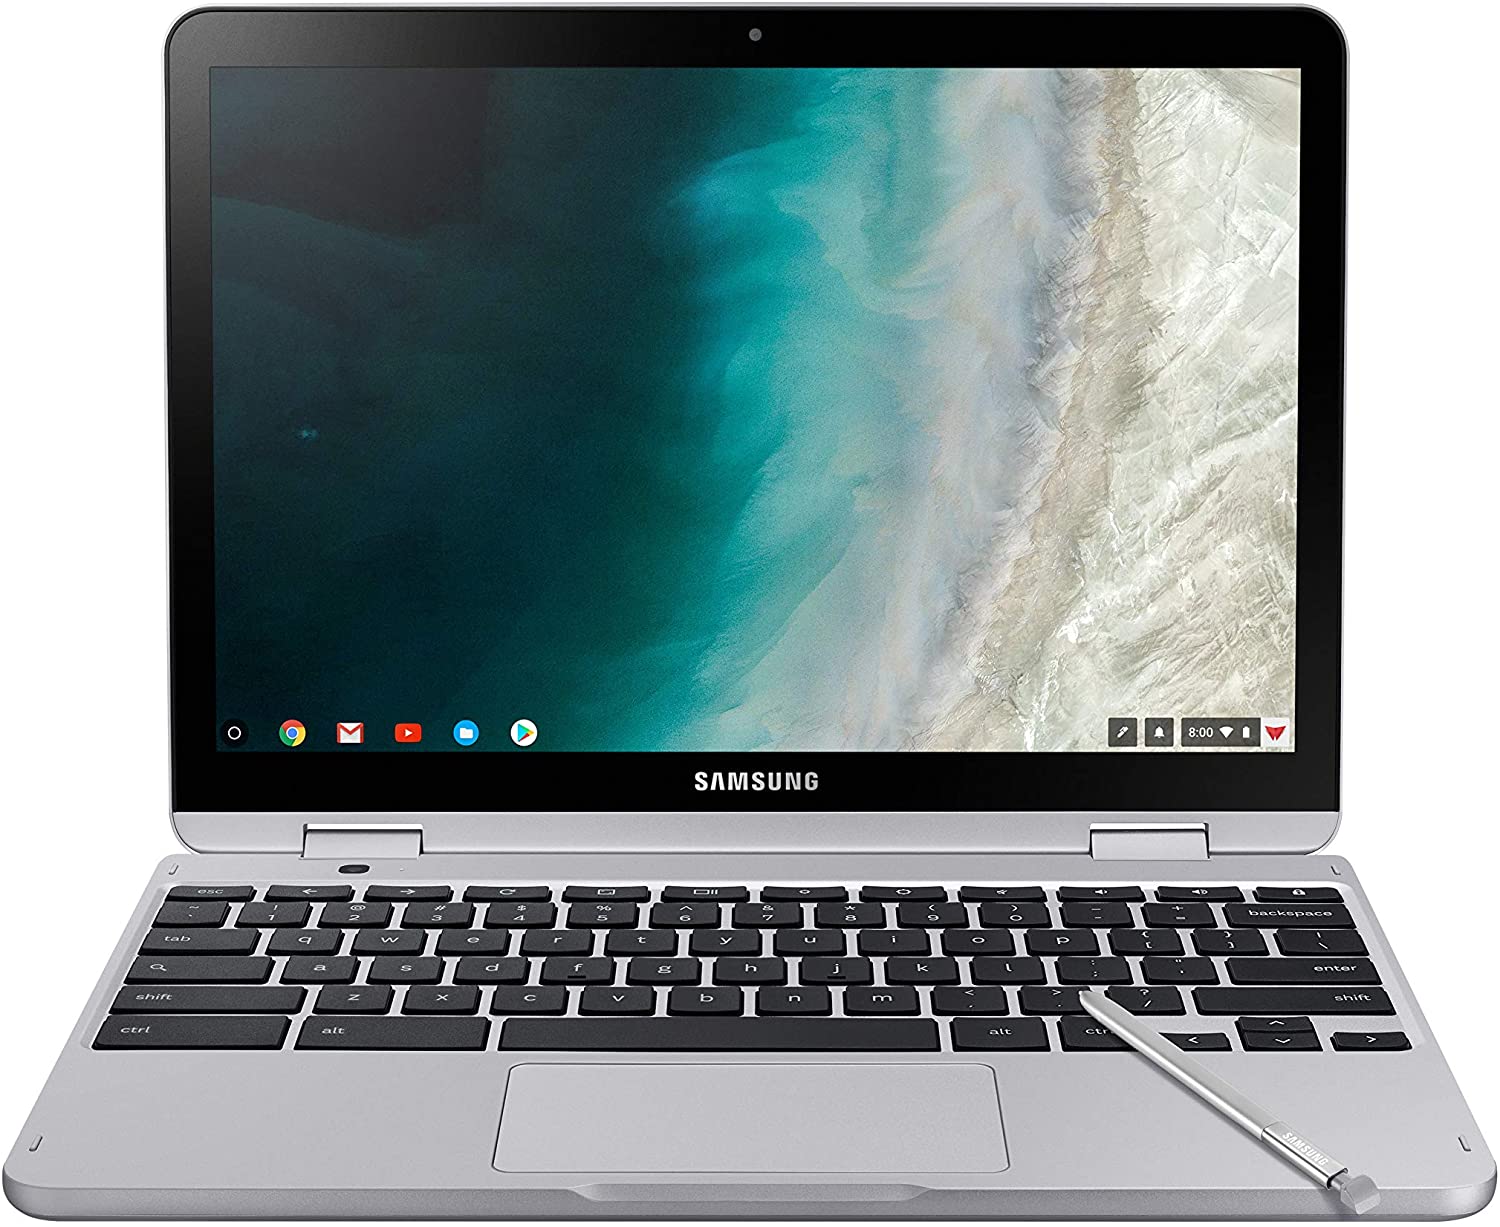
You may face a “DHCP lookup failed” error on your Chromebook that usually pops up when you try to connect to a new network. However, the issue may appear on the network you have been using for a while. There are many reasons why this error may show up, including corrupted firmware, OS that is not up to date, and more. Let’s see how we can fix this.
Before we list the solutions, here are several things for you to do immediately. See if other devices can connect to the network, and try to connect to another. This will help you determine if there is any hardware issue with your Chromebook. If you are using a VPN client, disable it.
Restart your modem and your Chromebook
When it comes to Chromebooks, desktops, phones, etc., a restart is recommended whenever something isn’t working as it should. It can solve a variety of minor bugs and glitches, so that’s the first thing you should do. Turn your Chromebook off. Then unplug your modem/router from the power source. Wait a minute or two and plug it back in. Again, wait a bit until the lights are completely stabilized. Once that happens, turn your Chromebook on and try to connect to the network.
Forget the network, then connect again.
The next thing to try is forgetting the network, then connecting to it again. Here is what you need to do:
- Click on the Wi-Fi icon in the bottom-right and then click on the network
- Now click on the gear icon to open the Settings
- Click on Wi-Fi
- Choose Disconnect from the network
- Click on the arrow icon on the right side of the network and click Forget
- Restart your Chromebook
- Try connecting to the network.
Sleep Settings
Changing Sleep Settings could fix the problem.
- Open Settings > Device > Power
- Click on the drop-down menu right next to “When Idle.”
- Choose Turn off Display but Stay Awake
- Click on the drop-down menu next to “When Lid is Closed.”
- Choose the option Stay Awake
- Exit the Settings and restart your Chromebook.
Google Name Servers
Switching to Google Name Servers could fix the problem. To do that:
- Go to Settings > Network > Wi-Fi
- Click on the arrow right next to the network
- Scroll down and click to open a drop-down menu next to Name Servers
- Select Google name servers
- Restart your Chromebook and try to connect to the network.
If nothing’s changed, go back to Name Servers and select Automatic Name Servers. Try to connect to the network.
Still nothing? Go back to network settings and turn off the option Configure IP Address Automatically. Set up the IP address manually and then restart your Chromebook.
OS update
The outdated OS could be the problem. Here is how to update it:
- Connect to some other Wi-Fi network if possible, or connect using an ethernet cable
- Go to Settings > About Chrome OS > Check for Updates.
- Once the update is installed, restart your Chromebook
Reset the modem or router to factory defaults
This can also solve the problem. Since there are many models out there, the steps may vary, so find the manufacturer’s manual and lookup for the steps to factory reset your modem or router. If you have a modem or router from your carrier, contact the carrier and ask for the steps to perform a factory reset.

