The “couldn't set up WiFi calling” message stops you before your first call over Wi-Fi. Start with the setting for your phone, then check your carrier’s activation requirements. The fixes below cover emergency-address errors, Wi-Fi connection problems, and setup that still refuses to finish.
Start with the right phone line and setting
On iPhone, open Settings > Cellular > Wi-Fi Calling; with multiple SIMs, select the intended line under Cellular first, because each line needs separate activation. Turn on Wi-Fi Calling on This iPhone, tap Enable, and complete the emergency-address prompt. If it’s already enabled, turn it off and back on; Apple recommends waiting two minutes between troubleshooting steps.
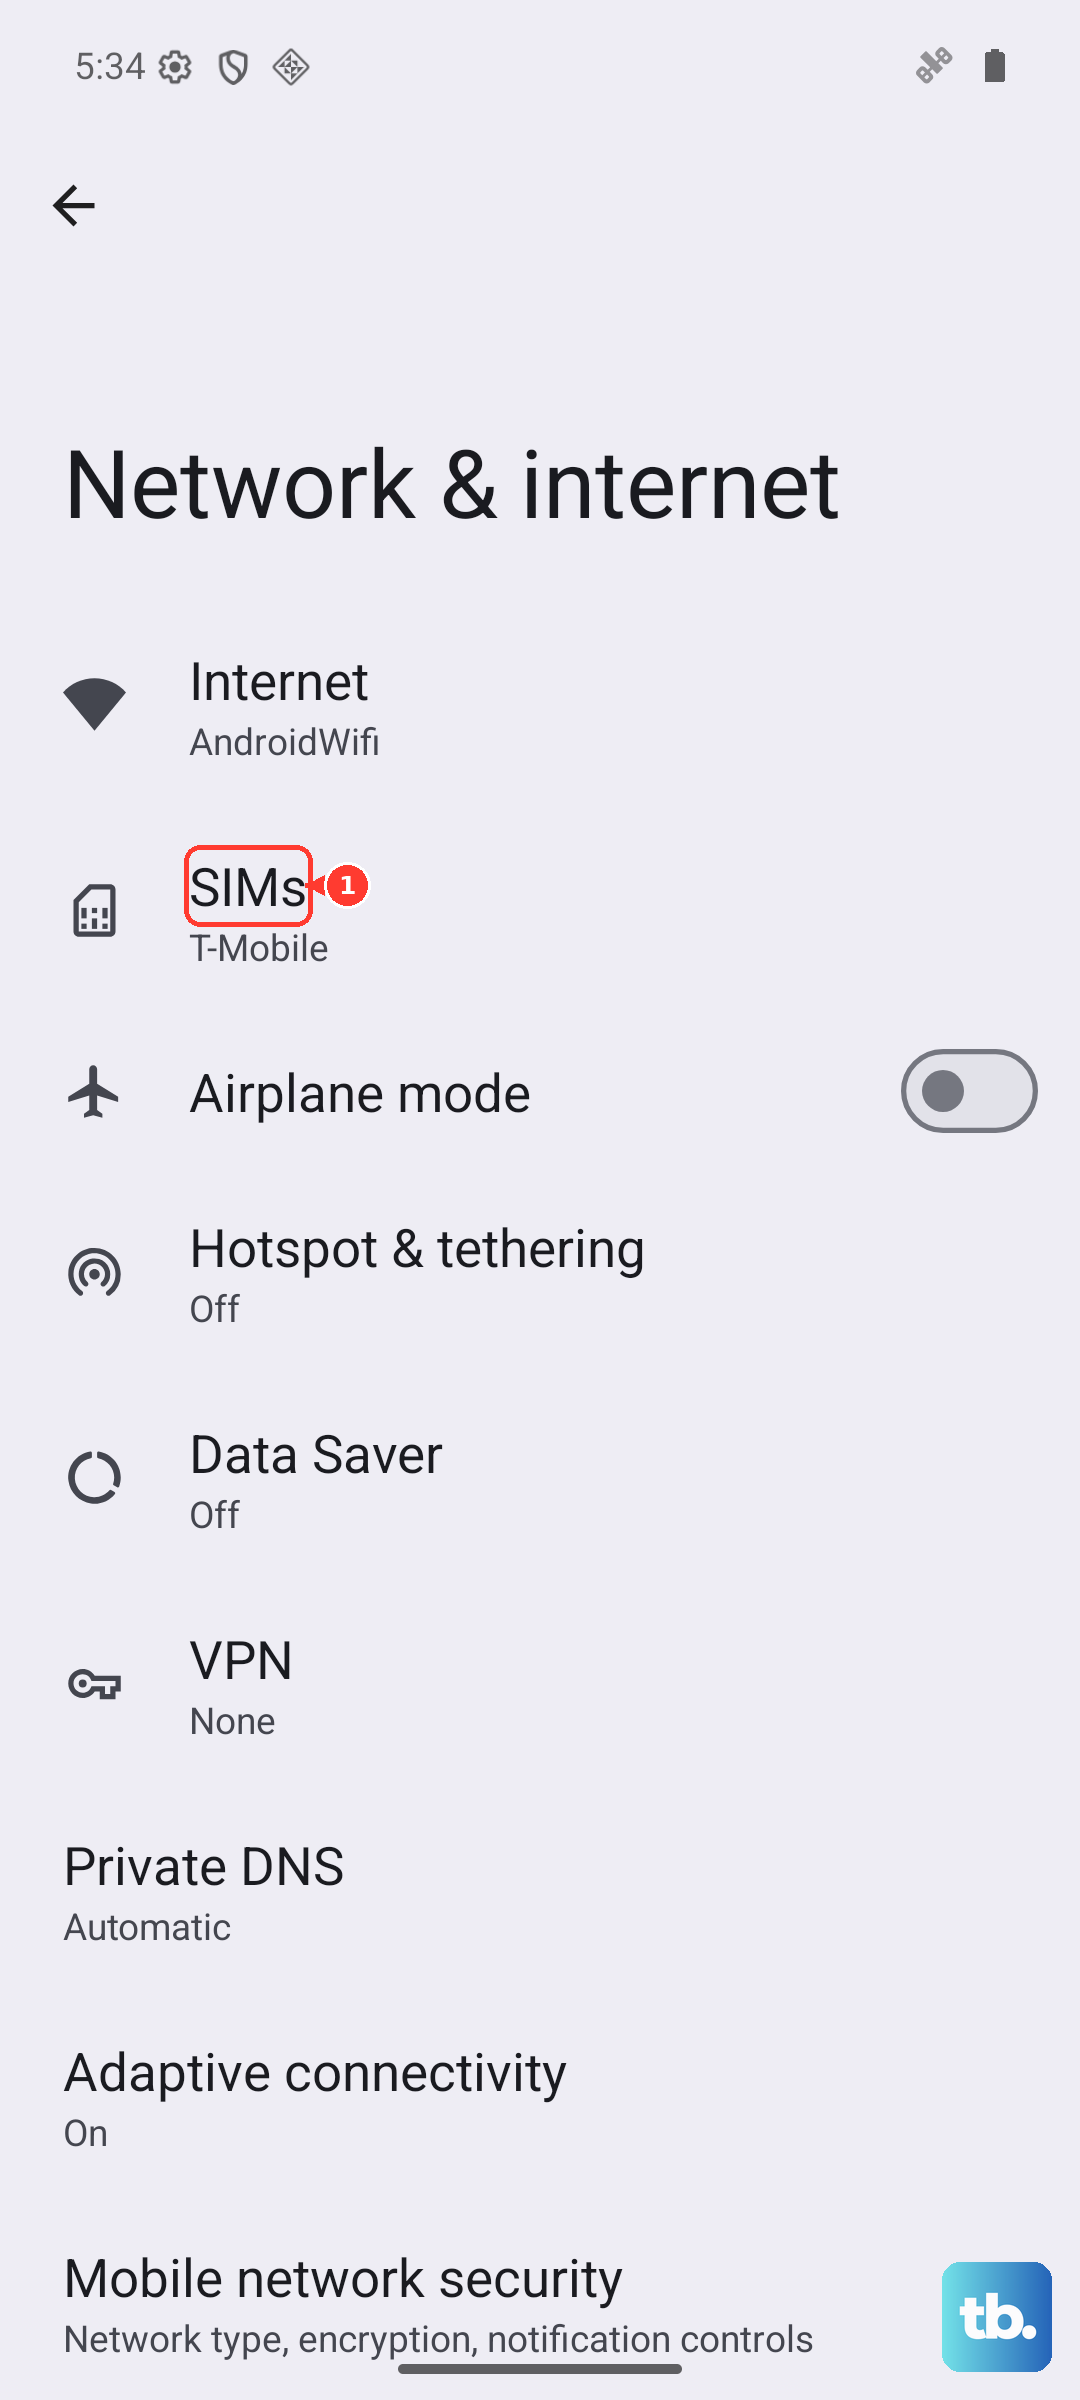
On Android phones using Google’s settings layout, open Settings > Network & internet > SIMs > Carrier SIM > Wi-Fi calling and turn on Wi-Fi calling. If Android disabled it after detecting problems, restart the phone. Contact your carrier for reactivation if it stays disabled.
On Galaxy, open Settings > Connections > Wi-Fi Calling and turn on the switch. Complete the emergency information and tap Save. On configurations with the Phone app option, use Phone > More options (three dots) > Settings > Wi-Fi Calling and complete any emergency-information prompt with Save.
Galaxy requires working Wi-Fi and active SIM or eSIM service. Wi-Fi Calling also requires a compatible phone and participating carrier. If the option is missing, contact your carrier to check support for your phone and line.
Clear your carrier’s activation requirements
Complete the emergency-address registration on your phone’s Wi-Fi Calling setup screen.
On Galaxy, open Settings > Connections > Wi-Fi Calling > Emergency Address; regional labels include Emergency Location Information and Update Current Emergency Address.
Correct the address in the carrier’s form.
For AT&T, enter a US street address as your E911 address on the phone’s Wi-Fi Calling setup screen. AT&T does not accept a P.O. Box.
For T-Mobile, especially with a REG09 missing-address error, open T-Life > Manage > gear icon > Profile > E911 Address. App versions showing Account use that label instead of Manage.
Select the line you’re activating.
Enter that line’s primary usage address.
Tap Save.
On a Verizon iPhone, turn on Cellular Data.
Turn off Airplane Mode.
Move somewhere showing at least one Verizon service bar. Initial iPhone activation requires Verizon’s cellular network, so complete setup before leaving the US Verizon network; Verizon Android phones also support activation over internet-connected Wi-Fi.
Retry Wi-Fi Calling activation.
For Mint Mobile, sign in to the Mint app or online account.
Open Wi-Fi Calling & Text.
Select Enable.
Enter your emergency 911 address.
Wait for Mint’s confirmation text.
Enable Wi-Fi Calling through your phone’s settings using the path above.
For a new Google Fi line, complete the activation prompts in the Google Fi app.
Check the app’s transfer-status notification. Calling cannot work until your number transfer finishes.
On supported Google Fi Android phones, open Google Fi > Profile picture > Phone settings > Wi-Fi calling.
Turn on Wi-Fi calling.
Keep the emergency address tied to the line you’re actually activating.
Rule out a Wi-Fi network problem
Wi-Fi is connected, but setup still fails? Check the network itself.
- 1.On hotel, airport, or café Wi-Fi, open a browser and complete the network’s sign-in or acceptance page before retrying.
- 2.Test within 15 feet of your router, away from interference sources.
- 3.Check internet access on another device and run a speed test.
- 4.For equipment you control, power off the modem and router. Wait 30 seconds, power on the modem, and wait for its internet connection before powering on the router.
- 5.Connect your phone to a different working Wi-Fi network and retry setup. Apple notes that some networks do not support Wi-Fi Calling.
Refresh the phone and install pending updates
This refreshes the connection and brings software and carrier settings up to date.
On iPhone X and later with this button layout, hold either Volume button and the Side button until the power slider appears.
Drag the power slider to shut down.
Wait 30 seconds.
Hold the Side button until the Apple logo appears.
On Galaxy phones using the current Quick pane layout, swipe down from the top-right corner twice.
Tap the Power icon.
Tap Restart.
Tap Restart again to confirm.
On Pixel 6 and later, including Fold models, hold Power and Volume Up to open the power menu.
Select Power off.
Wait 30 seconds.
Turn the Pixel back on.
For an iPhone carrier-settings update, connect to Wi-Fi or cellular service.
Open Settings > General > About. This check is especially relevant after changing your SIM, eSIM, or carrier.
Accept the carrier-update prompt if it appears.
Back up your iPhone before installing an iOS update.
Connect it to power.
Connect it to Wi-Fi.
Open Settings > General > Software Update.
Select Download and Install for an offered update.
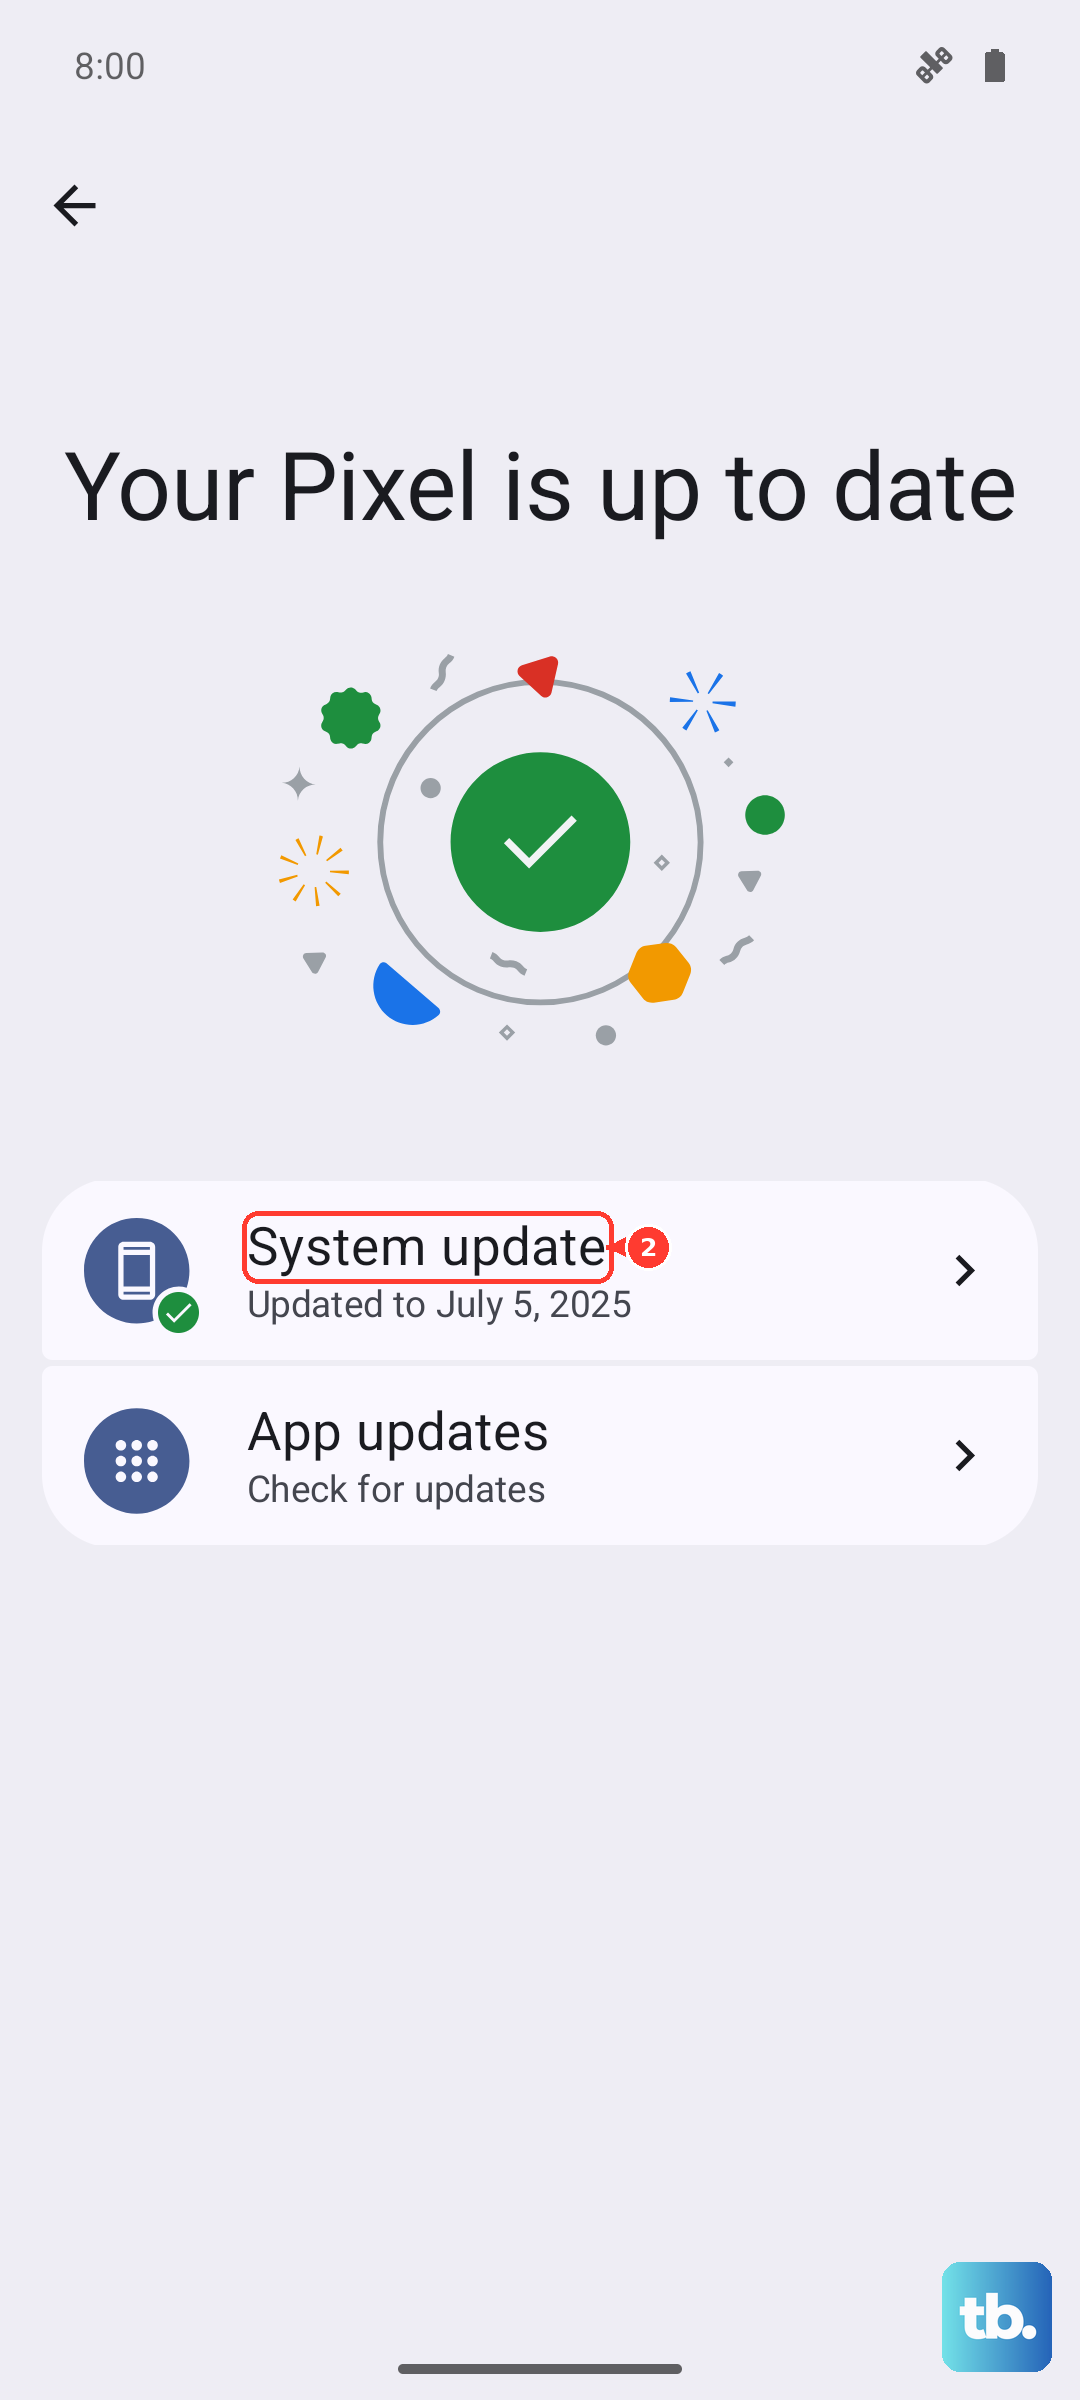
On Pixel, open Settings > System > Software update.
Follow the available update prompts.
On Galaxy, open Settings > Software update. Some models use System updates instead.
Select Download and install, Check for system updates, or Check for software updates, depending on the label shown.
Install the offered update.
For Google Fi on Android, open Google Play Store > profile picture > Manage apps & device > Updates available > Google Fi.
Tap Update if available.
Check for VPN and power-saving conflicts
Using Google Fi on Android with a third-party VPN? Disconnect the VPN and retry Wi-Fi Calling. Alternatively, exclude Google Fi through the VPN’s app-bypass feature; the controls depend on your VPN provider.
For T-Mobile devices, turn off battery-saving features while troubleshooting. On current Galaxy layouts, open Settings > Battery > Power saving and switch off Power saving.
On T-Mobile devices, uninstall downloaded apps that manage or scan Wi-Fi networks, then retry. T-Mobile identifies these utilities as potential causes of Wi-Fi problems.
If an organization manages your iPhone or requires your VPN, contact its administrator before resetting network settings. For failures limited to workplace or school Wi-Fi, ask the network administrator to check whether the network permits Wi-Fi Calling.
Reset network settings if setup still fails
A network reset addresses persistent connection-setting problems after the simpler checks.
On iPhone, have your Wi-Fi password ready. The reset clears saved Wi-Fi credentials and resets cellular, VPN, and APN settings.
Open Settings > General > Transfer or Reset iPhone > Reset > Reset Network Settings.
Reconnect the iPhone to Wi-Fi.
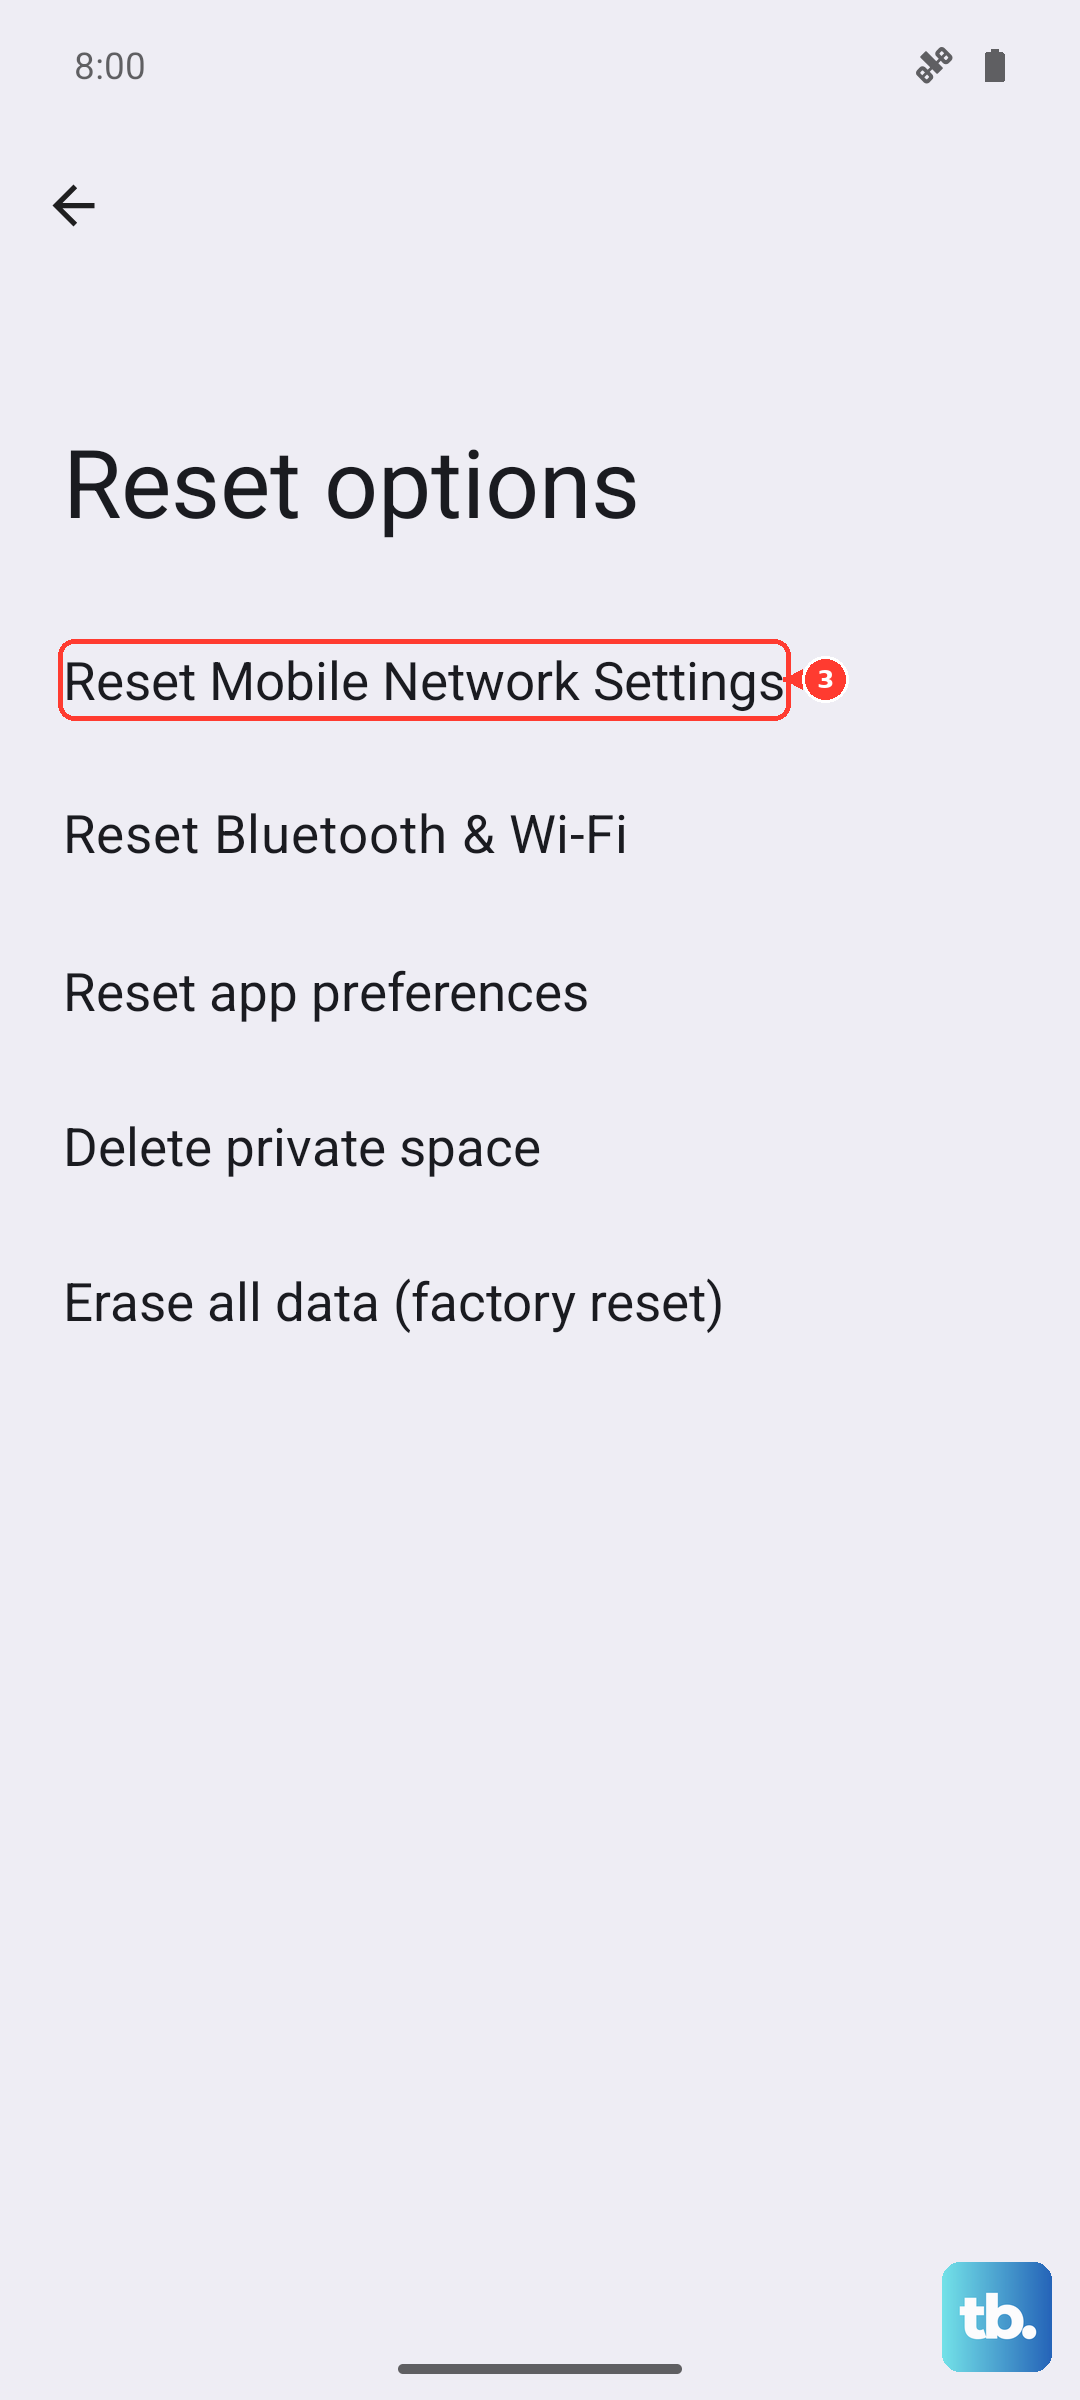
For a Pixel with Wi-Fi connection problems, select Settings > System > Reset options > Reset Bluetooth & Wi-Fi. This removes saved Wi-Fi connections.
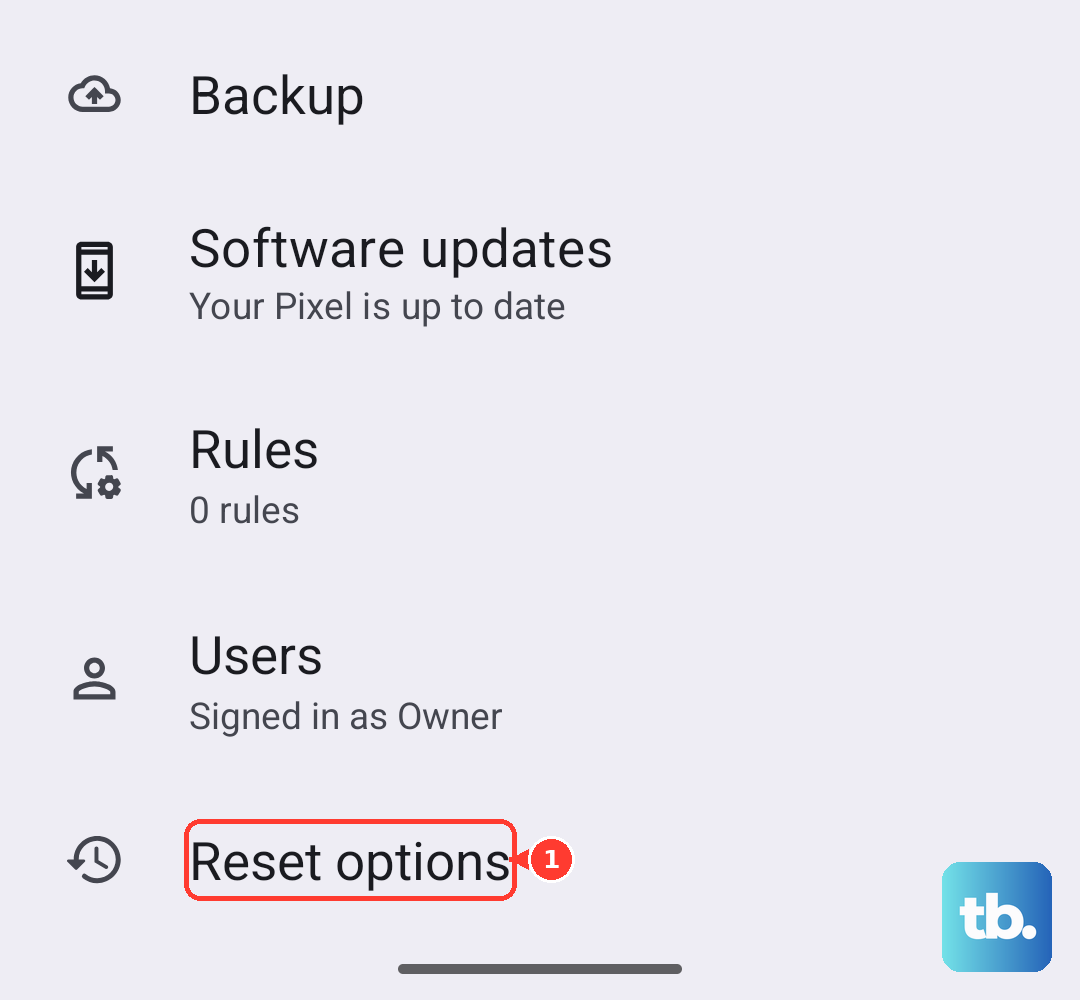
For Pixel mobile-network problems, use the separate Settings > System > Reset options > Reset mobile network settings option.
On Galaxy, open Settings > General management > Reset > Reset Wi-Fi and Bluetooth settings.
Tap Reset settings.
Reconnect your Pixel or Galaxy to Wi-Fi.
Retry Wi-Fi Calling setup.
If activation still fails, contact your carrier to confirm support for your exact phone and line and request activation assistance.
Give support the exact error and the result of your test on another Wi-Fi network.
Google Fi Android users can open Google Fi > Support > Connectivity issues > Phone Call issues.
Run the connection diagnostics.
T-Mobile users can open T-Life > Manage > affected device > Troubleshoot this device.
Select the issue to start account and device troubleshooting.
For a Galaxy that still fails after carrier troubleshooting, request Samsung service if a phone hardware fault is suspected.
Frequently Asked Questions
Can I use Airplane Mode to get past Wi-Fi Calling activation?
Airplane Mode is not a universal activation workaround. After activation on supported Google Fi devices, turn on Airplane mode, reconnect Wi-Fi, and place a normal test call to check Wi-Fi-only calling. Turn Airplane mode off afterward to restore cellular service.
Will choosing Wi-Fi preferred fix the setup error?
No. On Galaxy configurations that offer it, Wi-Fi preferred changes call routing after activation; it does not activate an unsupported line. To change that preference after setup, open Phone > More options > Settings > Wi-Fi Calling > Wi-Fi preferred.
Why won’t Google Fi calls work through my downloaded dialer?
Google Fi supports the phone’s supplied Phone app or Phone by Google. Place your test call through one of those apps. Other downloaded dialers are not supported.
Do I need to enable HD Voice manually on a current Verizon phone?
No. Current Verizon smartphones enable HD Voice by default. Verizon requires it for Wi-Fi Calling activation, along with acceptance of the terms and emergency-address registration.