Here’s how to enable Filters on Snapchat.
Understanding Snapchat Filters and Lenses
Snapchat offers two main types of visual effects: filters and lenses. Filters are static overlays that change the appearance of your content with color tones, graphics, or location stamps. Lenses are more interactive - they use augmented reality to add moving elements to your photos and videos, often responding to your facial expressions and movements.
Most Snapchat filters are automatically available, but sometimes you need to enable them in your settings. This quick process unlocks all the creative effects and designs the app has to offer.
How to Enable Filters in Snapchat Settings
If your filters aren't showing up or you want to make sure they're activated, follow these steps:
- 1.Open the Snapchat app and log in if needed
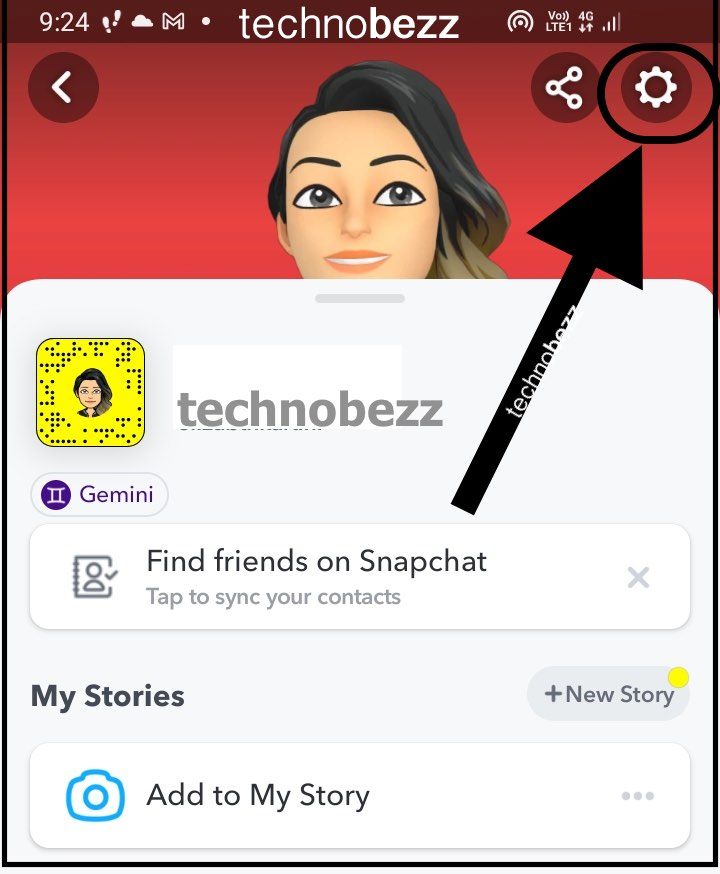
- 2.Tap your profile icon in the top left corner
- 3.Click the Settings gear icon in the top right corner
- 4.
 Click to expand
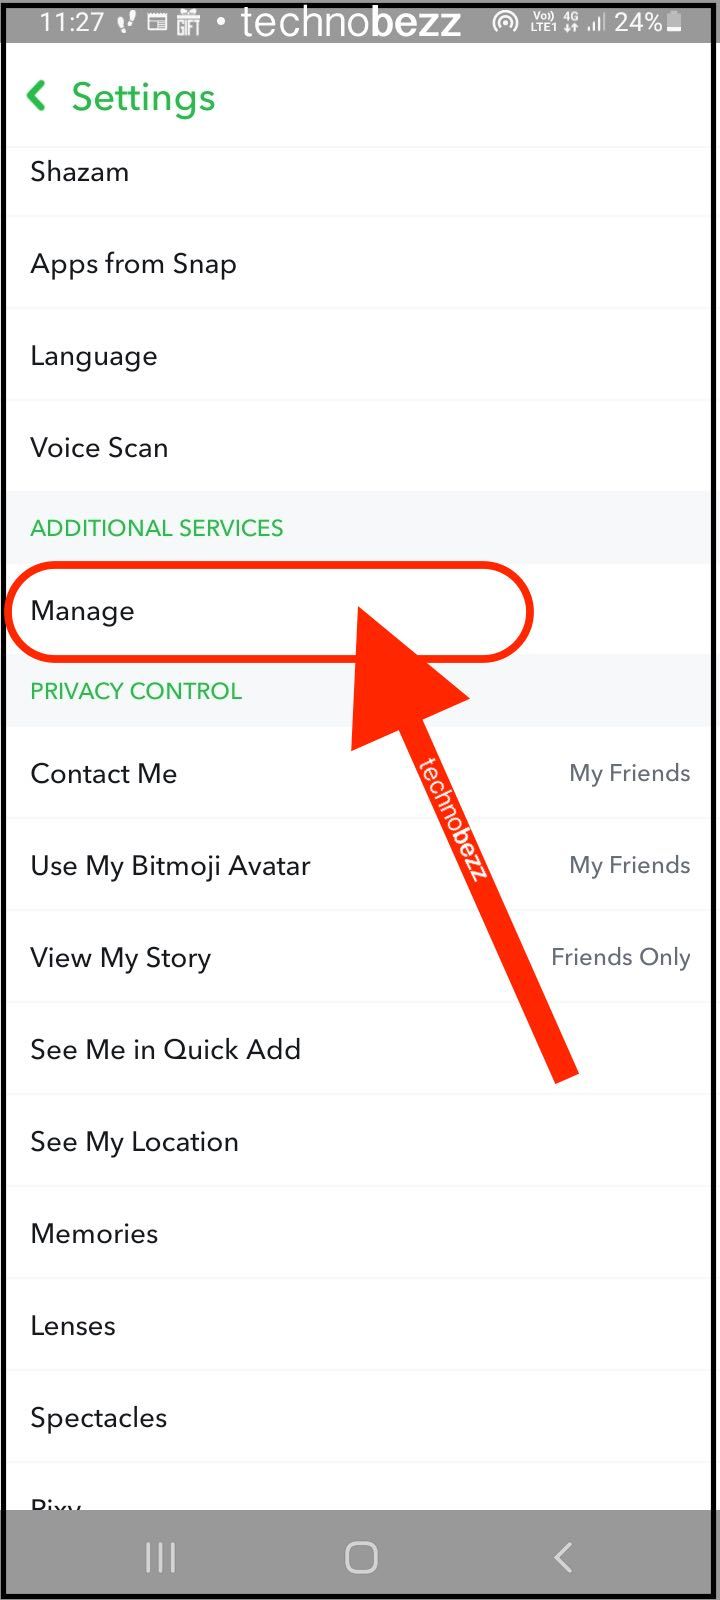
 - 5.Scroll down and tap "Manage" under Additional Services
- 6.
 Click to expand
 - 7.Find the "Filters" option and toggle it on
- 8.Return to the camera to check if filters are working
- 9.
 Click to expand
This simple setting adjustment should make all available filters appear when you're taking snaps.
Using Your Enabled Filters
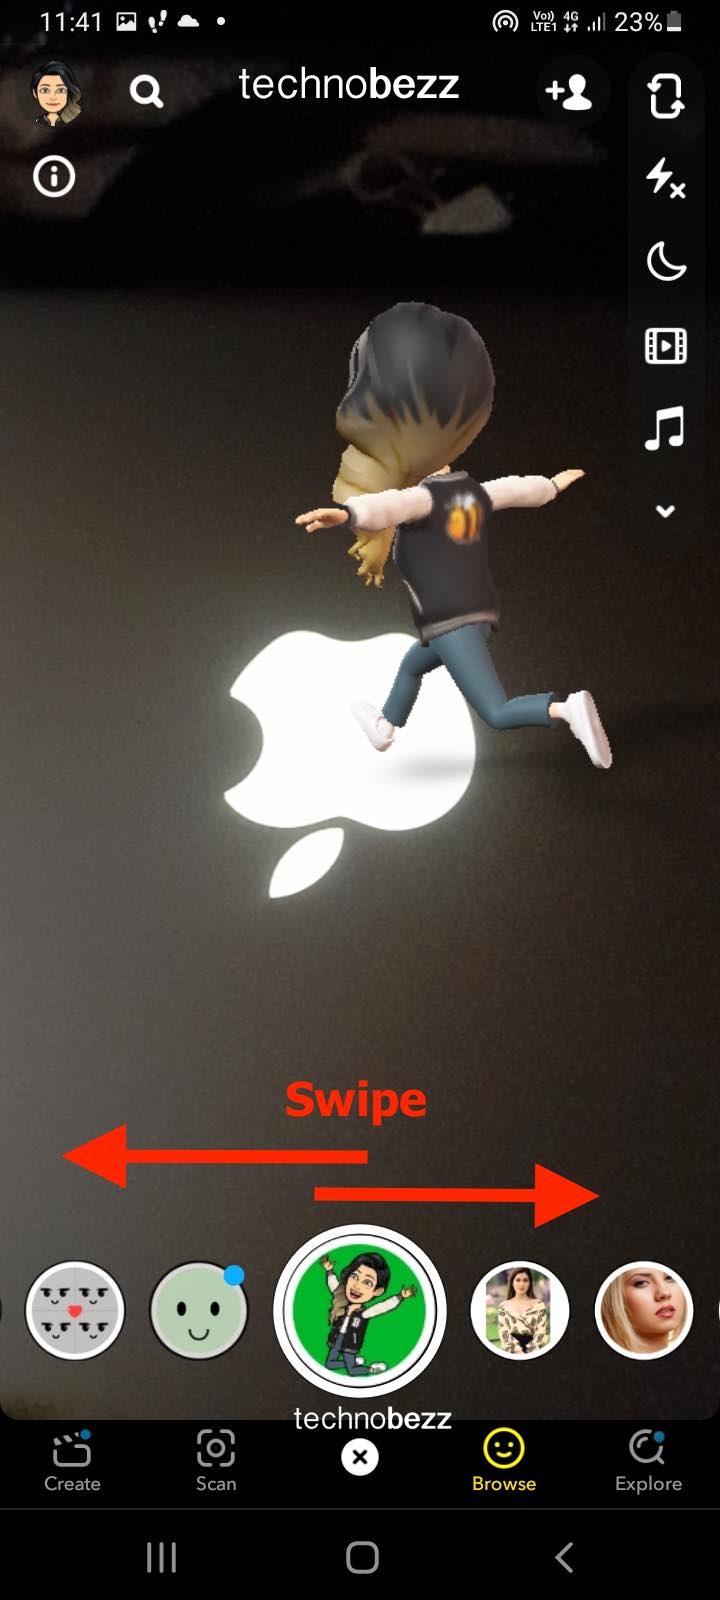
Once filters are enabled, using them is straightforward. Open the camera screen and you'll see the familiar capture button at the bottom. Swipe left or right to browse through available filters and lenses.
You can apply multiple filters by tapping the filter-stacking icon that appears after adding your first effect. Just continue swiping to add more layers to your snap.
Location-Based Filters
For location filters (also called Geofilters) to work, you need to enable location services for Snapchat on your phone. These filters are automatically available based on your GPS location and include city names, landmarks, and special event overlays.
If location filters aren't showing up, check that:
- Location services are enabled for Snapchat in your phone settings
- Your device has a stable internet connection
- You're in an area with available Geofilters
Troubleshooting Filter Issues
Sometimes filters might not work properly even after enabling them. If you're having trouble, try these solutions:
- Ensure you have a good internet connection for downloading new effects
- Clear the Snapchat cache if the app seems slow
- Update to the latest version of Snapchat
- Restart the app or your device
Remember that some filters and lenses require specific conditions to work, like good lighting for face-tracking effects or being in certain locations for Geofilters.
With filters properly enabled, you can explore Snapchat's creative tools to make your snaps more engaging and fun. Whether you're adding subtle color adjustments or full augmented reality transformations, these features help you express your creativity and join in on trending visual effects.