Want your old macOS back after an upgrade? Replacing the newer version means backing up your files, erasing that installation, and installing a compatible older release. You can also keep your current system and install the older version on a separate volume or external drive.
Protect your files before going back
App compatibility is a reason to return to an older macOS after an upgrade.
Back up your Mac before making changes. Erasing the newer installation permanently deletes its files.
Separately save documents you created or changed after upgrading.
Keep your pre-upgrade backup for restoring apps and data. A newer backup can contain Mail, Photos, and other app databases that the older system cannot read.
Check your target release's compatibility on Apple's macOS download page, which links compatibility information for Catalina 10.15 and later. For an older target, check that release's Apple technical specifications. You cannot install a release below your Mac model's supported minimum, and not every historical point release is available.
Keep the current system with a separate installation
Use a separate installation when you want an older macOS without erasing your current system. The older release still needs to support your Mac.
For an internal installation, both your Mac's current system and the older target release must be High Sierra 10.13 or later, because earlier versions of macOS aren't compatible with APFS. Open Disk Utility.
Select an existing APFS volume.
Choose Edit > Add APFS Volume.
Enter a name for the new volume.
Click Add.
Quit Disk Utility.
Open the compatible full macOS installer, using the download instructions in the next section if you need it.
At destination selection, click Show All Disks.
Select the new volume as the installation destination.
Complete installation and setup.
For an external installation, prepare a compatible USB or Thunderbolt drive using Apple's external startup disk instructions. APFS is recommended, and Mac OS Extended (Journaled) is required for Sierra 10.12 or earlier.
On Apple silicon, connect the external drive to a compatible port other than the DFU port during installation. A working internal startup disk is required, and the external installation is specific to the Mac model.
Open the target macOS installer.
Click Show All Disks at destination selection.
Select the external drive.
Complete installation before switching startup disks. If a T2 Mac blocks external startup, use the security settings described below.
To switch to either older installation from macOS Ventura 13 or later, open Apple menu > System Settings > General > Startup Disk. On earlier versions, choose Apple menu > System Preferences > Startup Disk, click the lock, and enter your administrator password.
Select the disk containing the older system.
Click Restart.
Get the older macOS installer
Open Apple's macOS download page in Safari and follow your target release's App Store link. Click Get and approve any download prompt in Software Update. These links cover Sequoia 15 through High Sierra 10.13; downloading for bootable media requires Mojave 10.14 or later.
Quit the automatically opened installer if you're preparing a bootable USB drive. Keep the full installer in Applications.
For the Terminal alternative, use a downloading Mac running Catalina 10.15 or later. Open Applications > Utilities > Terminal and run softwareupdate --list-full-installers to see available releases.
Run softwareupdate --fetch-full-installer --full-installer-version [number], replacing [number] with an available compatible version. The full installer downloads into Applications.
Prepare a bootable USB installer
Replacing the newer macOS requires erasing its installation, so prepare the older installer before removing it.
Preserve anything stored on the USB drive you plan to use. Creating installation media erases that drive.
Connect an expendable 32GB USB drive.
Name the drive MyVolume.
Copy the command for your downloaded release from Apple's bootable installer page. It must match the installer stored in Applications and your USB drive's name.
Run the command in Terminal.
Enter your administrator password when prompted.
Type Y and press Return to authorize erasing the USB drive.
Click OK if requested.
Wait for installation media creation to finish before using the drive.
Erase the newer installation
Your backup and compatible installer need to be ready before you erase anything. On a T2 Mac, also allow booting from external media first, using the Startup Security Utility steps in the next section. Follow the procedure for your Mac's processor.
On Apple silicon, shut down your Mac.
Hold the power button until startup options appear.
Select Options > Continue.
Authenticate when prompted.
Open Disk Utility > Continue.
Remove additional internal volumes as directed in Apple's Apple silicon erasure instructions.
Select Macintosh HD.
Click Erase.
Set Name to Macintosh HD.
Set Format to APFS.
Click Erase Volume Group when offered, or Erase otherwise.
Supply your Apple Account credentials if requested.
Confirm Erase Mac.
After the restart, connect your Mac to the internet.
Complete activation.
Click Exit to Recovery Utilities.
On Intel, restart while holding Command-R to enter Recovery.
Open Disk Utility > Continue.
Select the target volume.
Click Erase.
Enter the volume's name.
Choose APFS under Format for a current APFS installation. This is the format used in Apple's Intel Recovery instructions. Older target releases can require a different format: Sierra 10.12 or earlier isn't compatible with APFS.
Click Erase Volume Group.
Click Done.
Choose Disk Utility > Quit Disk Utility.
Erase All Content and Settings retains the installed operating system. It does not replace this downgrade procedure.
If erasure fails, return to the linked Apple erasure instructions for your processor before attempting installation.
Start from the installer and install macOS
External startup restrictions on a T2 Mac can block a prepared USB installer from booting.
Connect your bootable installer.
Connect the Mac to the internet.
On Apple silicon, shut down the Mac.
Hold the power button until startup options appear.
Select the installer.
Click Continue.
On Intel, start the Mac while holding Option.
Select the installer.
Press Return.
Choose Install macOS or Install OS X when shown.
Click Continue.
Select the erased disk as the destination for the older macOS.
On a T2 Mac, change these settings before erasing the newer installation, because Startup Security Utility asks for an administrator password from the Mac's macOS installation. Restart into Recovery with Command-R.
Authenticate if requested.
Open Utilities > Startup Security Utility.
Click Enter macOS Password.
Authenticate with your macOS password.
Select Allow booting from external or removable media.
If Full Security rejects the older signed system, select Medium Security. This permits Apple-signed systems previously trusted by Apple.
Restart after changing the settings.
On Apple silicon, use Reduced Security only when needed to permit an older, previously trusted signed installation. The policy applies to the selected installation and cannot bypass hardware compatibility.
Enter Recovery by shutting down, then holding the power button until startup options appear.
Select Options > Continue.
Authenticate when prompted.
Open Utilities > Startup Security Utility.
Select the installation.
Unlock it if requested.
Click Security Policy.
Select Reduced Security.
Click OK.
Authenticate the change.
Restart your Mac.
Intel Internet Recovery can offer the macOS that came with your Mac or the closest version still available. It does not let you choose an arbitrary release.
Restart while immediately holding Shift-Option-Command-R until the startup screen appears.
Connect to the internet.
Authenticate if requested.
After backing up and erasing the newer installation, select Reinstall macOS [name].
Click Continue.
Select the empty startup volume as the installation destination.
On Apple silicon, the version offered after an upgrade followed by Disk Utility erasure varies. Apple documents the pre-upgrade release as one possible outcome; Recovery is not a version picker.
Check the version named in Recovery's reinstall option.
If it is your desired older release, select that reinstall option.
Click Continue.
Choose Macintosh HD.
If Recovery offers the newer release, start from your compatible older bootable installer instead.
Ordinary Apple silicon Recovery and Intel Command-R reinstall the most recently installed macOS. Intel Option-Command-R is the route for requesting the latest compatible release. These shortcuts do not select the older version you want.
Bring back your pre-upgrade data
Once the older macOS is installed, restore your information from a suitable pre-upgrade backup.
- 1.Connect your backup disk to the Mac.
- 2.Use the migration option during initial setup, or open Applications > Utilities > Migration Assistant afterward.
- 3.Select From a Mac, Time Machine, or startup disk and click Continue.
- 4.Select the backup disk and your desired pre-upgrade backup. Use the disclosure arrow to reveal older backups.
- 5.Select the information to transfer and click Continue.
Control updates after the downgrade
On Ventura 13 or later, open System Settings > General > Software Update.
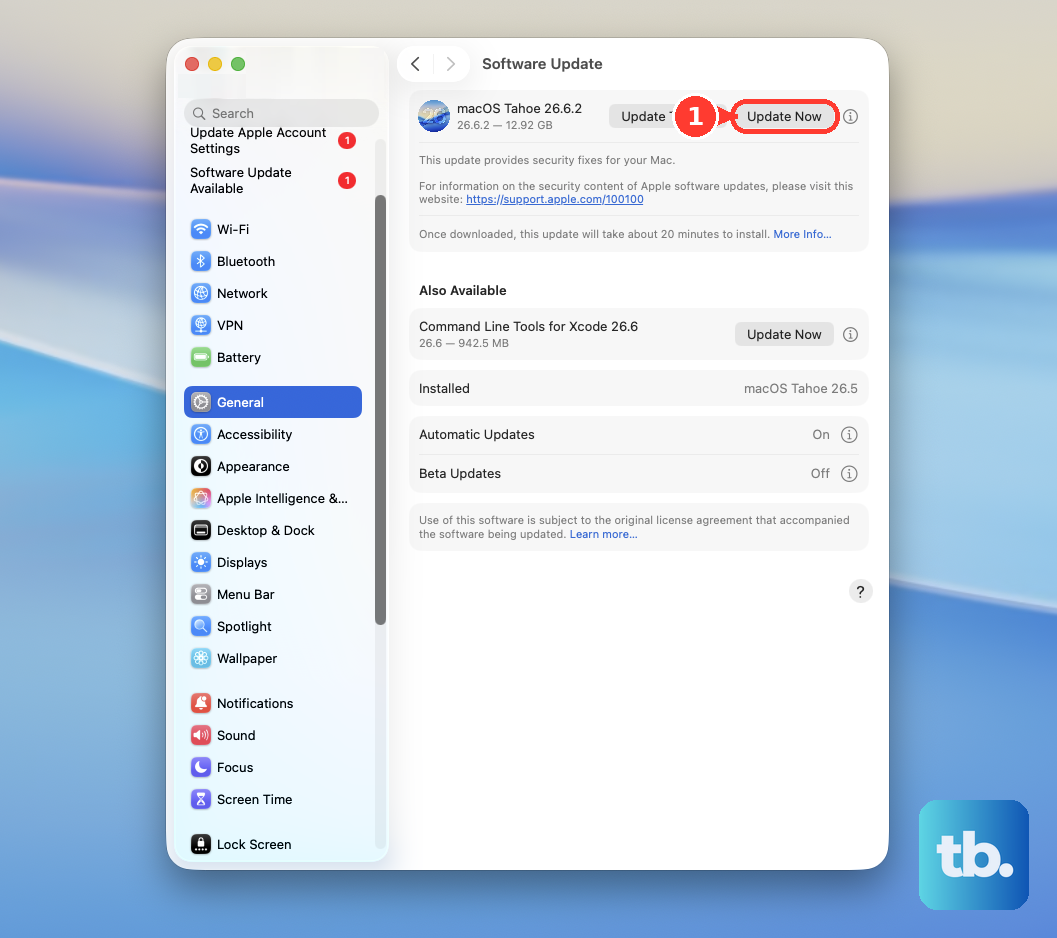
Click the information button beside Automatic Updates.
Turn off Install macOS updates. This controls future installations; it does not undo an installed update.
Click Done.
On Monterey 12, choose Apple menu > System Preferences > Software Update, click Advanced, deselect Install macOS updates, then click OK.
For beta updates on Ventura 13.4 or later, click the information button beside Beta Updates.
Choose Off. The installed beta stays in place; waiting for an appropriate public release in Software Update is an alternative to downgrading immediately.
Tip: Keep your pre-upgrade backup and separately saved newer documents until you have restored the files you need.
Frequently Asked Questions
Can Time Machine or a local snapshot roll back macOS by itself?
Apple's current Time Machine workflow requires installing macOS first, then migrating your apps and data. Local snapshots restore files, including when the backup drive is unavailable. Apple's current snapshot documentation covers restoring files, not rolling back the operating system.
Do I need a full downgrade to remove a Background Security Improvement?
No. On macOS 26.1 or later, removing an installed Background Security Improvement returns the system to its last full software-update baseline. Its settings are under Apple menu > System Settings > Privacy & Security > Background Security Improvements. Turning off Automatically Install prevents standalone automatic installation; it does not remove an installed improvement.
Does restoring Mac firmware let me choose an older macOS?
Apple's current Finder firmware-restoration procedure does not provide an arbitrary older-version selector. Use a compatible older macOS installer to choose your downgrade target.
How do I delete the newer macOS after switching to a separate older installation?
Start from the older volume you intend to keep. Open Disk Utility and select the unwanted newer volume. Choose Edit > Delete APFS Volume > Delete, and delete its volume group when prompted. This permanently deletes that installation and its data.