You need a Windows 11 bootable USB when a PC has to install, reinstall, or repair Windows from removable media. Microsoft’s Media Creation Tool is the first path for most x64 PCs because it downloads Windows 11 and prepares the USB in the same flow. Use the method below that matches the PC you are preparing, then boot from the drive.
Start with Microsoft’s Media Creation Tool
The most common cause of a failed Windows 11 installer USB is using the wrong download path instead of Microsoft’s installation media tool.
Open Microsoft’s Windows 11 download page and go to Create Windows 11 Installation Media.
Select Download Now.
Run the Media Creation Tool as administrator.
Select Accept.
On What do you want to do?, select Create installation media for another PC, then select Next.
Choose the language, edition, and 64-bit architecture.
Under Select which media you want to use, choose USB flash drive.
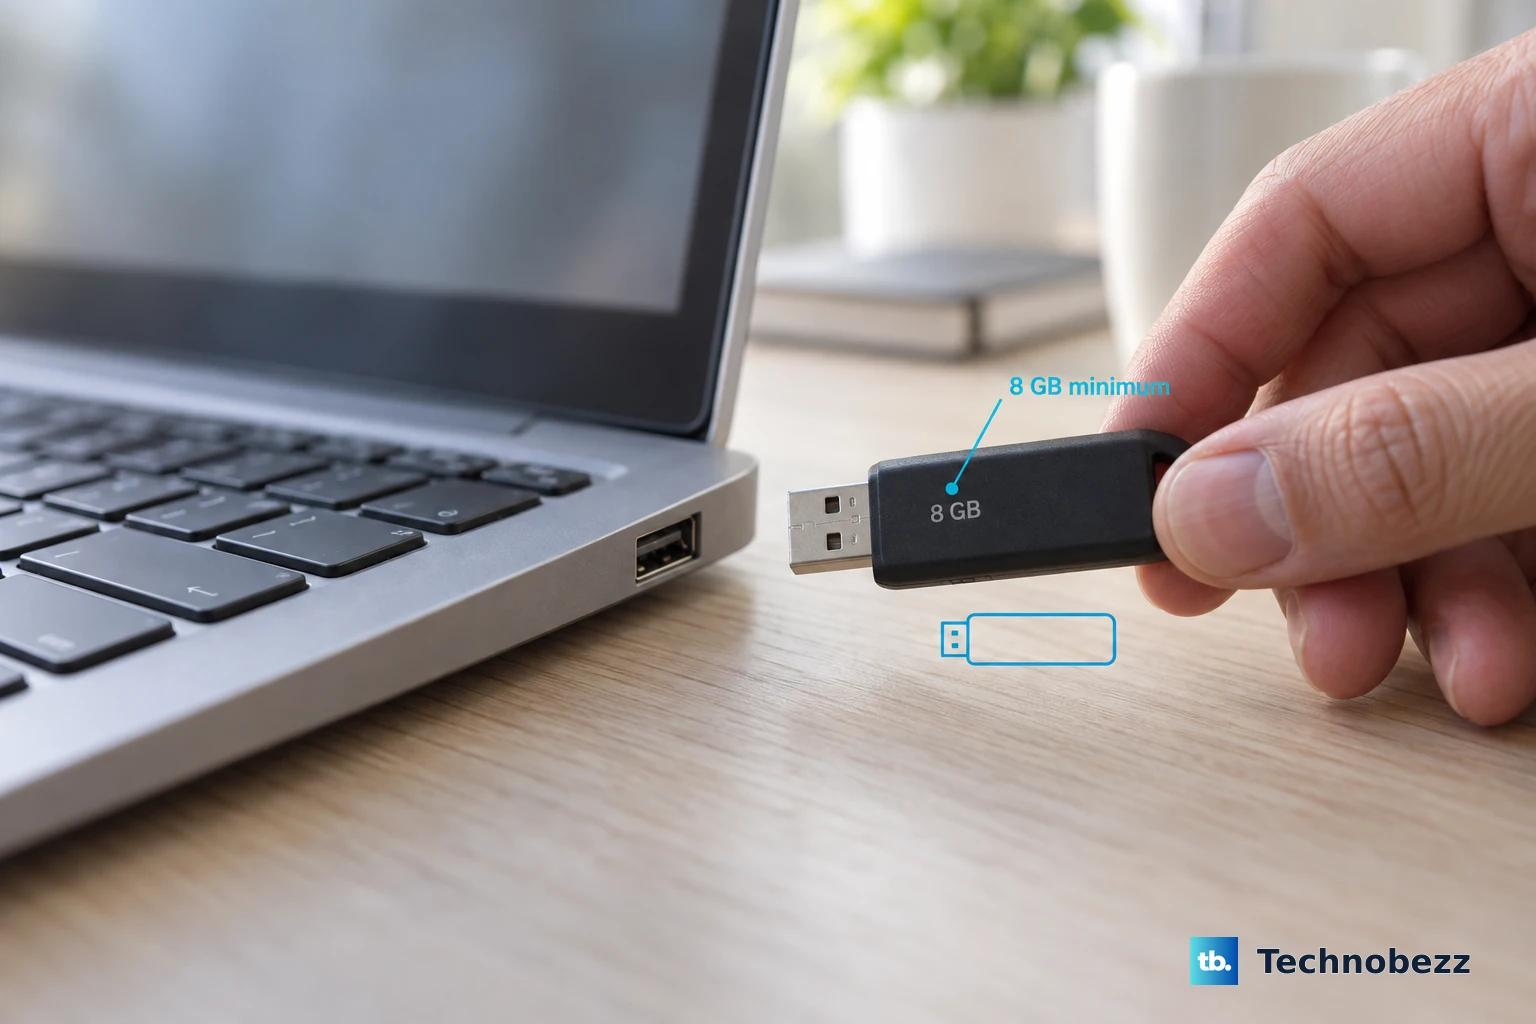
Attach a blank USB flash drive with at least 8 GB, then continue through the tool.
Download the Windows 11 ISO instead
Open Microsoft’s Windows 11 download page.
Go to Download Windows 11 Disk Image (ISO) for x64 devices.
Open Select an edition.
Choose the Windows 11 edition, then select Confirm.
Under Select the product language, choose the language, then select Confirm.
Download the ISO file.
Keep the ISO for Rufus, Ventoy, or Microsoft’s manual USB method.
Use Rufus when you already have the ISO
Rufus is a third-party portable tool for Windows 8 or later that creates bootable USB media from Windows ISOs. Download Rufus from its official page, choose the current executable for your PC architecture, and run it.
In Rufus, select the USB drive under Device. Set Boot selection to Disk or ISO image, choose SELECT, and open the Windows 11 ISO.
Set the right Image option, Partition scheme, and Target system for the PC you plan to boot. Select START, confirm the erase warning, and choose only the options you intentionally want if the Windows User Experience dialog appears.
If this method fails, create the USB with Microsoft’s Media Creation Tool or use the manual ISO method below.
Make the USB manually from an ISO
This fixes cases where you want Microsoft’s ISO files on a USB without a third-party writer.
Download the Windows 11 ISO from Download Windows 11 Disk Image (ISO) for x64 devices.
Connect the USB drive to a Windows technician PC.
Right-click Start and open Disk Management.
Right-click the USB partition and choose Format.
Choose FAT32.
Right-click the USB partition again and choose Mark Partition as Active.
Mount the Windows 11 ISO.
Use File Explorer to copy the ISO contents to the USB drive.
When sources\install.wim is larger than 4 GB, copy everything except that file first, then use DISM to split it into install.swm files.
Prepare a Windows 11 Arm USB
The most common cause of failure on Arm-based PCs is using the regular Media Creation Tool, which Microsoft says cannot create installation media for Arm-based PCs.
Open Microsoft’s Windows 11 Arm64 download page.
Open Select an edition, choose the edition, and select Confirm.
Under Select the product language, choose the language, then select Confirm.
Download the Arm64 ISO.
Create the USB with the manual ISO process: format the USB partition as FAT32, choose Mark Partition as Active, mount the ISO, and copy the setup files to the drive.
When the Windows image file sources\install.wim is larger than 4 GB, copy everything except that file to the USB drive first, then use DISM /Split-Image to write it to the drive as install.swm files.
Add manufacturer drivers when the Arm device maker requires them for boot or installation.
Use Ventoy for a multi ISO USB
Ventoy is a third-party open-source option for one USB drive that holds multiple ISO files. Download it from Ventoy’s official download page, use the official binary location, and verify the SHA-256 hash when you need an integrity check.
Download ventoy-x.x.xx-windows.zip, decompress it, run Ventoy2Disk.exe, select the USB device, and choose Install or Update. After Ventoy is installed, copy the Windows 11 ISO to the first Ventoy partition.
Boot the PC from the USB and select the Windows 11 ISO from the Ventoy boot menu.
If this method fails, recreate a single-purpose Windows 11 USB with Microsoft’s Media Creation Tool or Rufus.
Boot the PC from the USB
Insert the Windows 11 installation USB, turn on the PC, and press the manufacturer’s boot-device menu key during startup. Microsoft says this key varies by manufacturer and model; start with F1 - F12 or DEL, then select the Windows 11 installation media in the boot menu.
On a Surface that can still start Windows, insert the USB and go to Start > Settings > System > Recovery. Under Advanced startup, select Restart Now, then choose Use a device > USB Storage.
On a Surface that is shut down, insert the USB, hold the volume-down button, press and release the power button, and keep holding volume-down until spinning dots appear under the Microsoft or Surface logo.
For newer Surface models that need a UEFI change, shut down, hold volume-up, press and release power, and keep holding volume-up until Surface UEFI opens. Select Boot configuration, move USB Storage to the top or swipe left on USB Storage, then select Exit > Restart Now.
Know when you need recovery media instead
Use an empty USB drive.
Open Start, search for Recovery Drive, and select it.
Keep Back up system files to the recovery drive selected.
Select Next.
Choose the USB drive, select Next, then select Create.
To reinstall from that drive, start the device from the recovery USB, choose Recover from a drive, pick Just remove my files or Fully clean the drive, then select Recover.
Use the Windows 11 installation USB methods above when the goal is installing Windows 11 on another PC.
Skip older USB tools for Windows 11
Older Windows USB/DVD Download Tool instructions are not the current Windows 11 path.
- 1.Use Microsoft’s Windows 11 download page for current consumer media.
- 2.Choose Create Windows 11 Installation Media when you want Microsoft’s tool to build the USB.
- 3.Choose Download Windows 11 Disk Image (ISO) for x64 devices when you want an ISO for Rufus, Ventoy, or manual USB creation.
Frequently Asked Questions
How large does the USB drive need to be for Windows 11?
Use a blank USB flash drive with at least 8 GB when creating Windows 11 installation media with Microsoft’s Media Creation Tool.
Can the Media Creation Tool make a Windows 11 Arm USB?
No. Microsoft states that the Windows 11 Media Creation Tool cannot create installation media for Arm-based PCs. Use the Windows 11 Arm64 ISO and the manual USB method instead.
Is a Windows Recovery Drive the same as a Windows 11 installation USB?
No. A Recovery Drive is bootable recovery media for restoring a PC. It is not a general-purpose clean-install USB for another PC.
Which key opens the boot menu for a Windows 11 USB?
The boot-device menu key depends on the PC maker and model. Microsoft says it is usually one of F1 through F12 or DEL.